
Indoor Gardening Part 1 - Holiday Bulbs
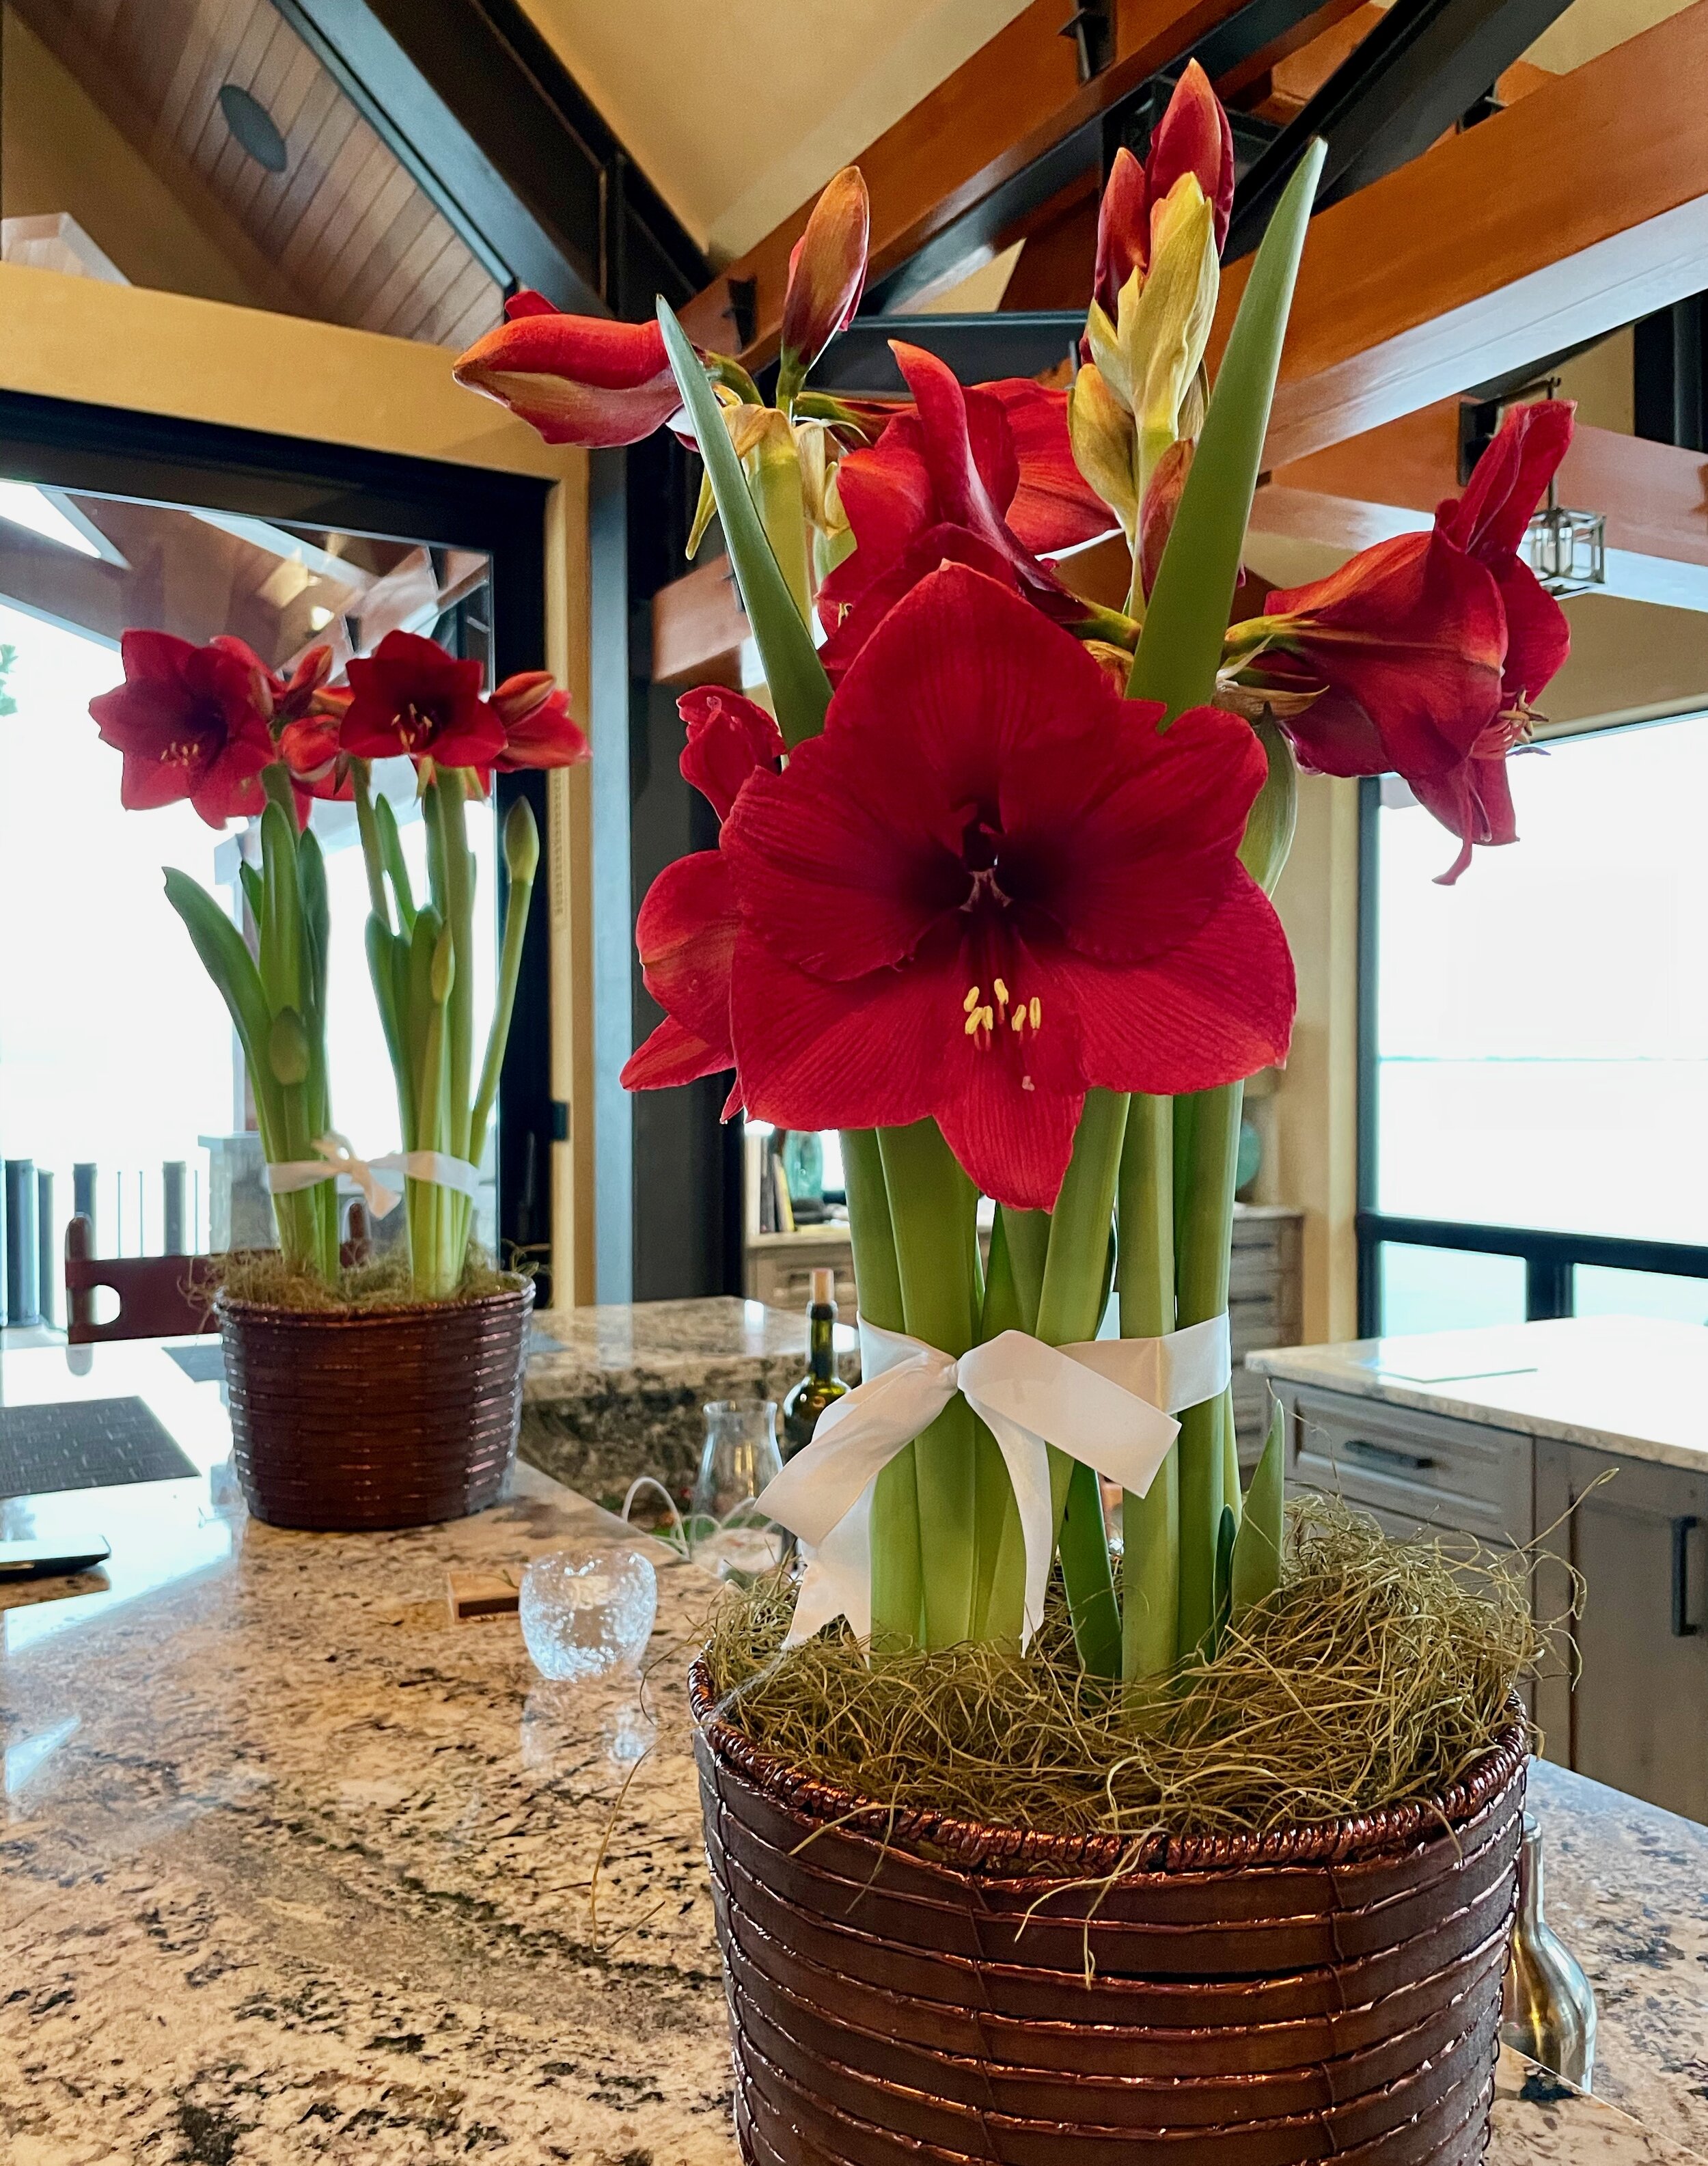
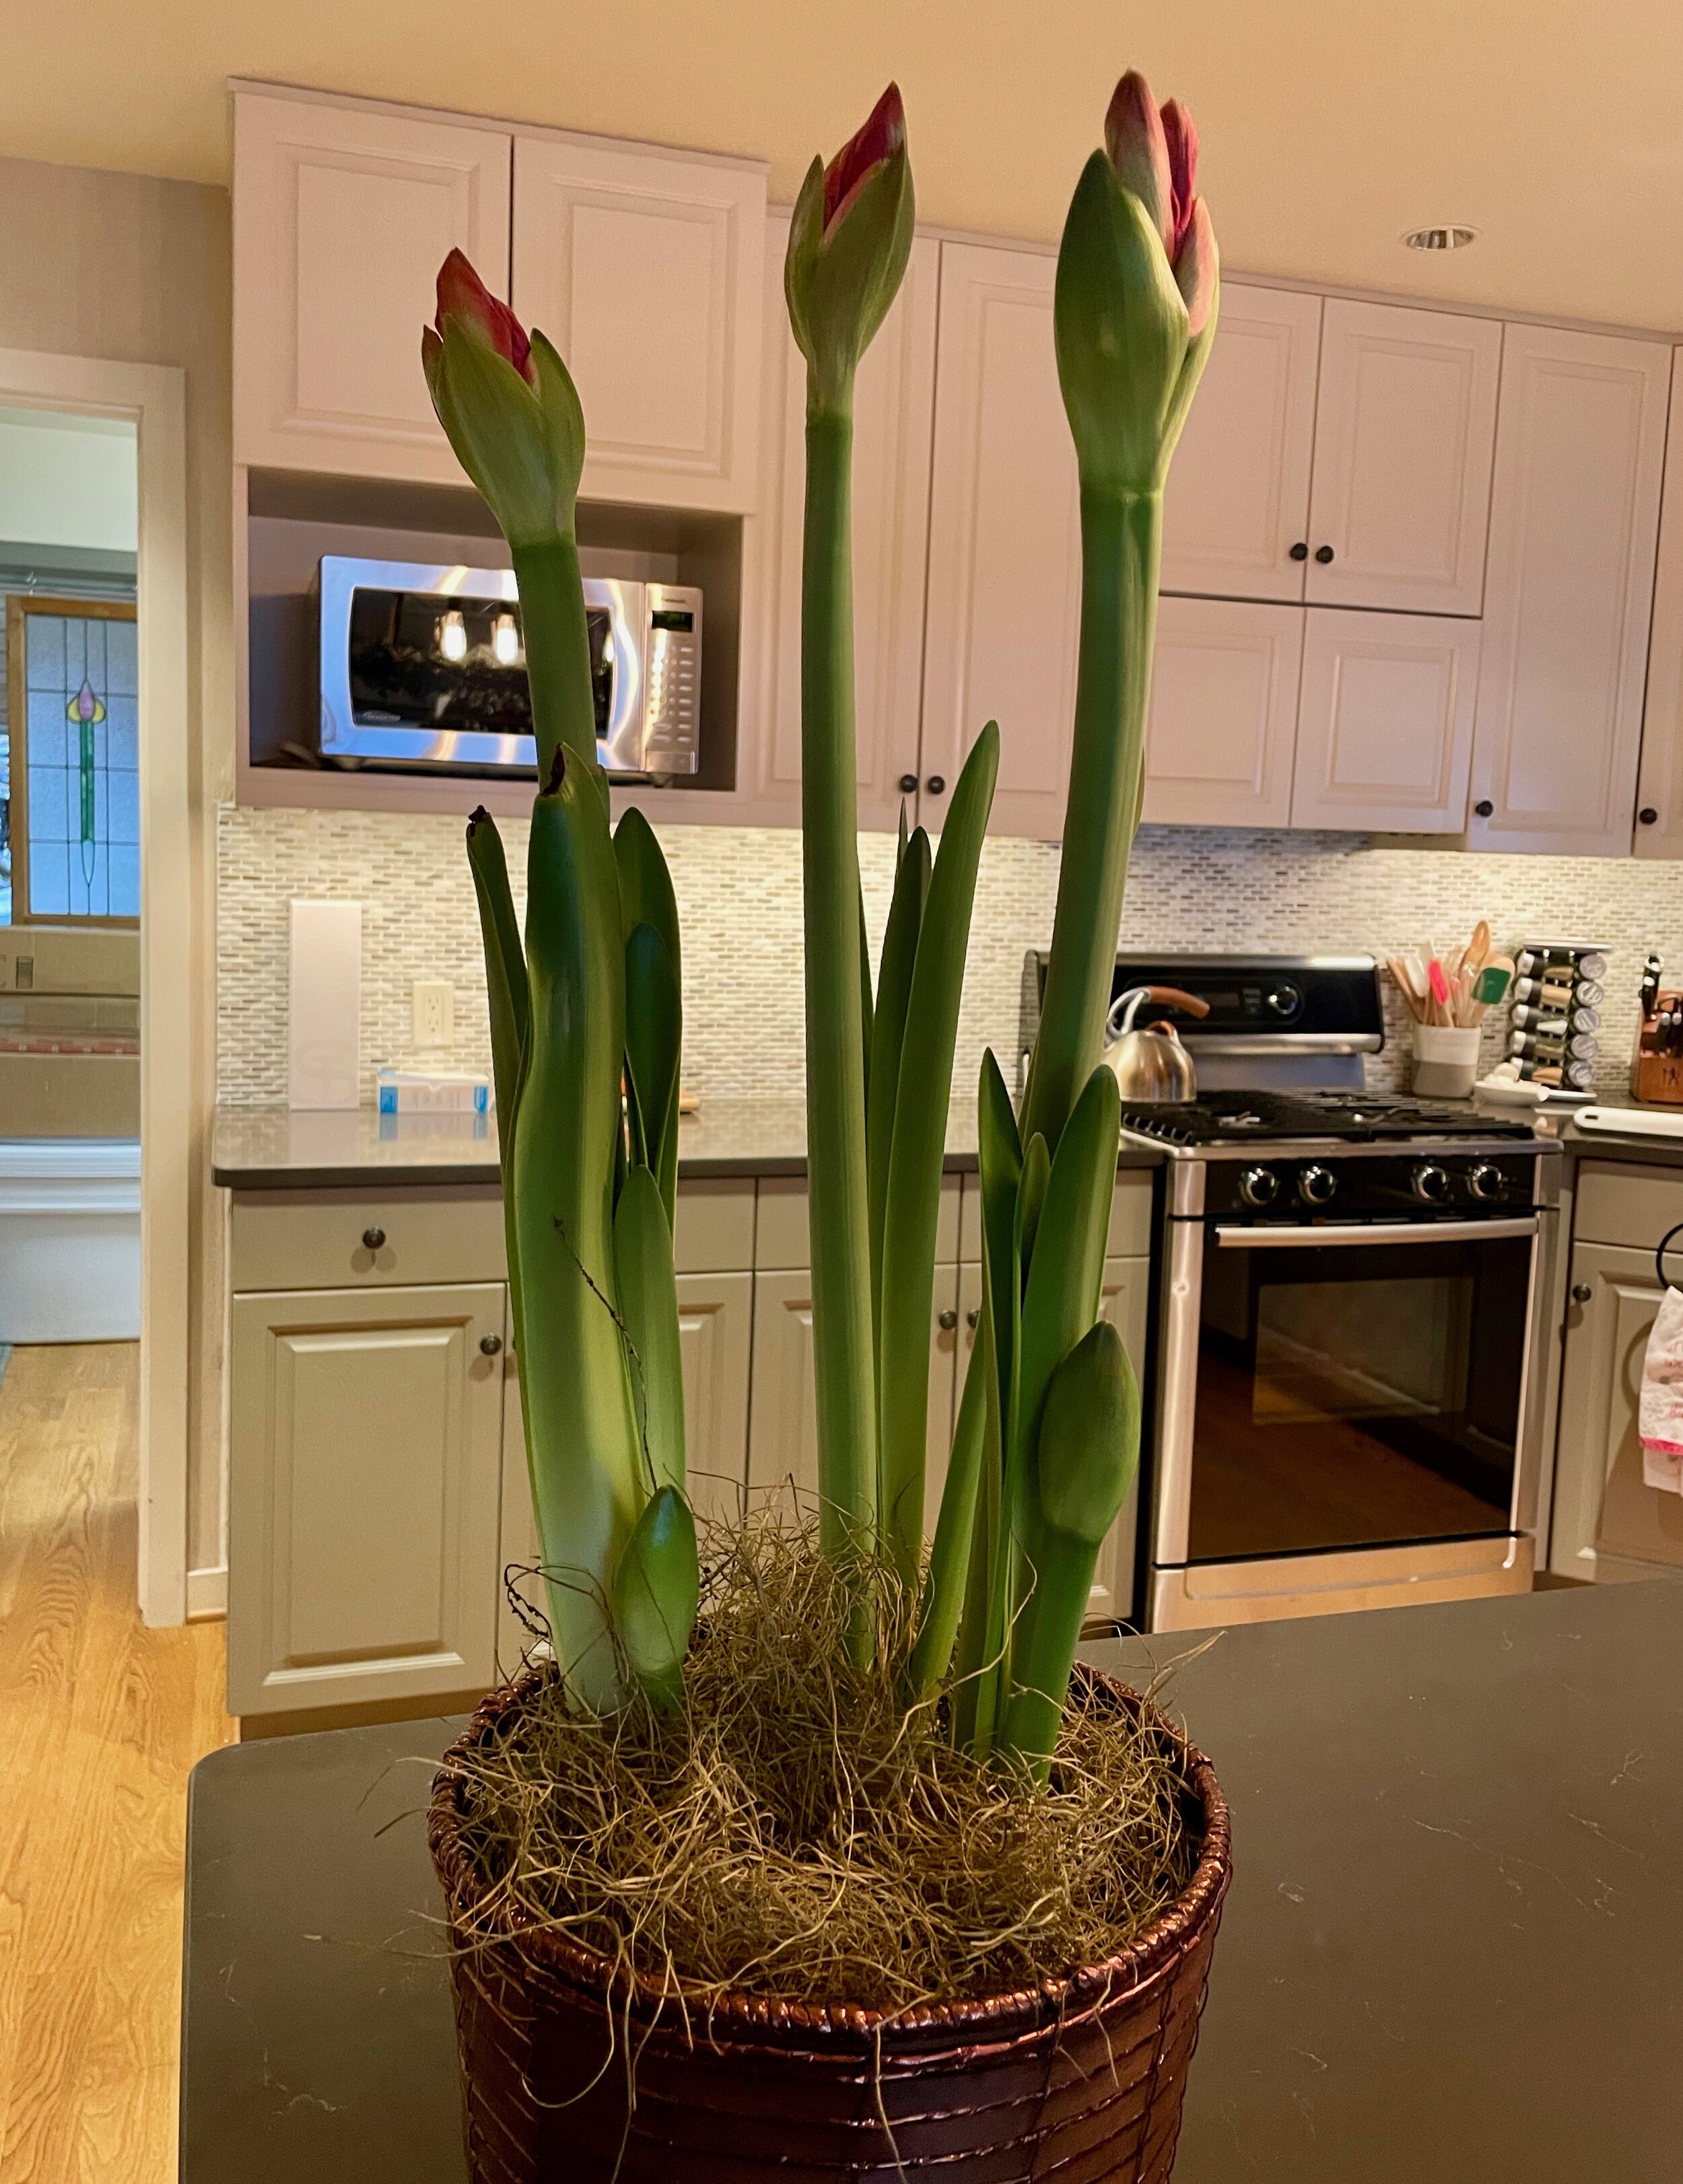
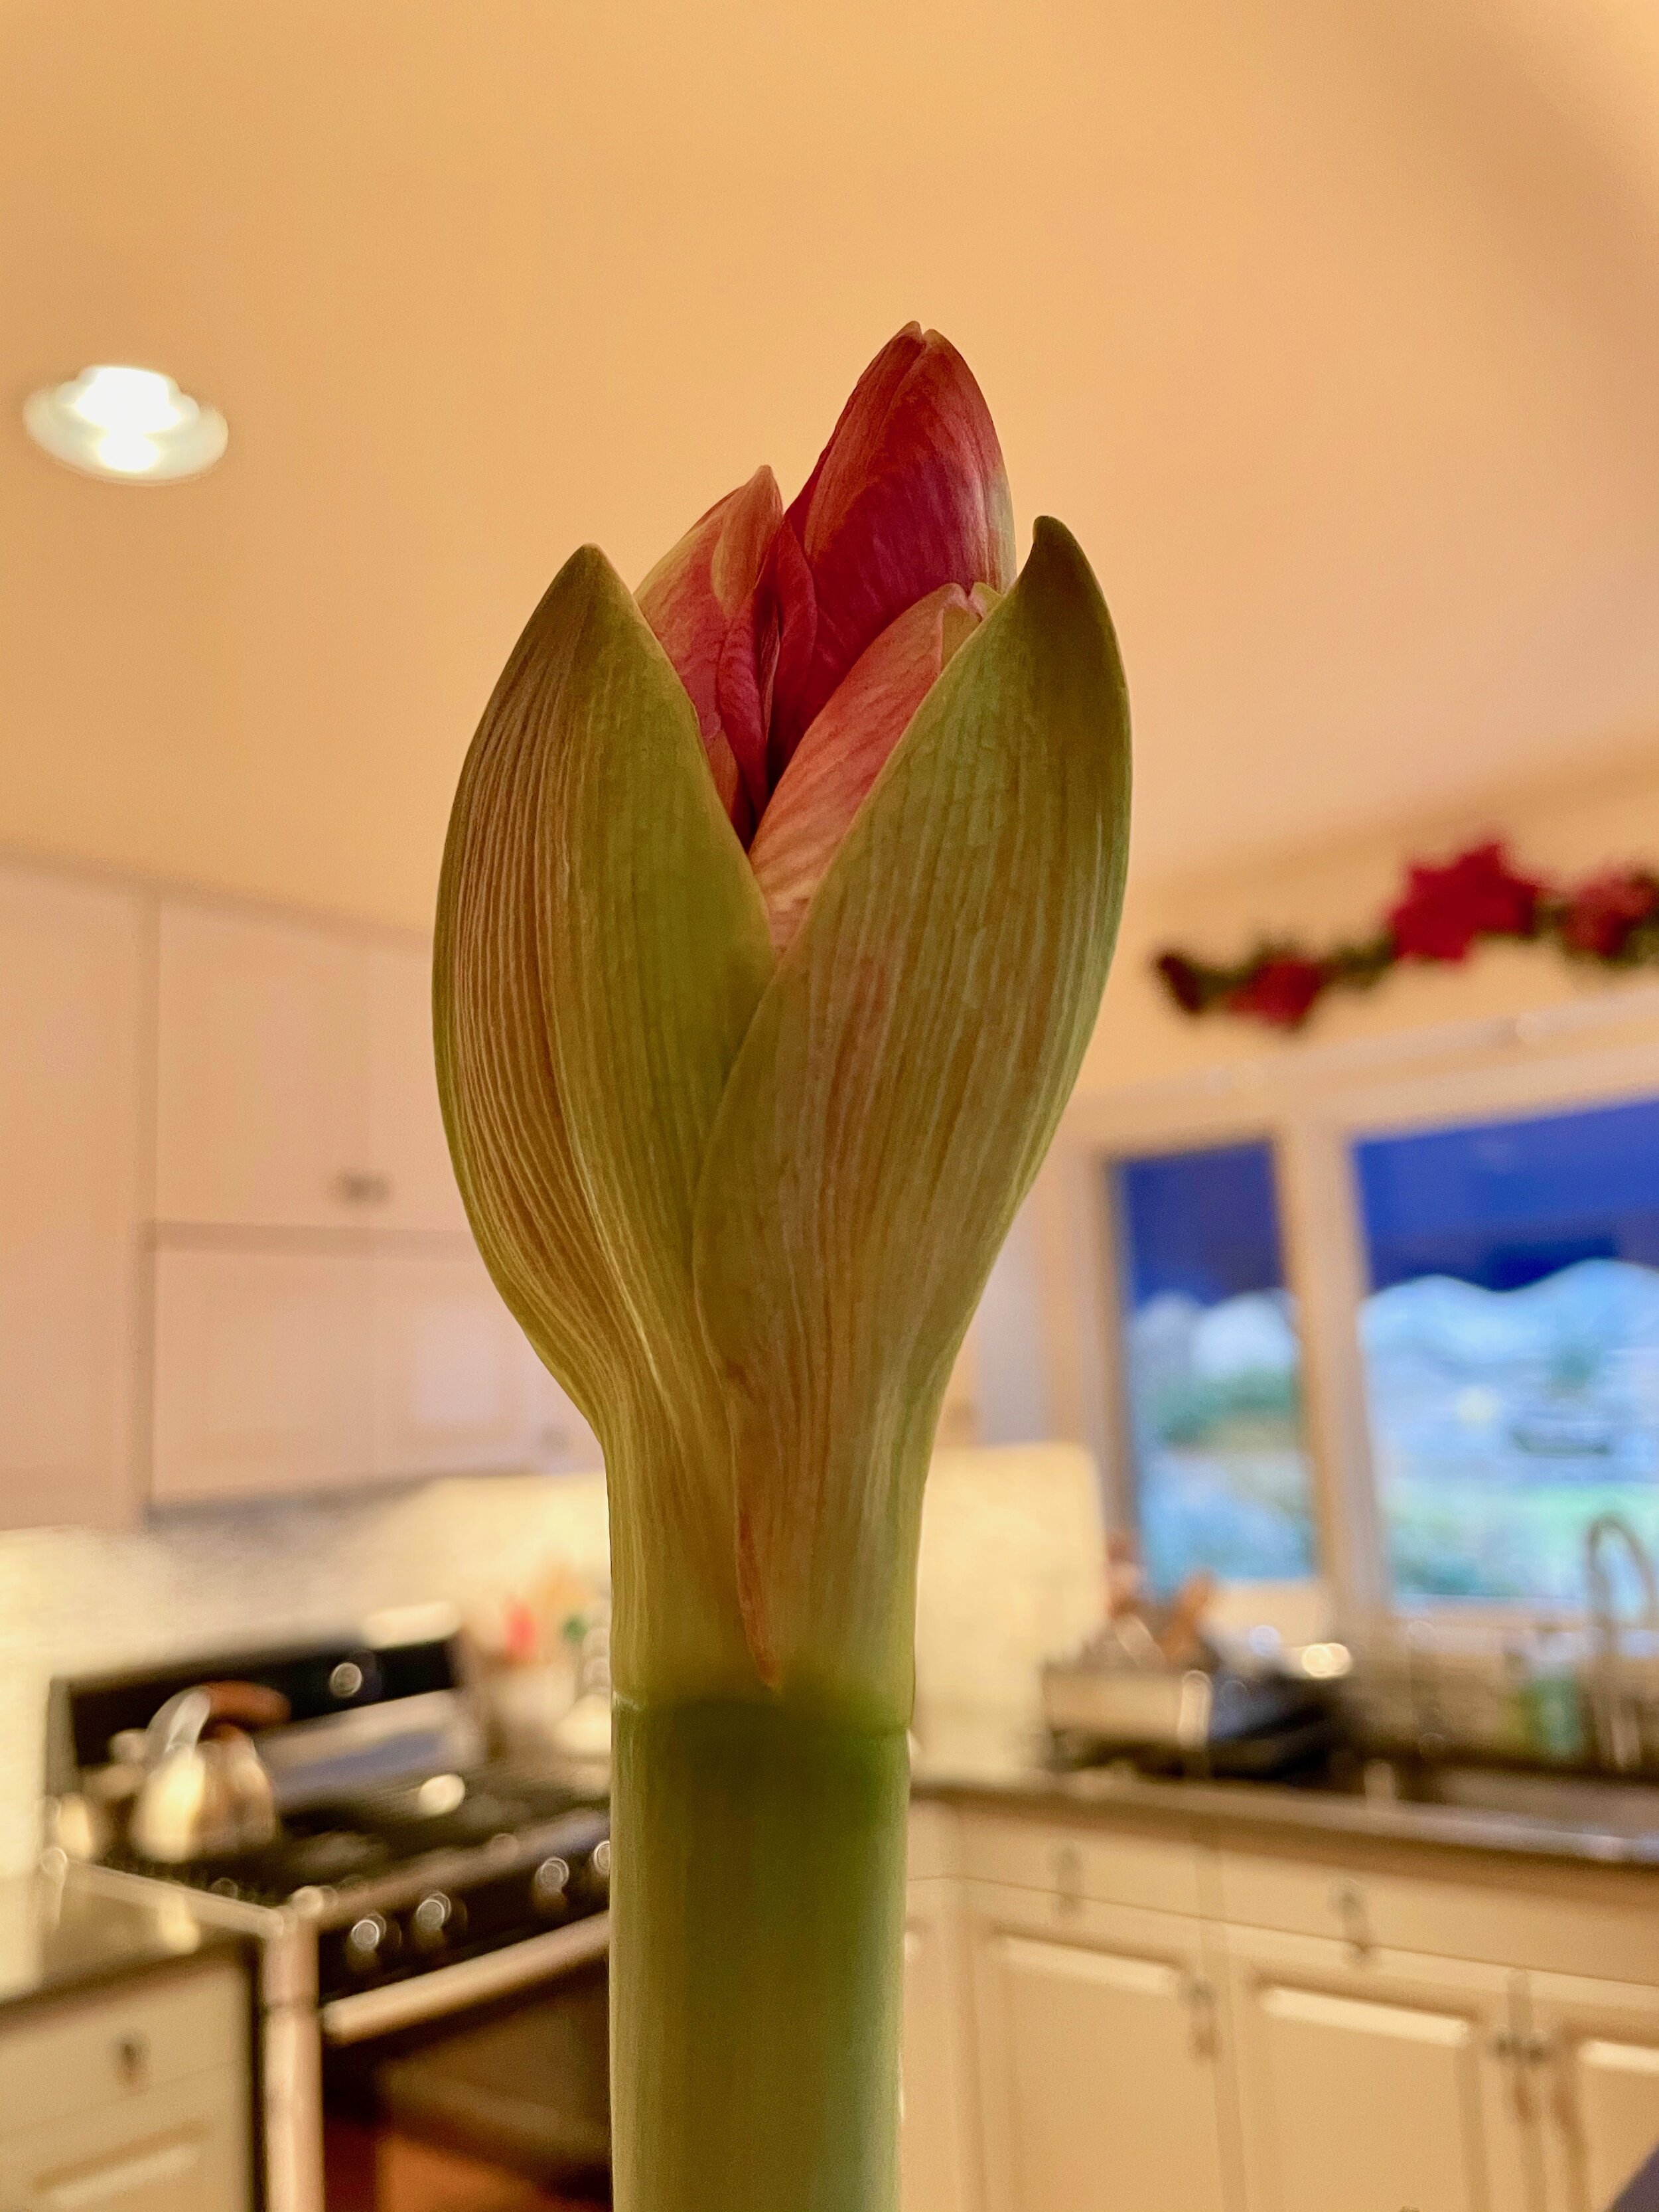
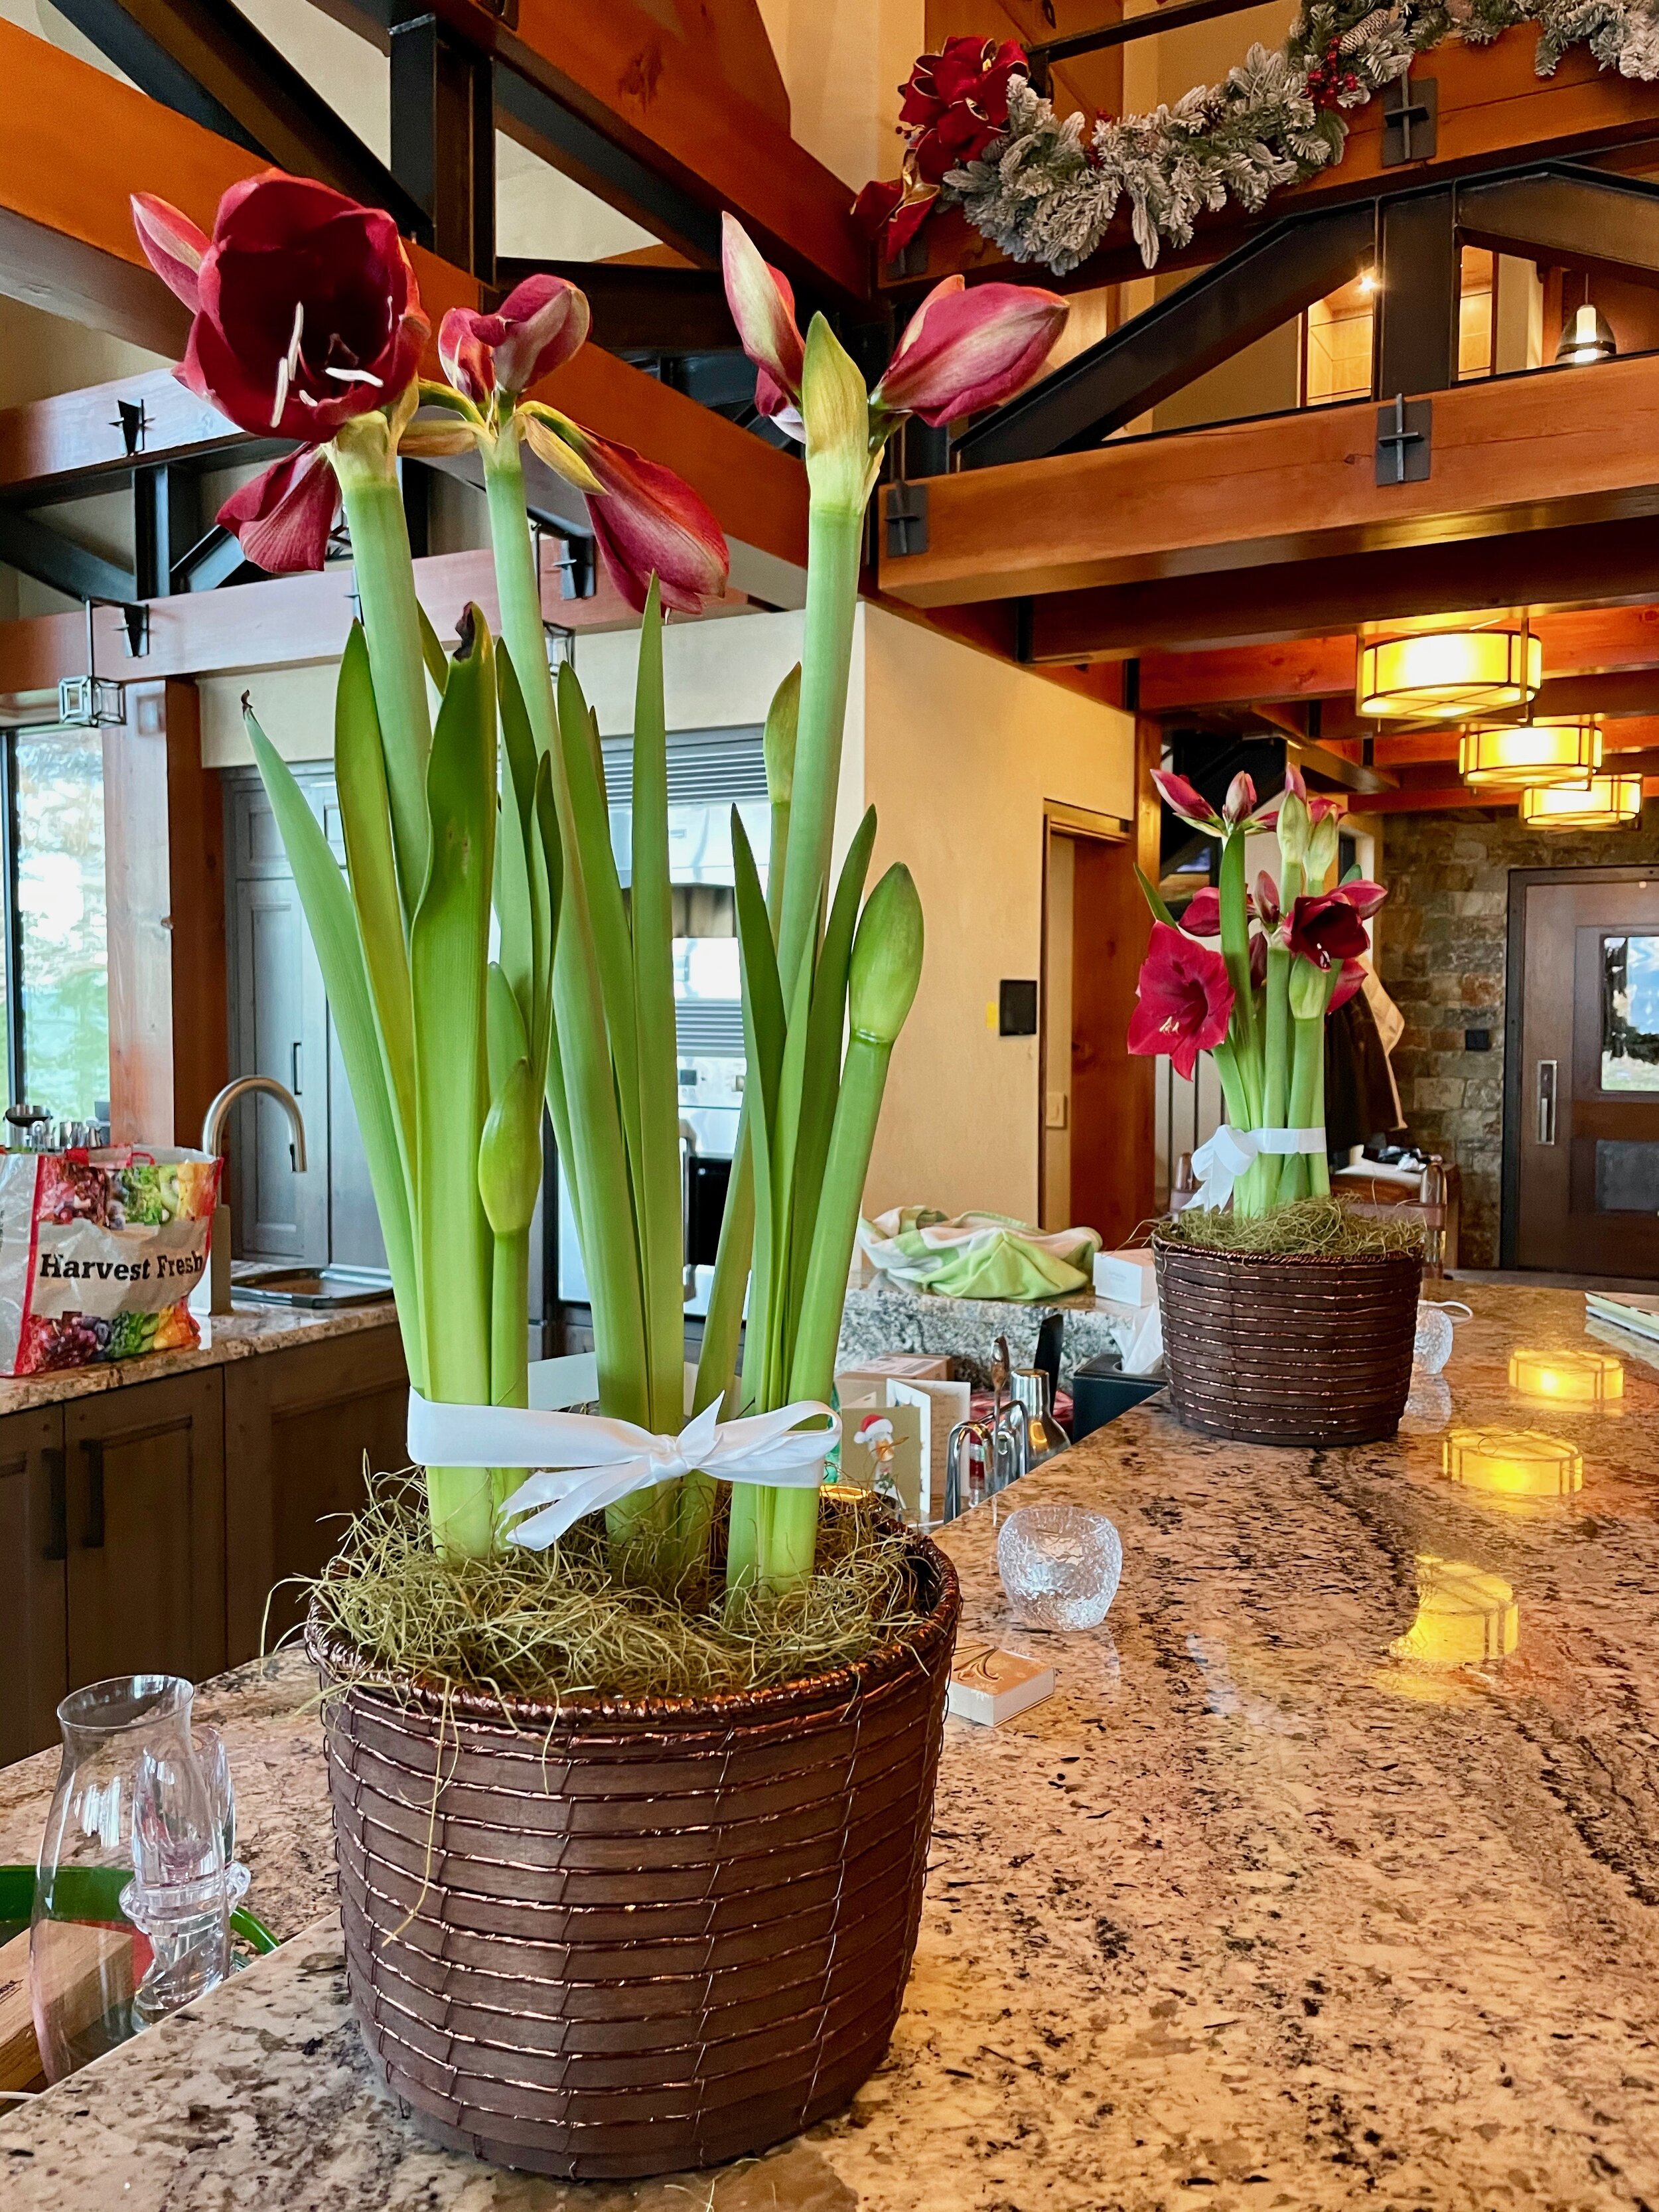
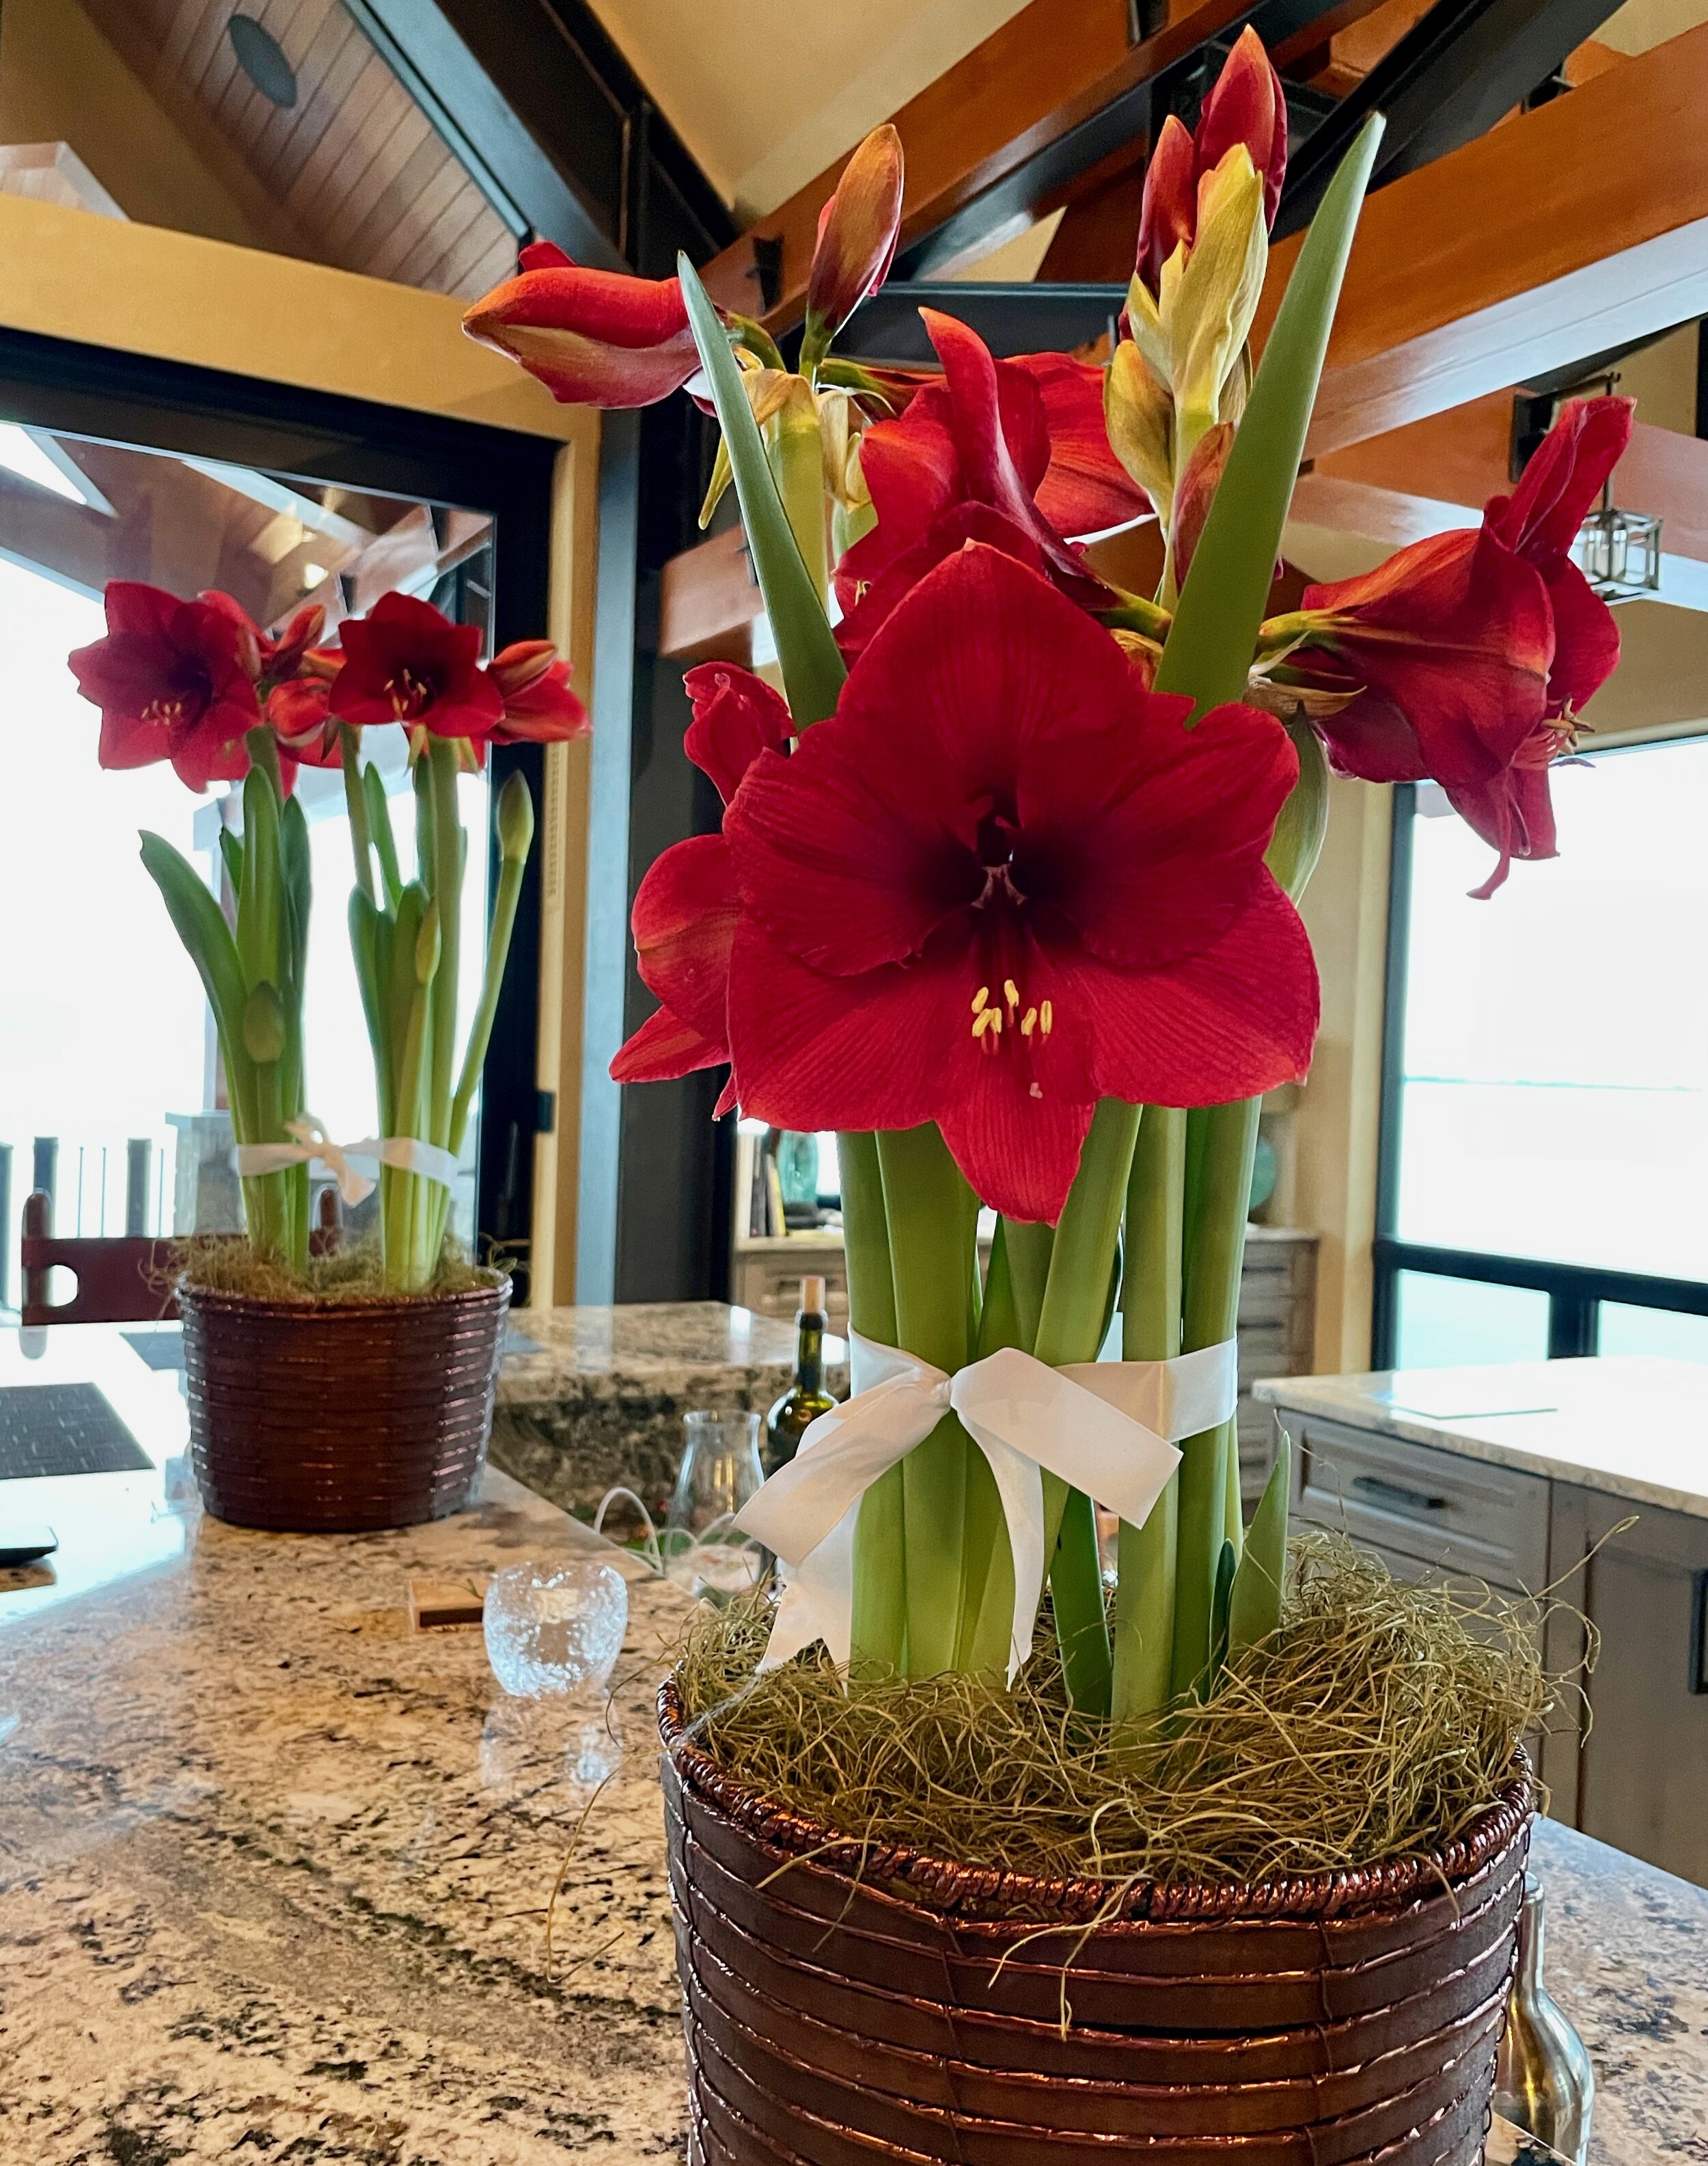
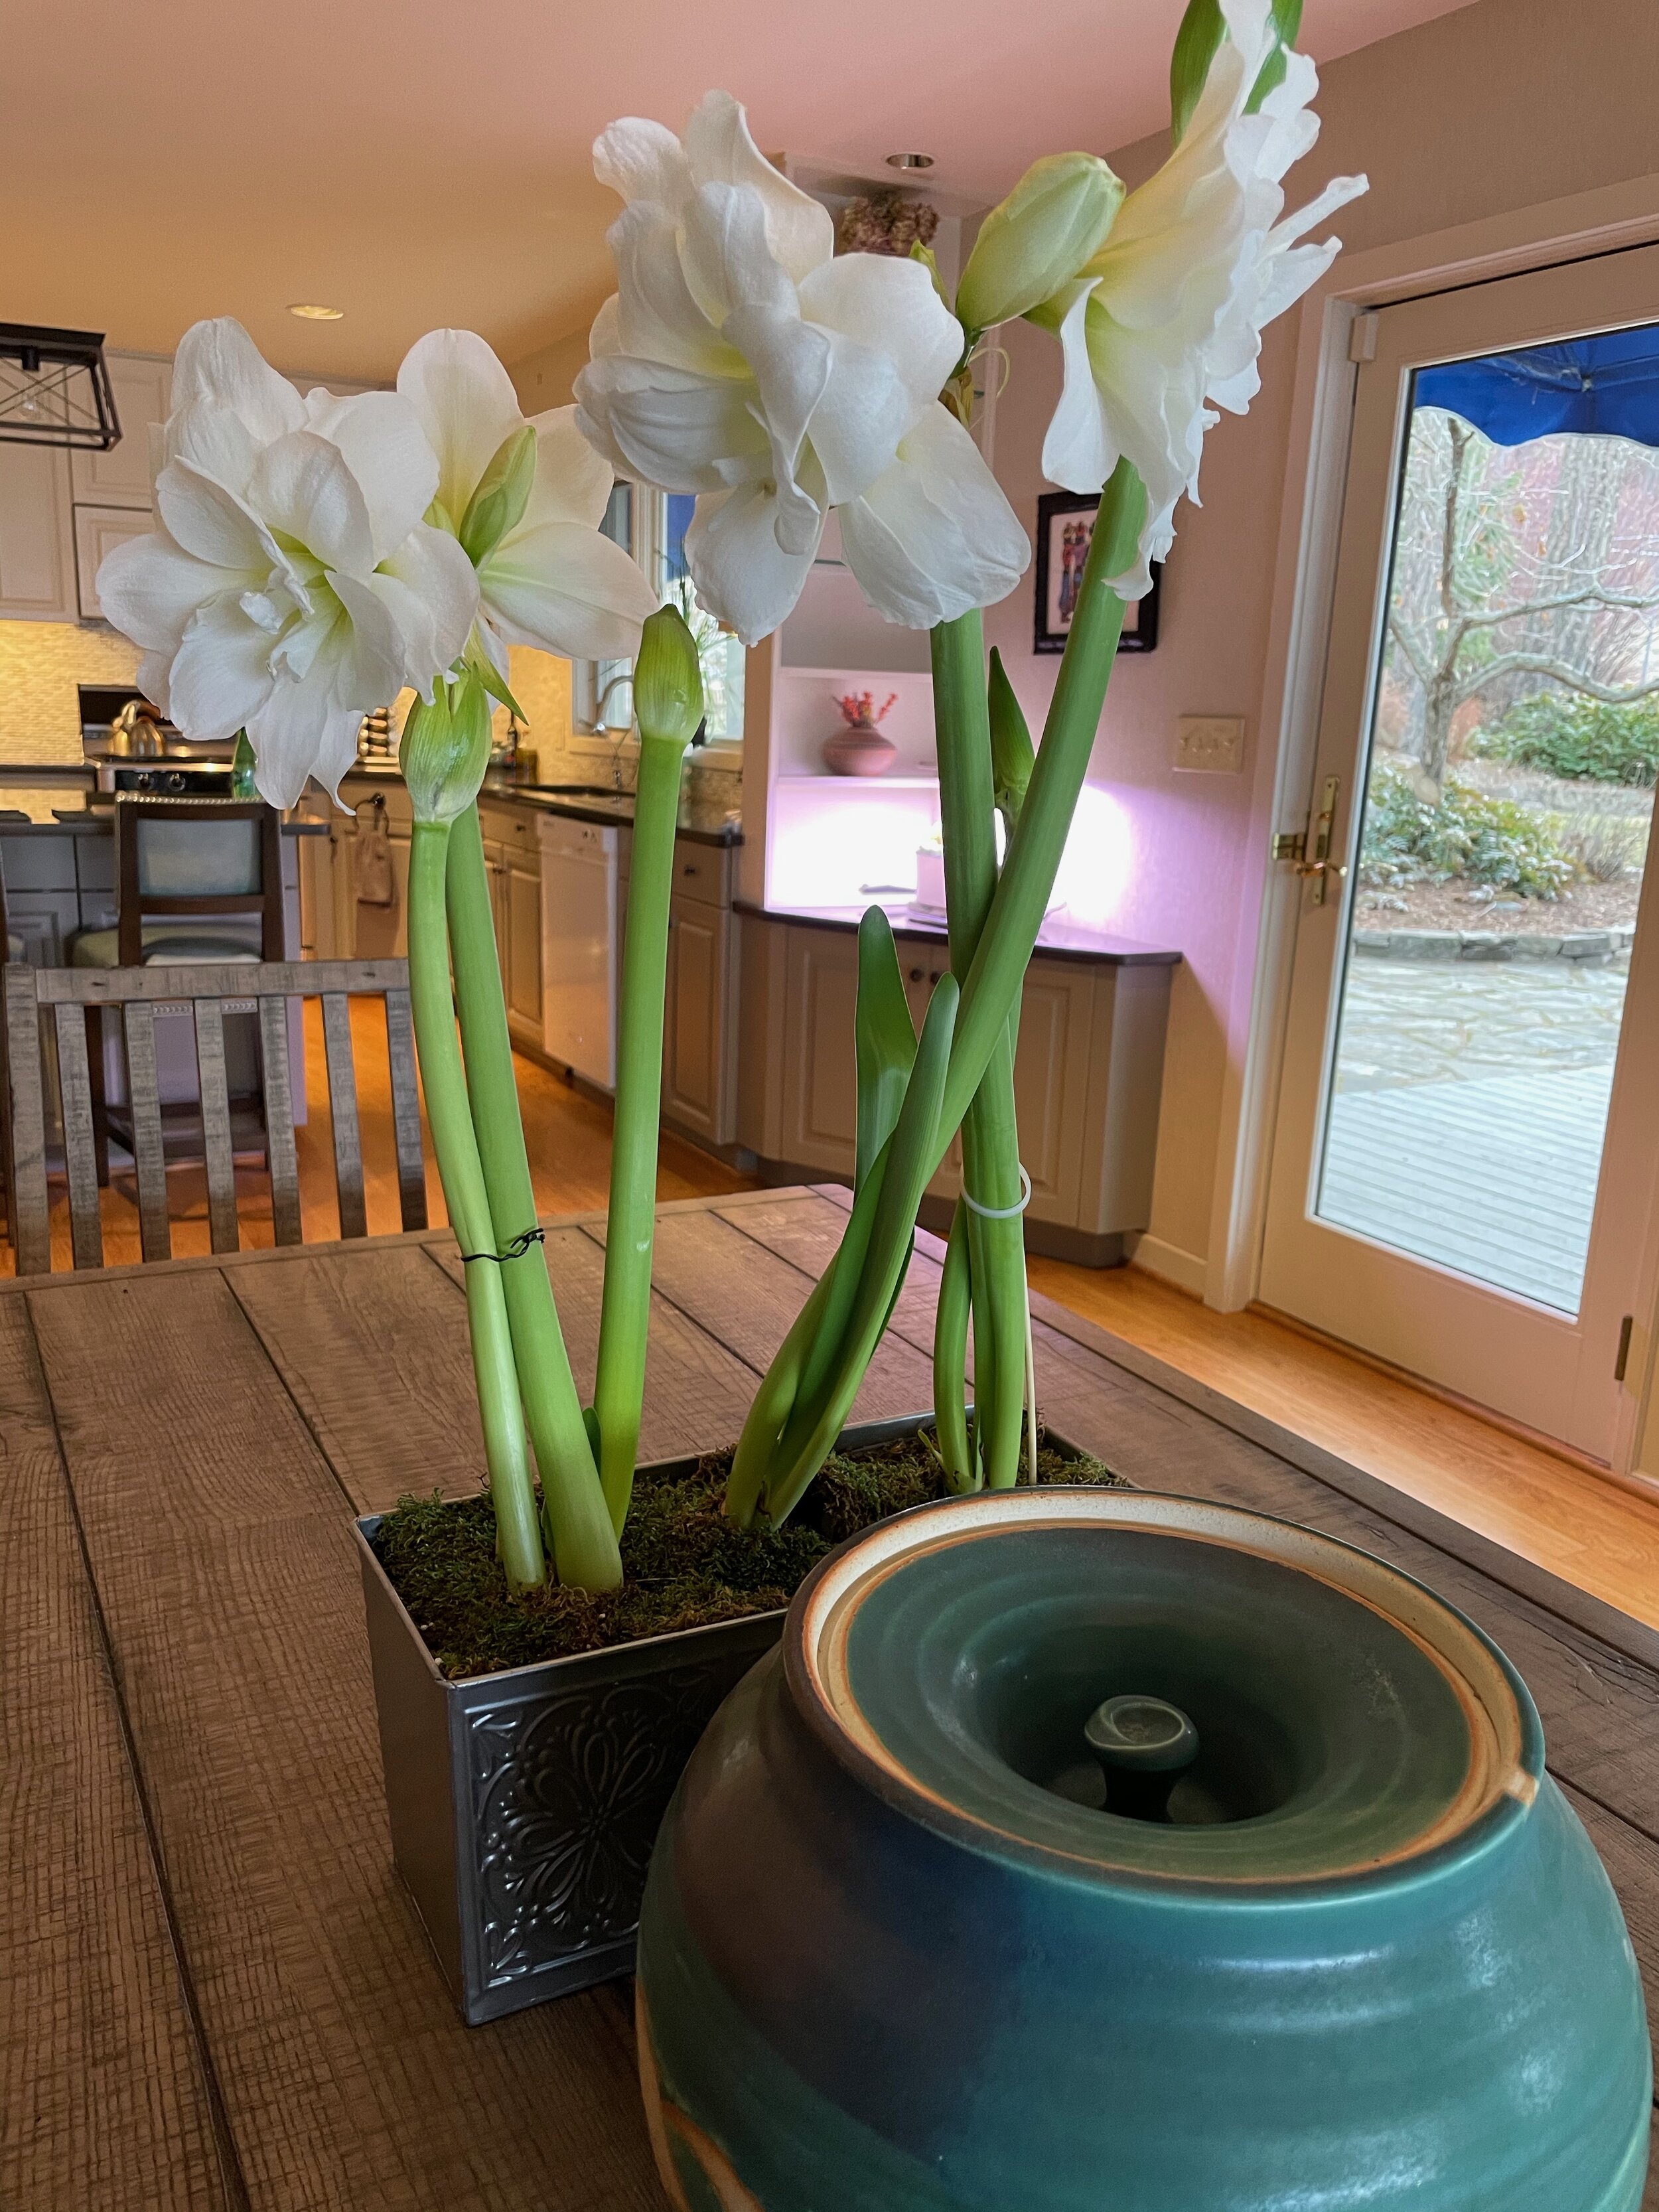
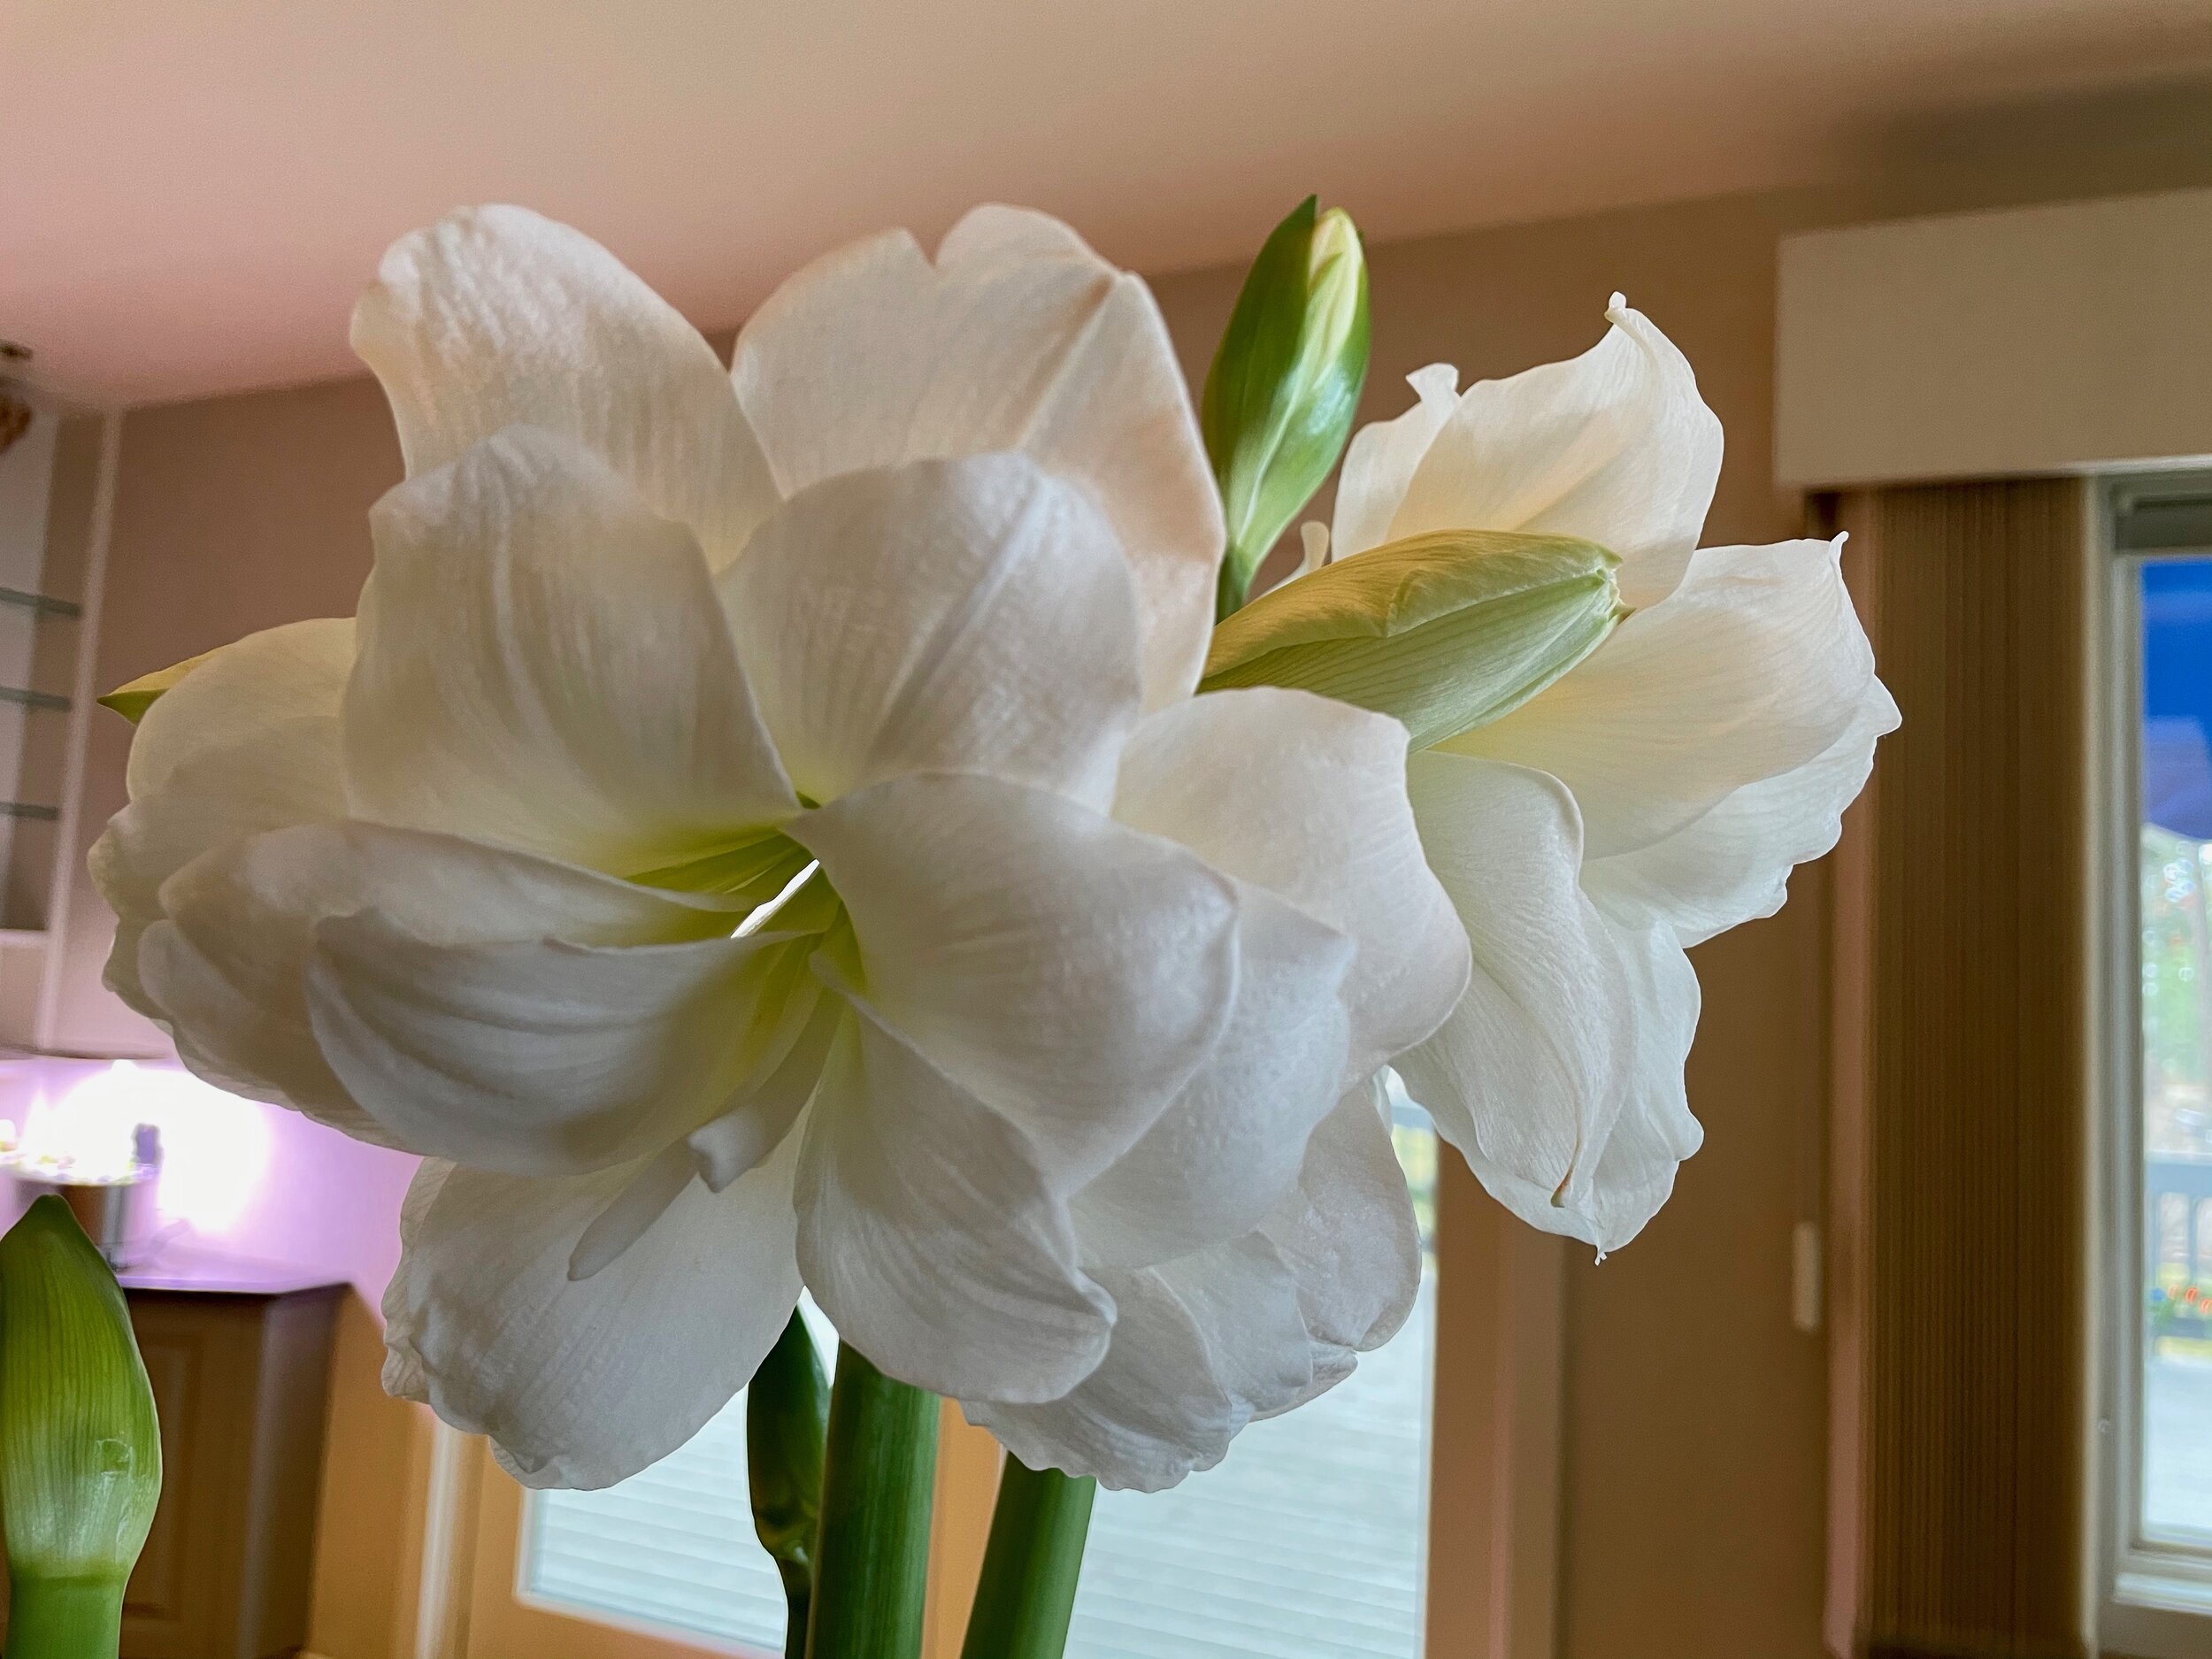
These beautiful amaryllis take approximately 5 1/2 weeks from the first watering to mature to this stage, so if you’d like them for the holidays, plan accordingly. These particular bulbs were purchased pre-planted but amaryllis are easy to grow from bare bulb as well.
Nothing brightens up the holidays -- and the weeks and months thereafter -- like a fresh bloom or two, so I hereby deem 2021 the "Winter of Indoor Gardening" because sourdough is so last year. This particular post deals primarily with indoor bulbs, but I've also got greens and herbs growing in a new little hydroponic veggie and herb thing, plus a few dormant plants that need care. By the time we cover all this it will be time to start seeds. Everyone needs a sanity strategy this winter. This is mine.
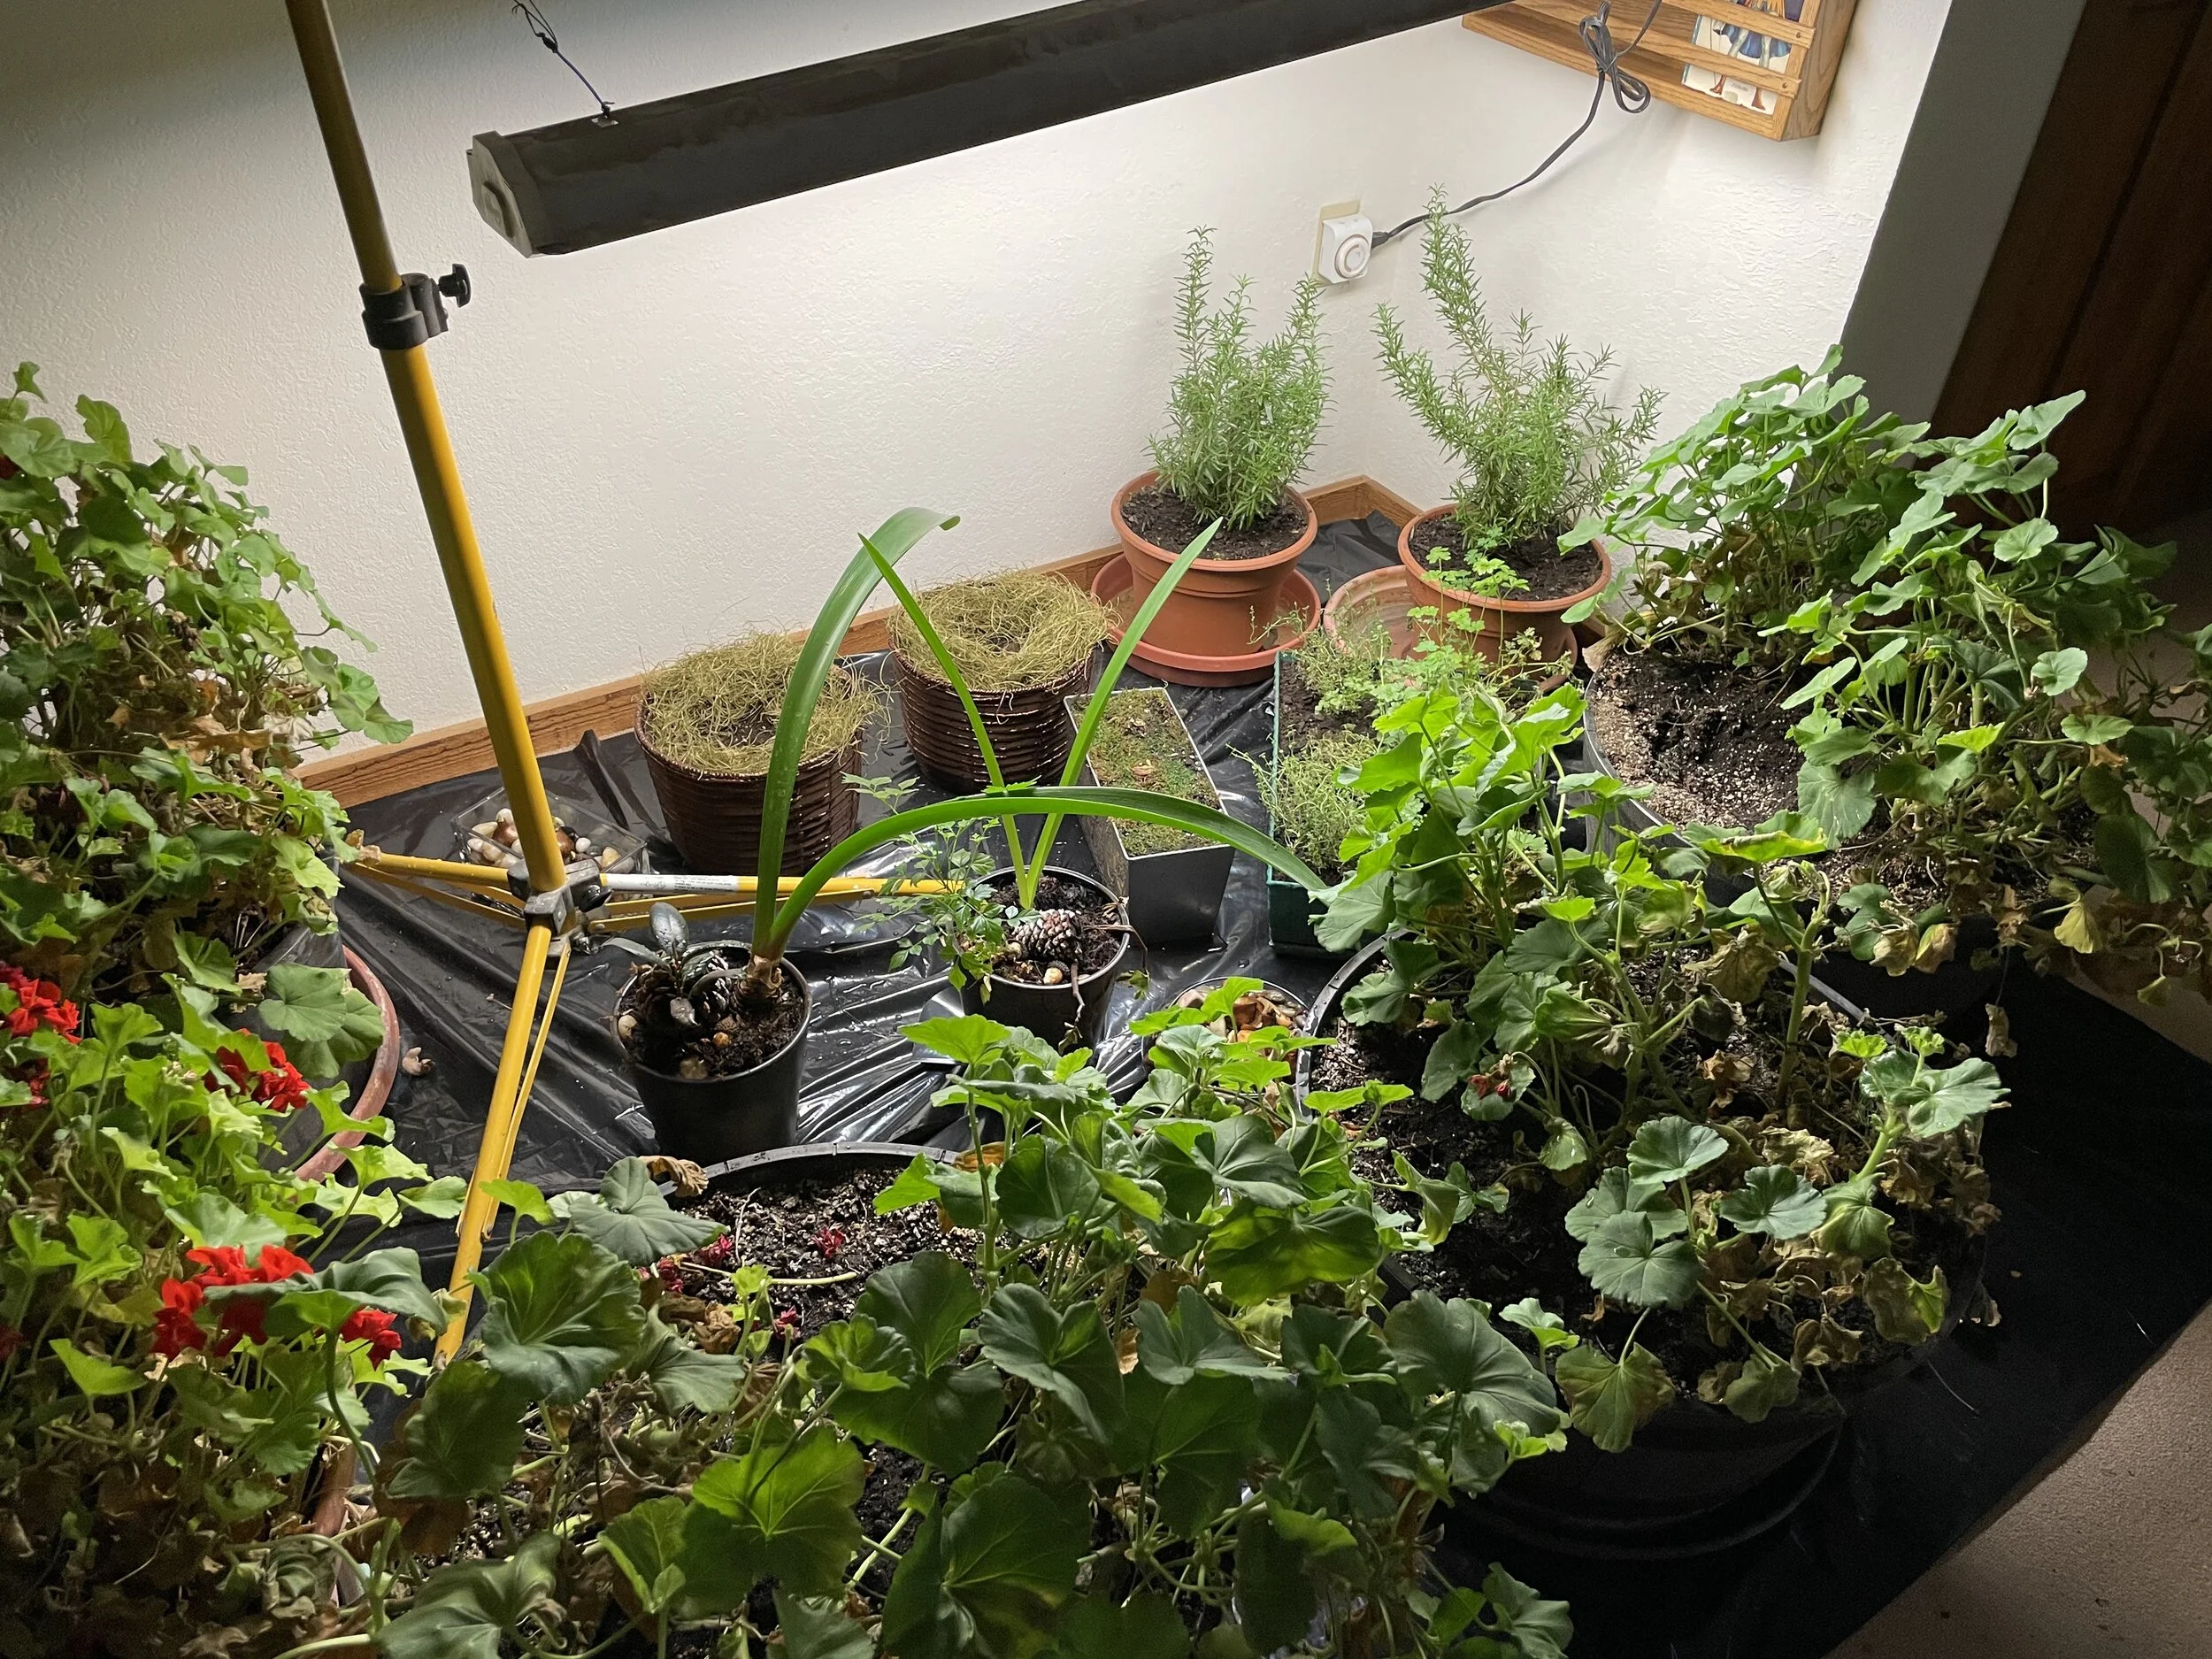
Here is my high-tech indoor grow light system. It involves a UV fluorescent light, wire, a generic telescoping stand, an antiquated timer and it works just fine, thank you very much. The plants sit on trash bags and the whole she-bang is in a guest room in a guest house. Maybe next year we’ll upgrade to LED!!
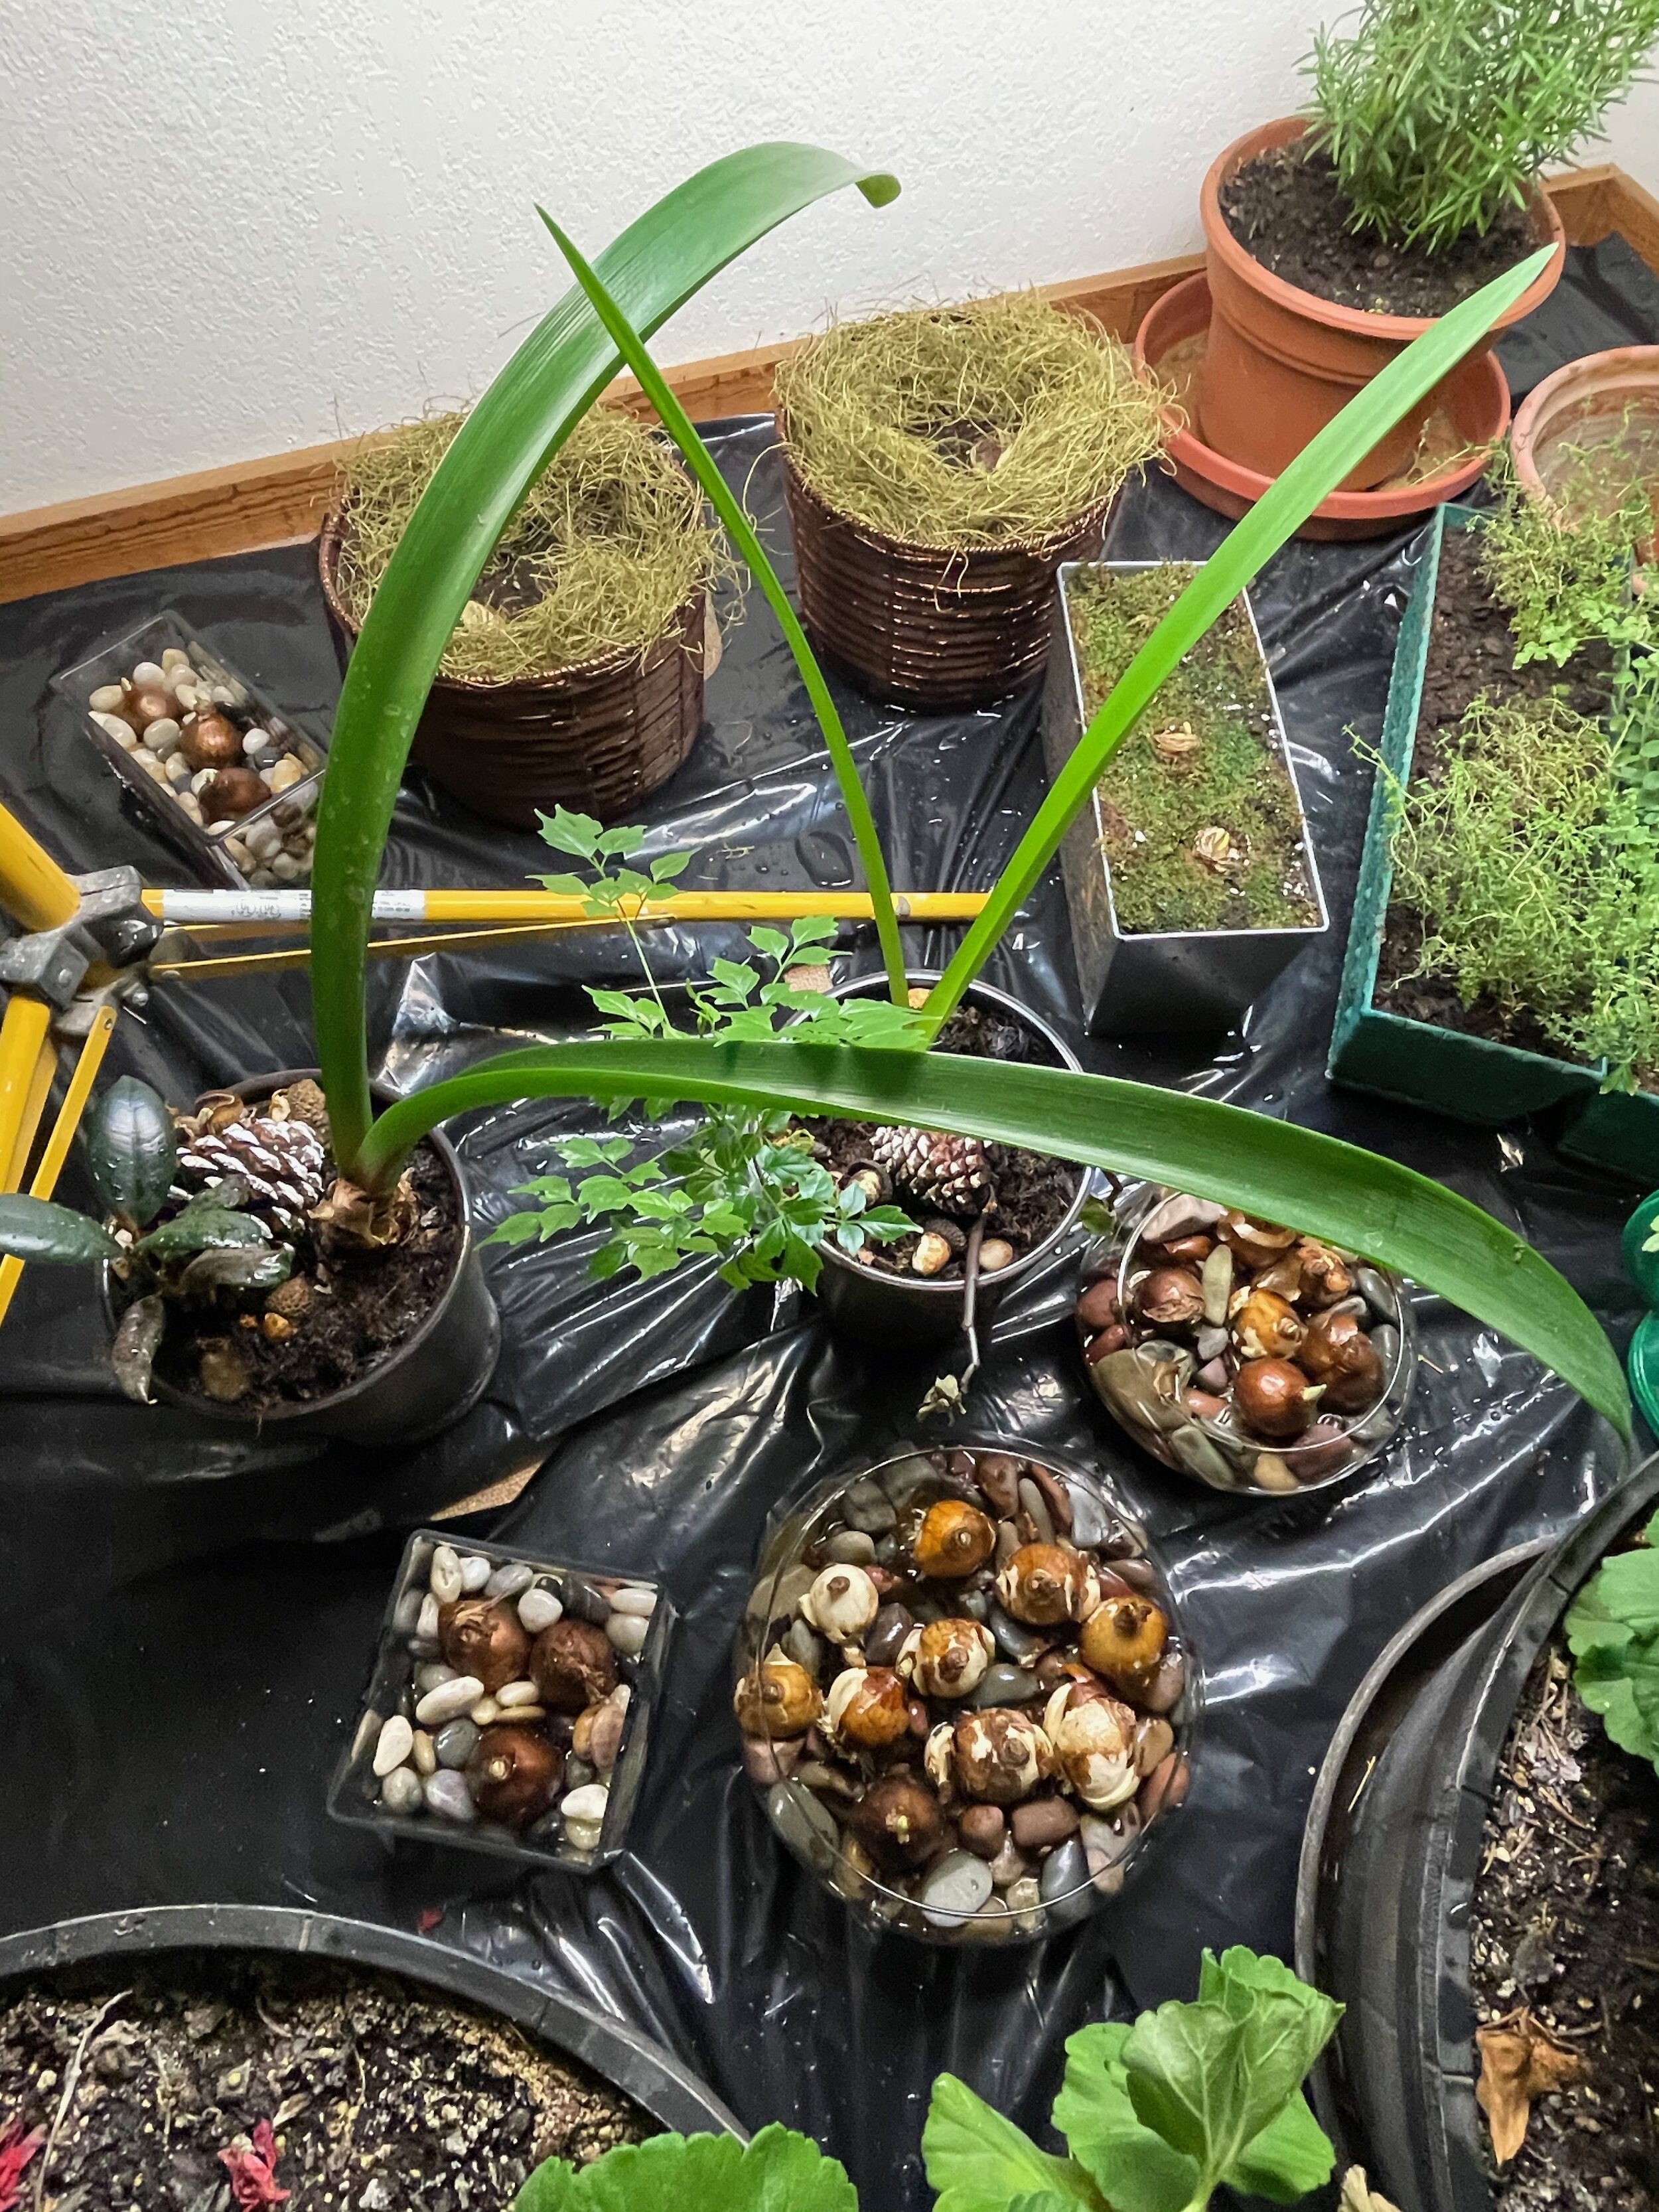
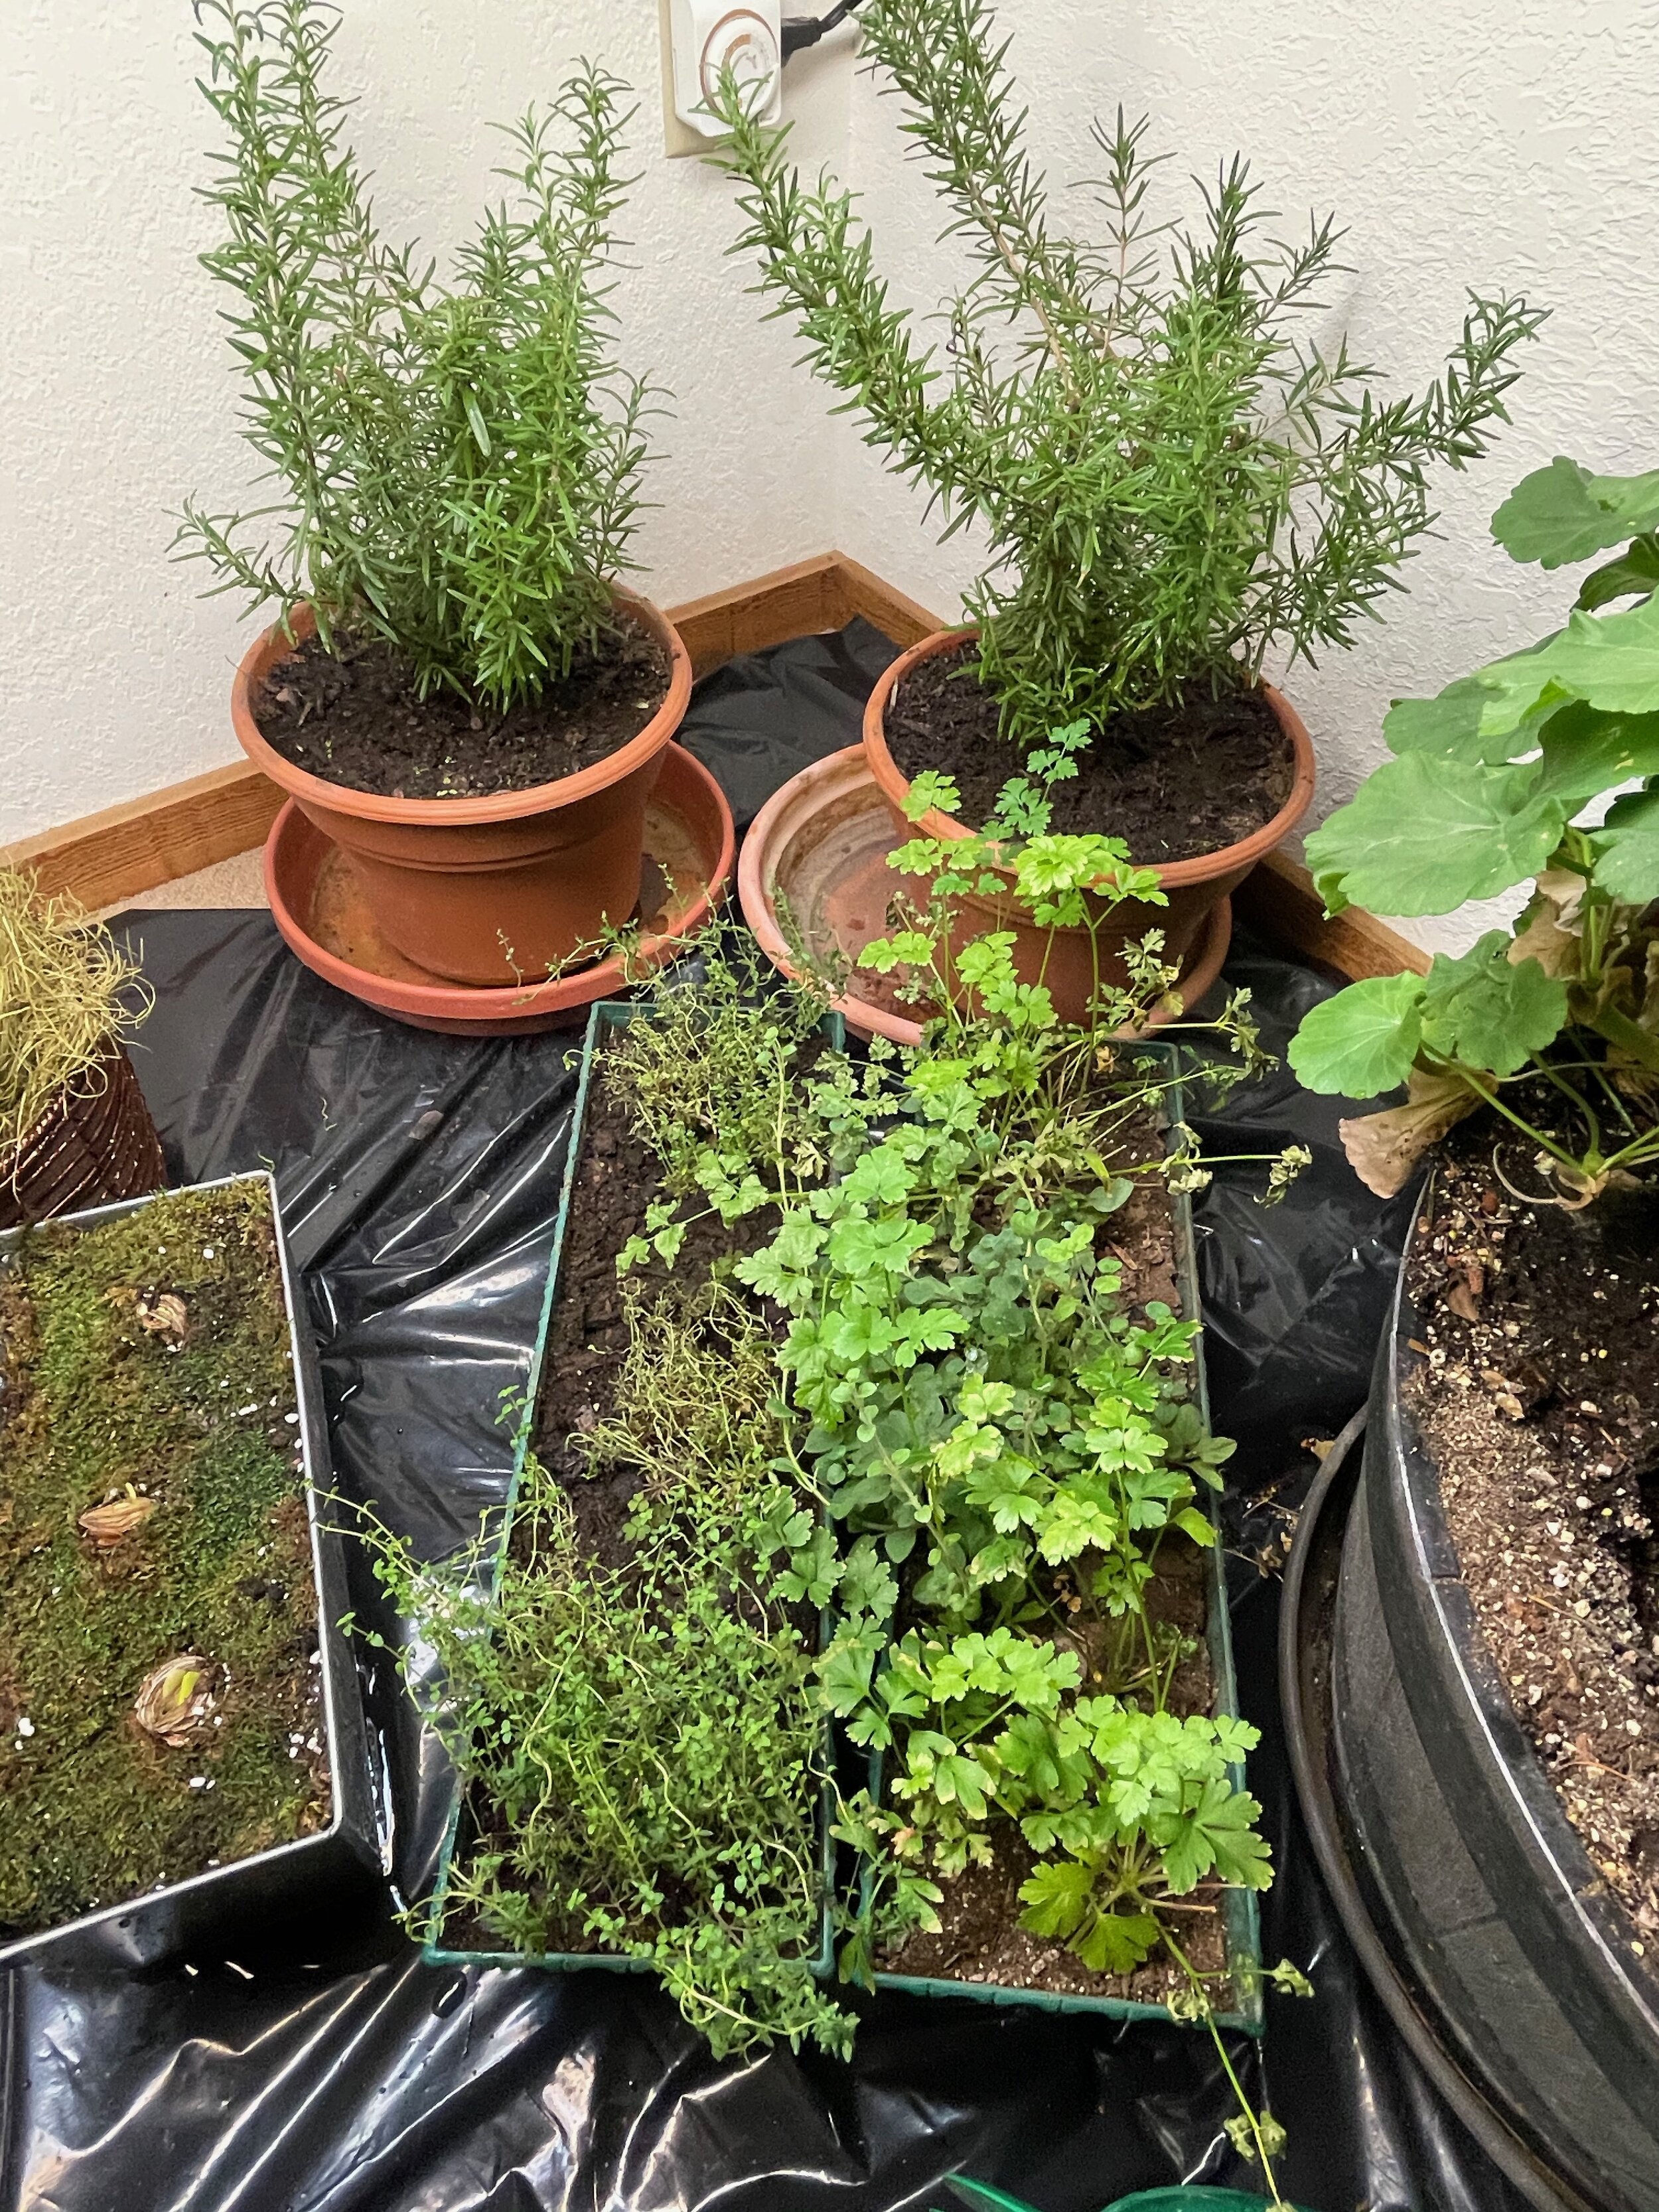
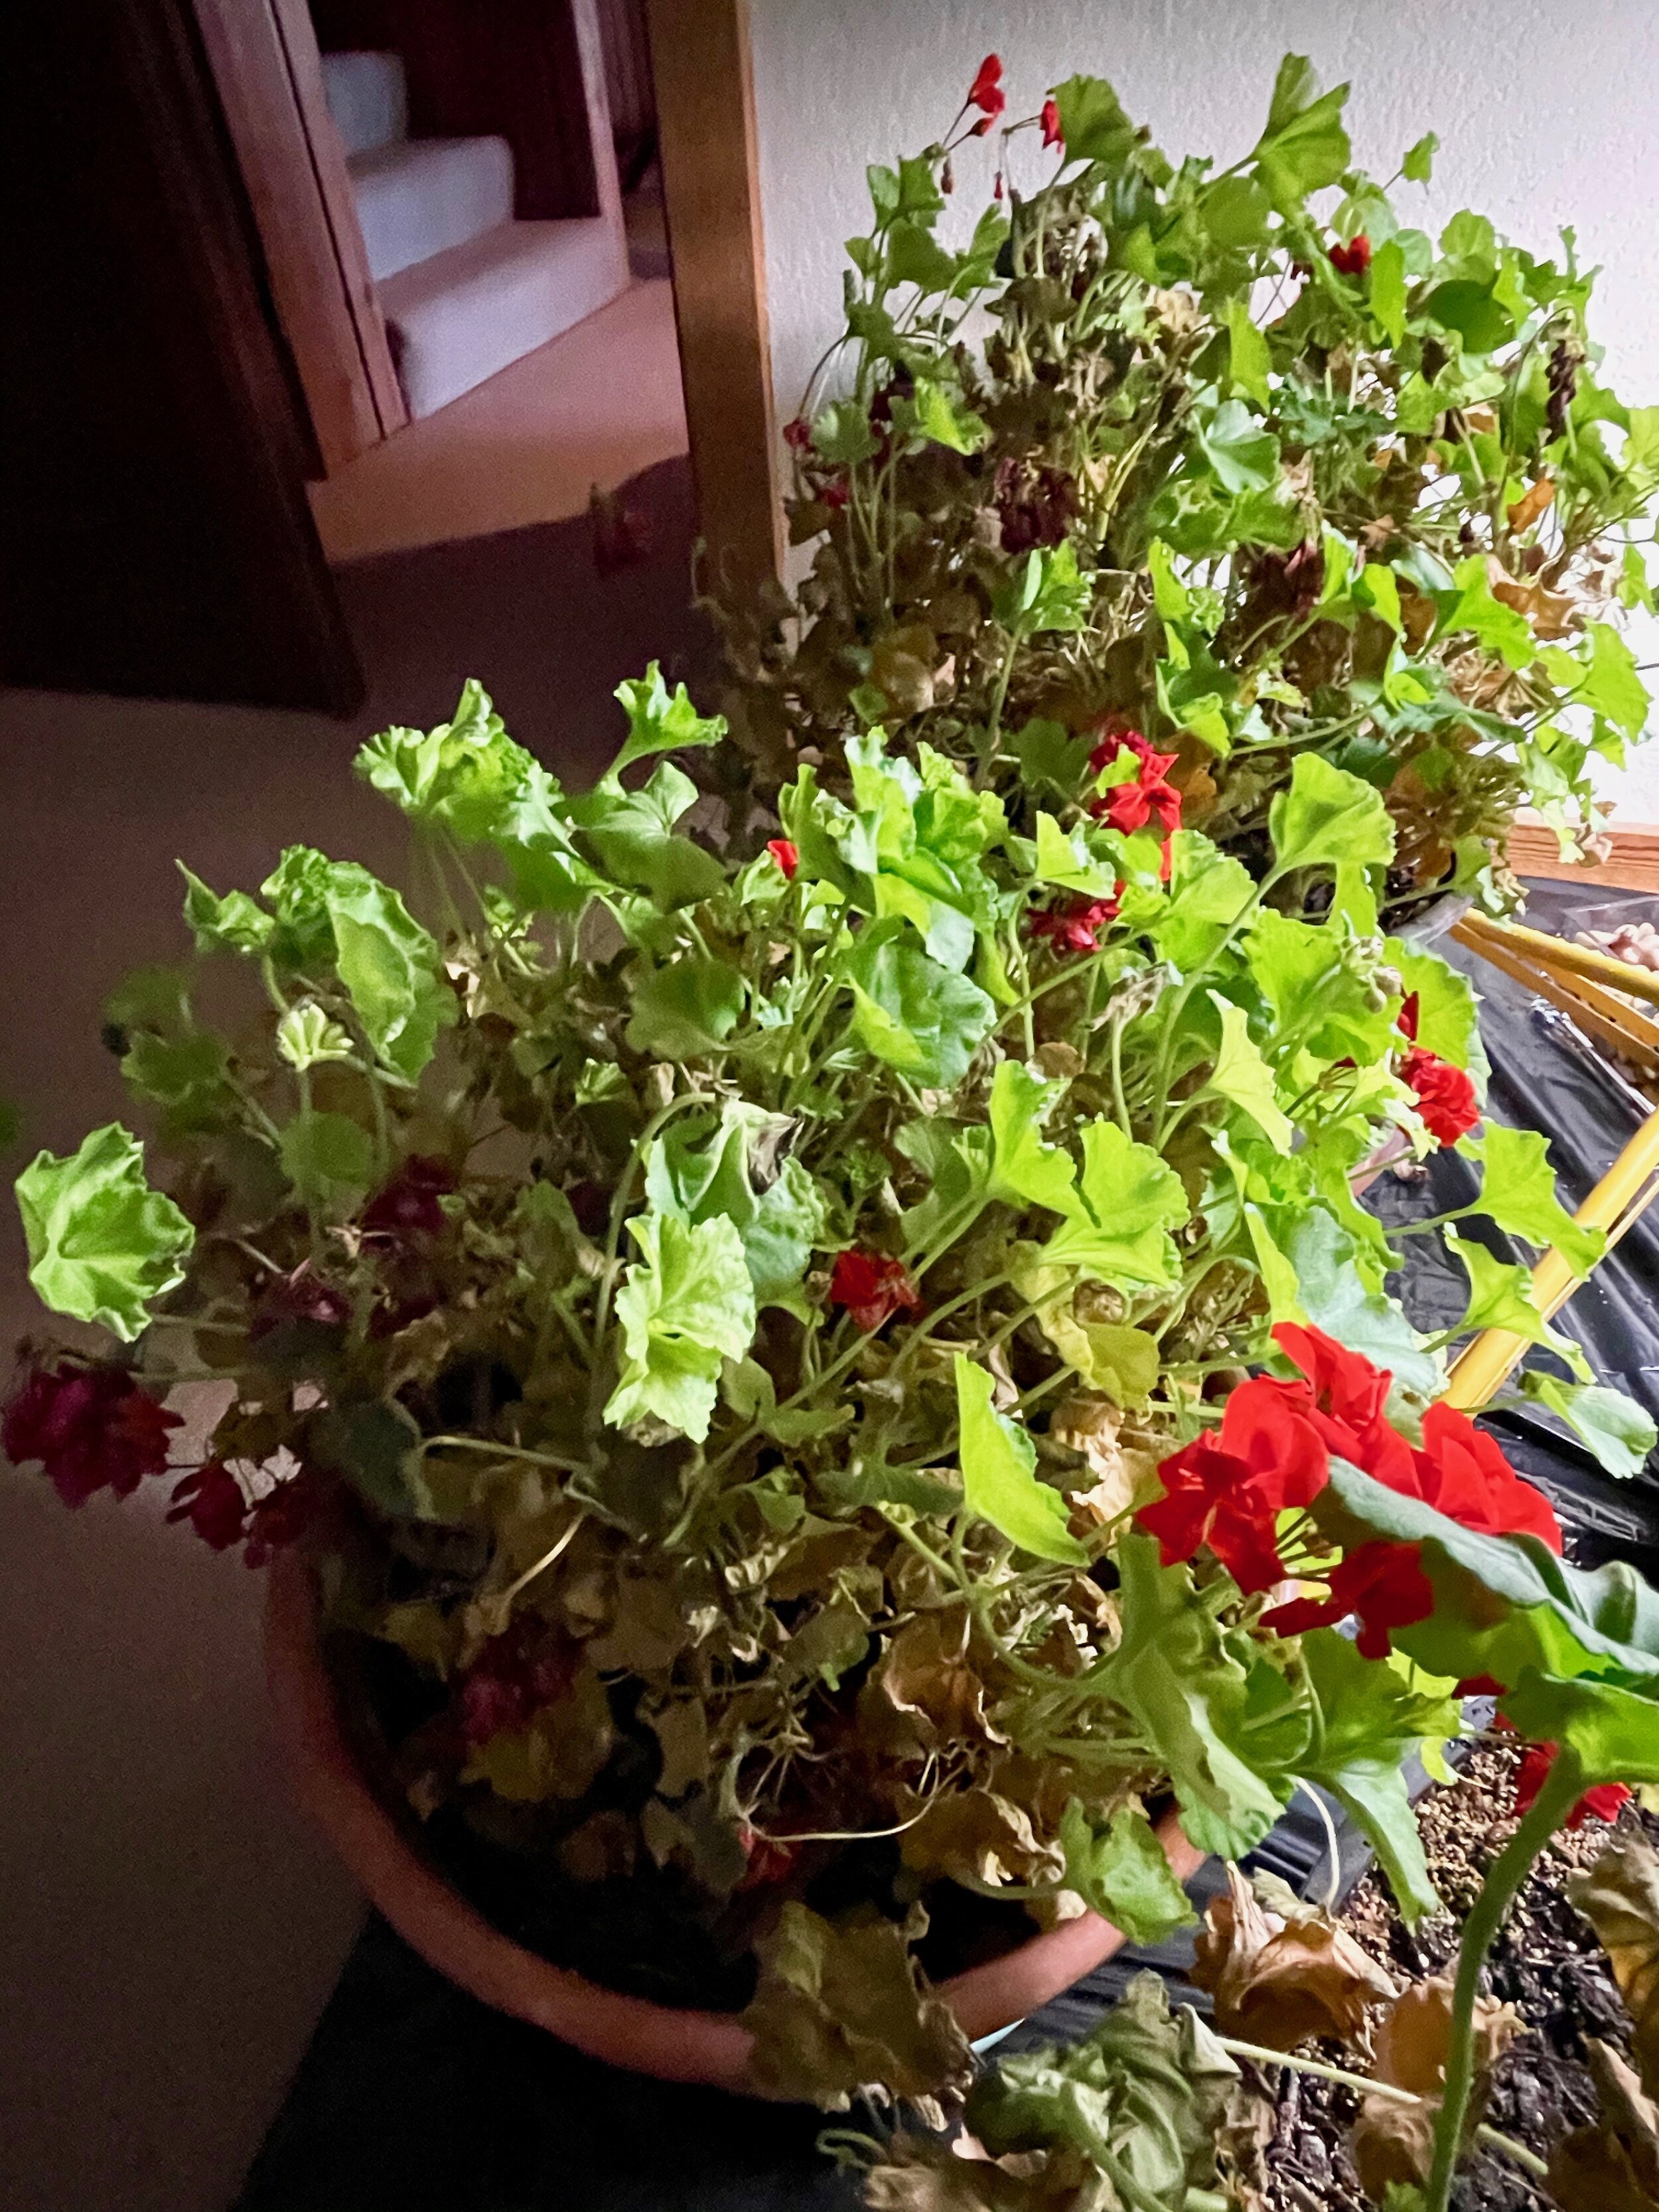
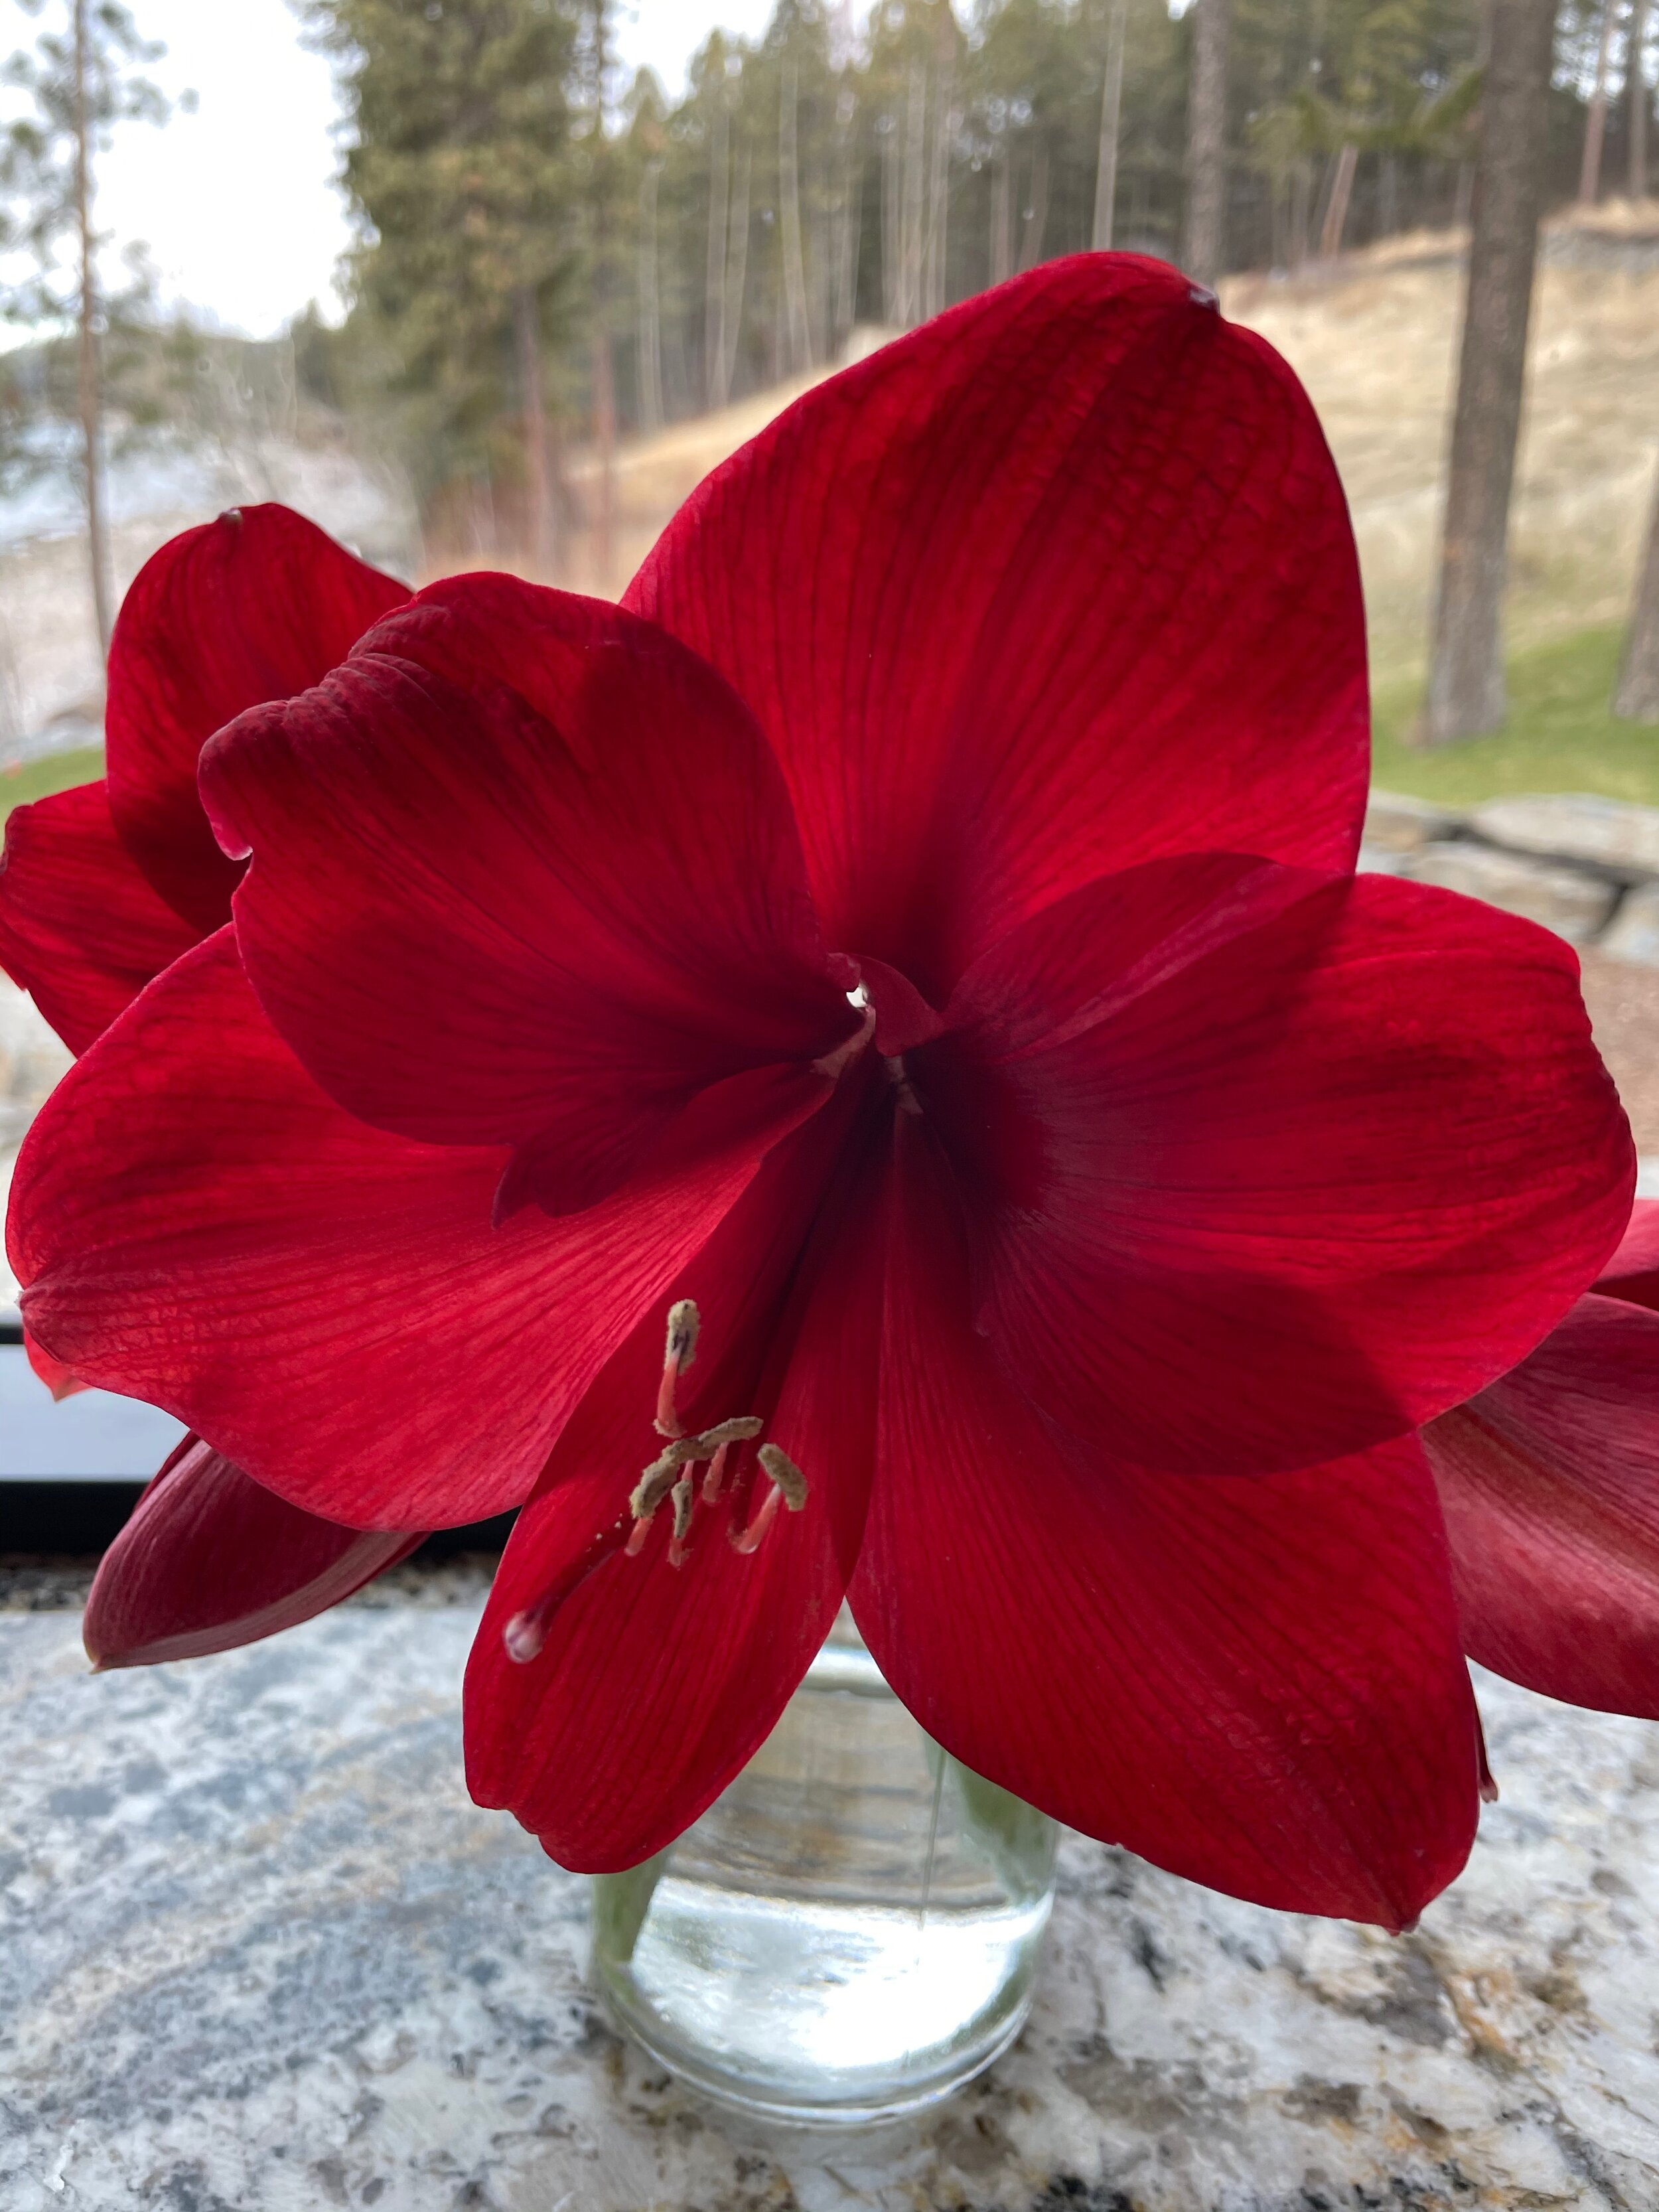
My homegrown light system kinda came with the house and was in use long before I got here to winter over the beautiful geraniums, above. They were planted by the previous owner and are probably older than my two grown children, so gotta keep those alive. No pressure. They are clearly dormant but they get some light daily, and at this time of year (January), little to no water. I still talk to them, though, they're just sleeping. You'll also notice some herbs salvaged from the outside garden, plus a variety of bulbs, including the beautiful red amaryllis in all their pre-purchased glory. Lastly, there are paperwhites, which I actually planted myself. Super easy and a pleasant way to fill an afternoon. Children love doing stuff like this!

I’ve assembled everything needed to grow narcissus (paperwhites) two ways — in potting soil, and in water. So easy to do and a fun craft that yields long-lasting results!
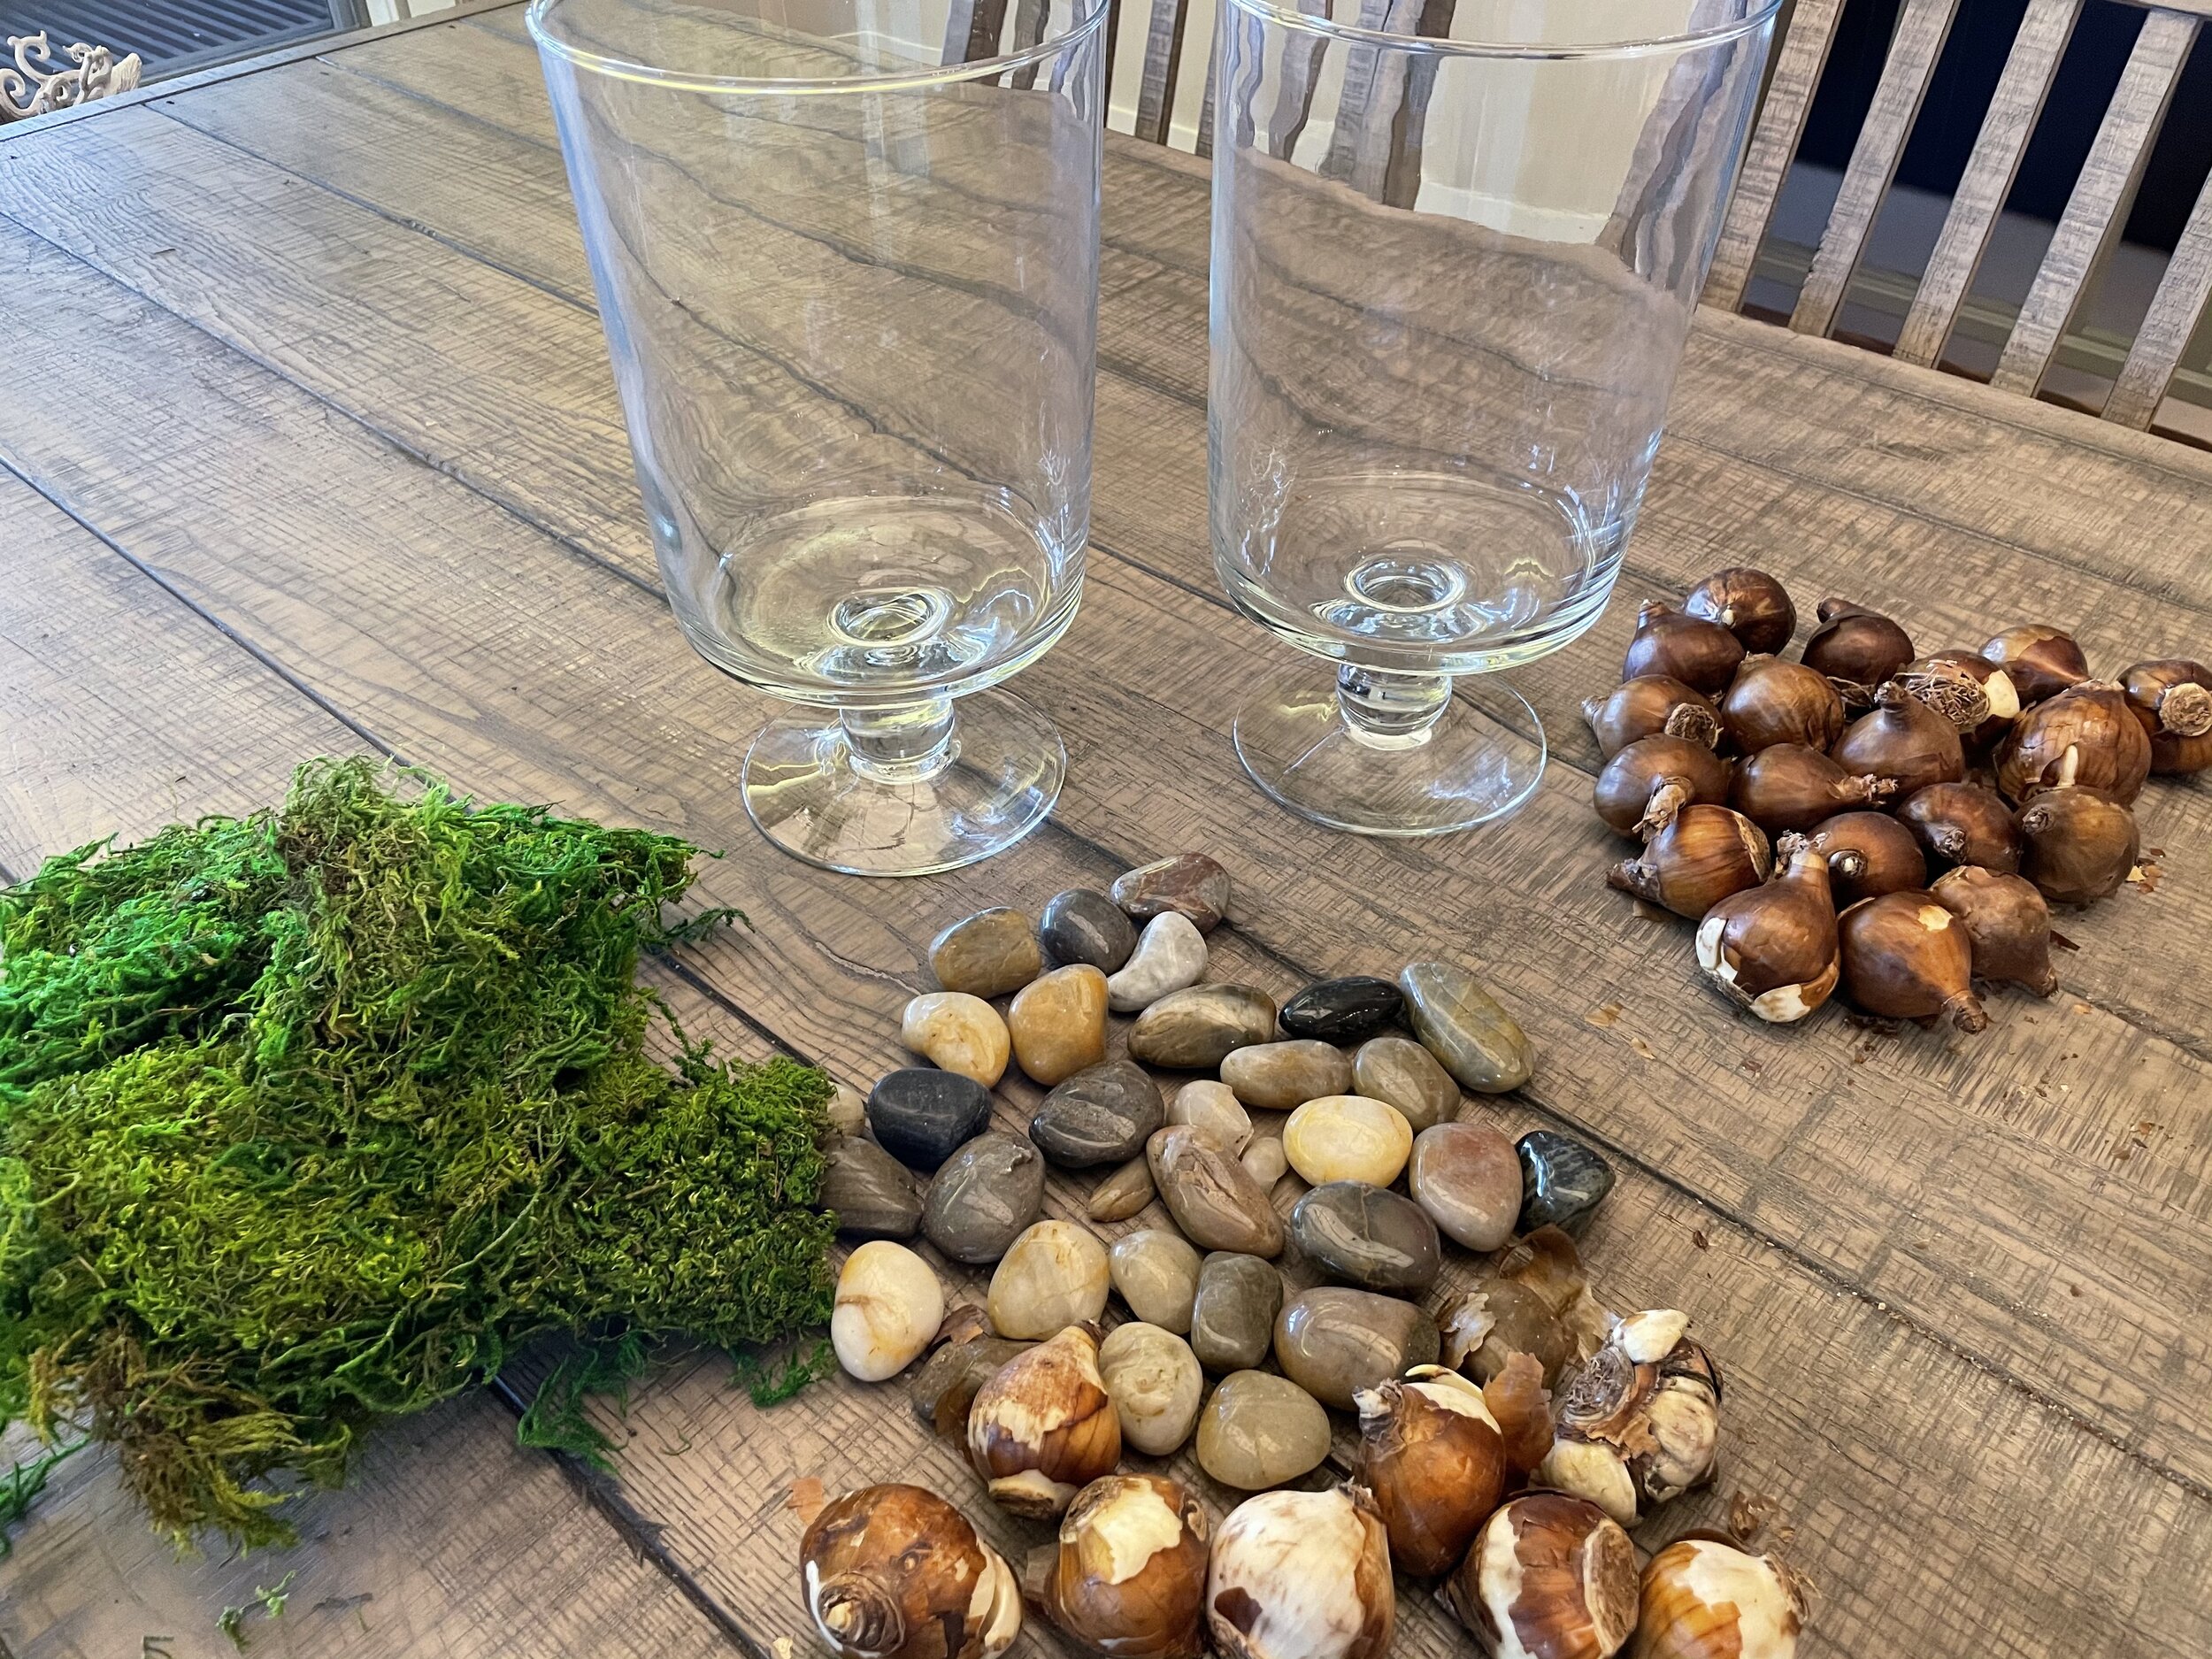
Above you'll see everything needed to plant paperwhites, including containers, potting soil, some polished rock, the bulbs and a little decorative moss, all readily available online. We're first going to plant in soil.
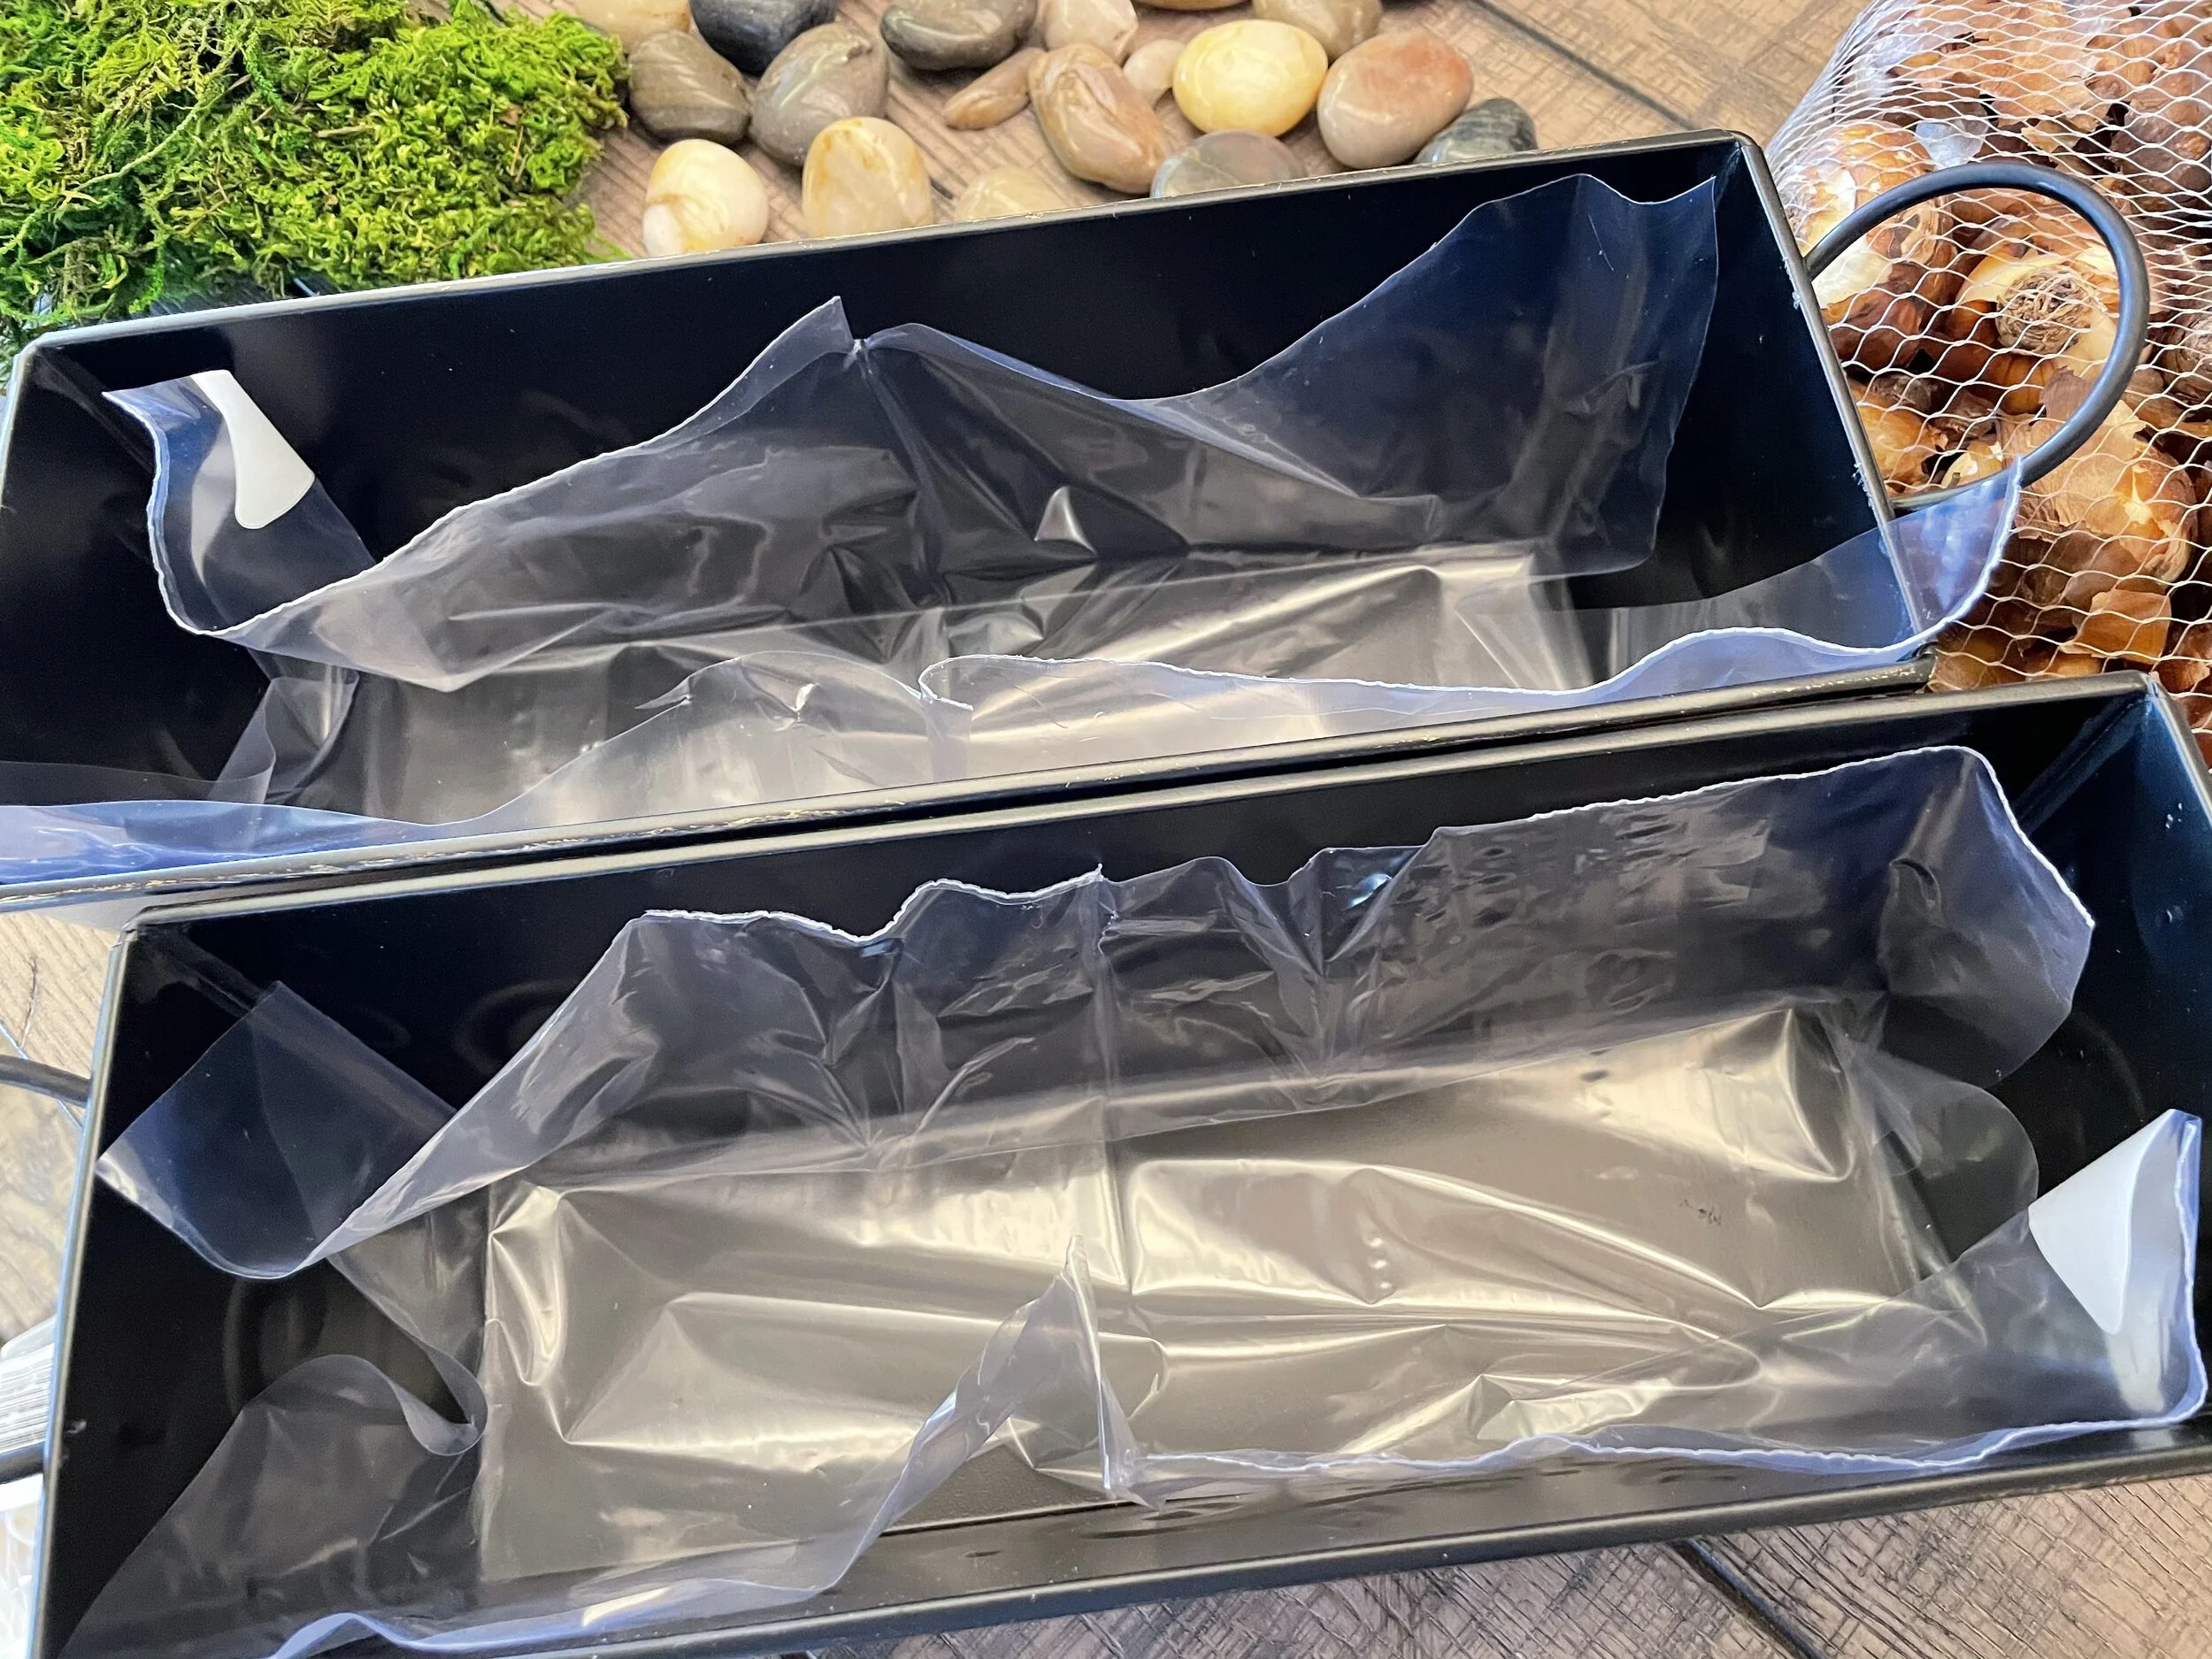
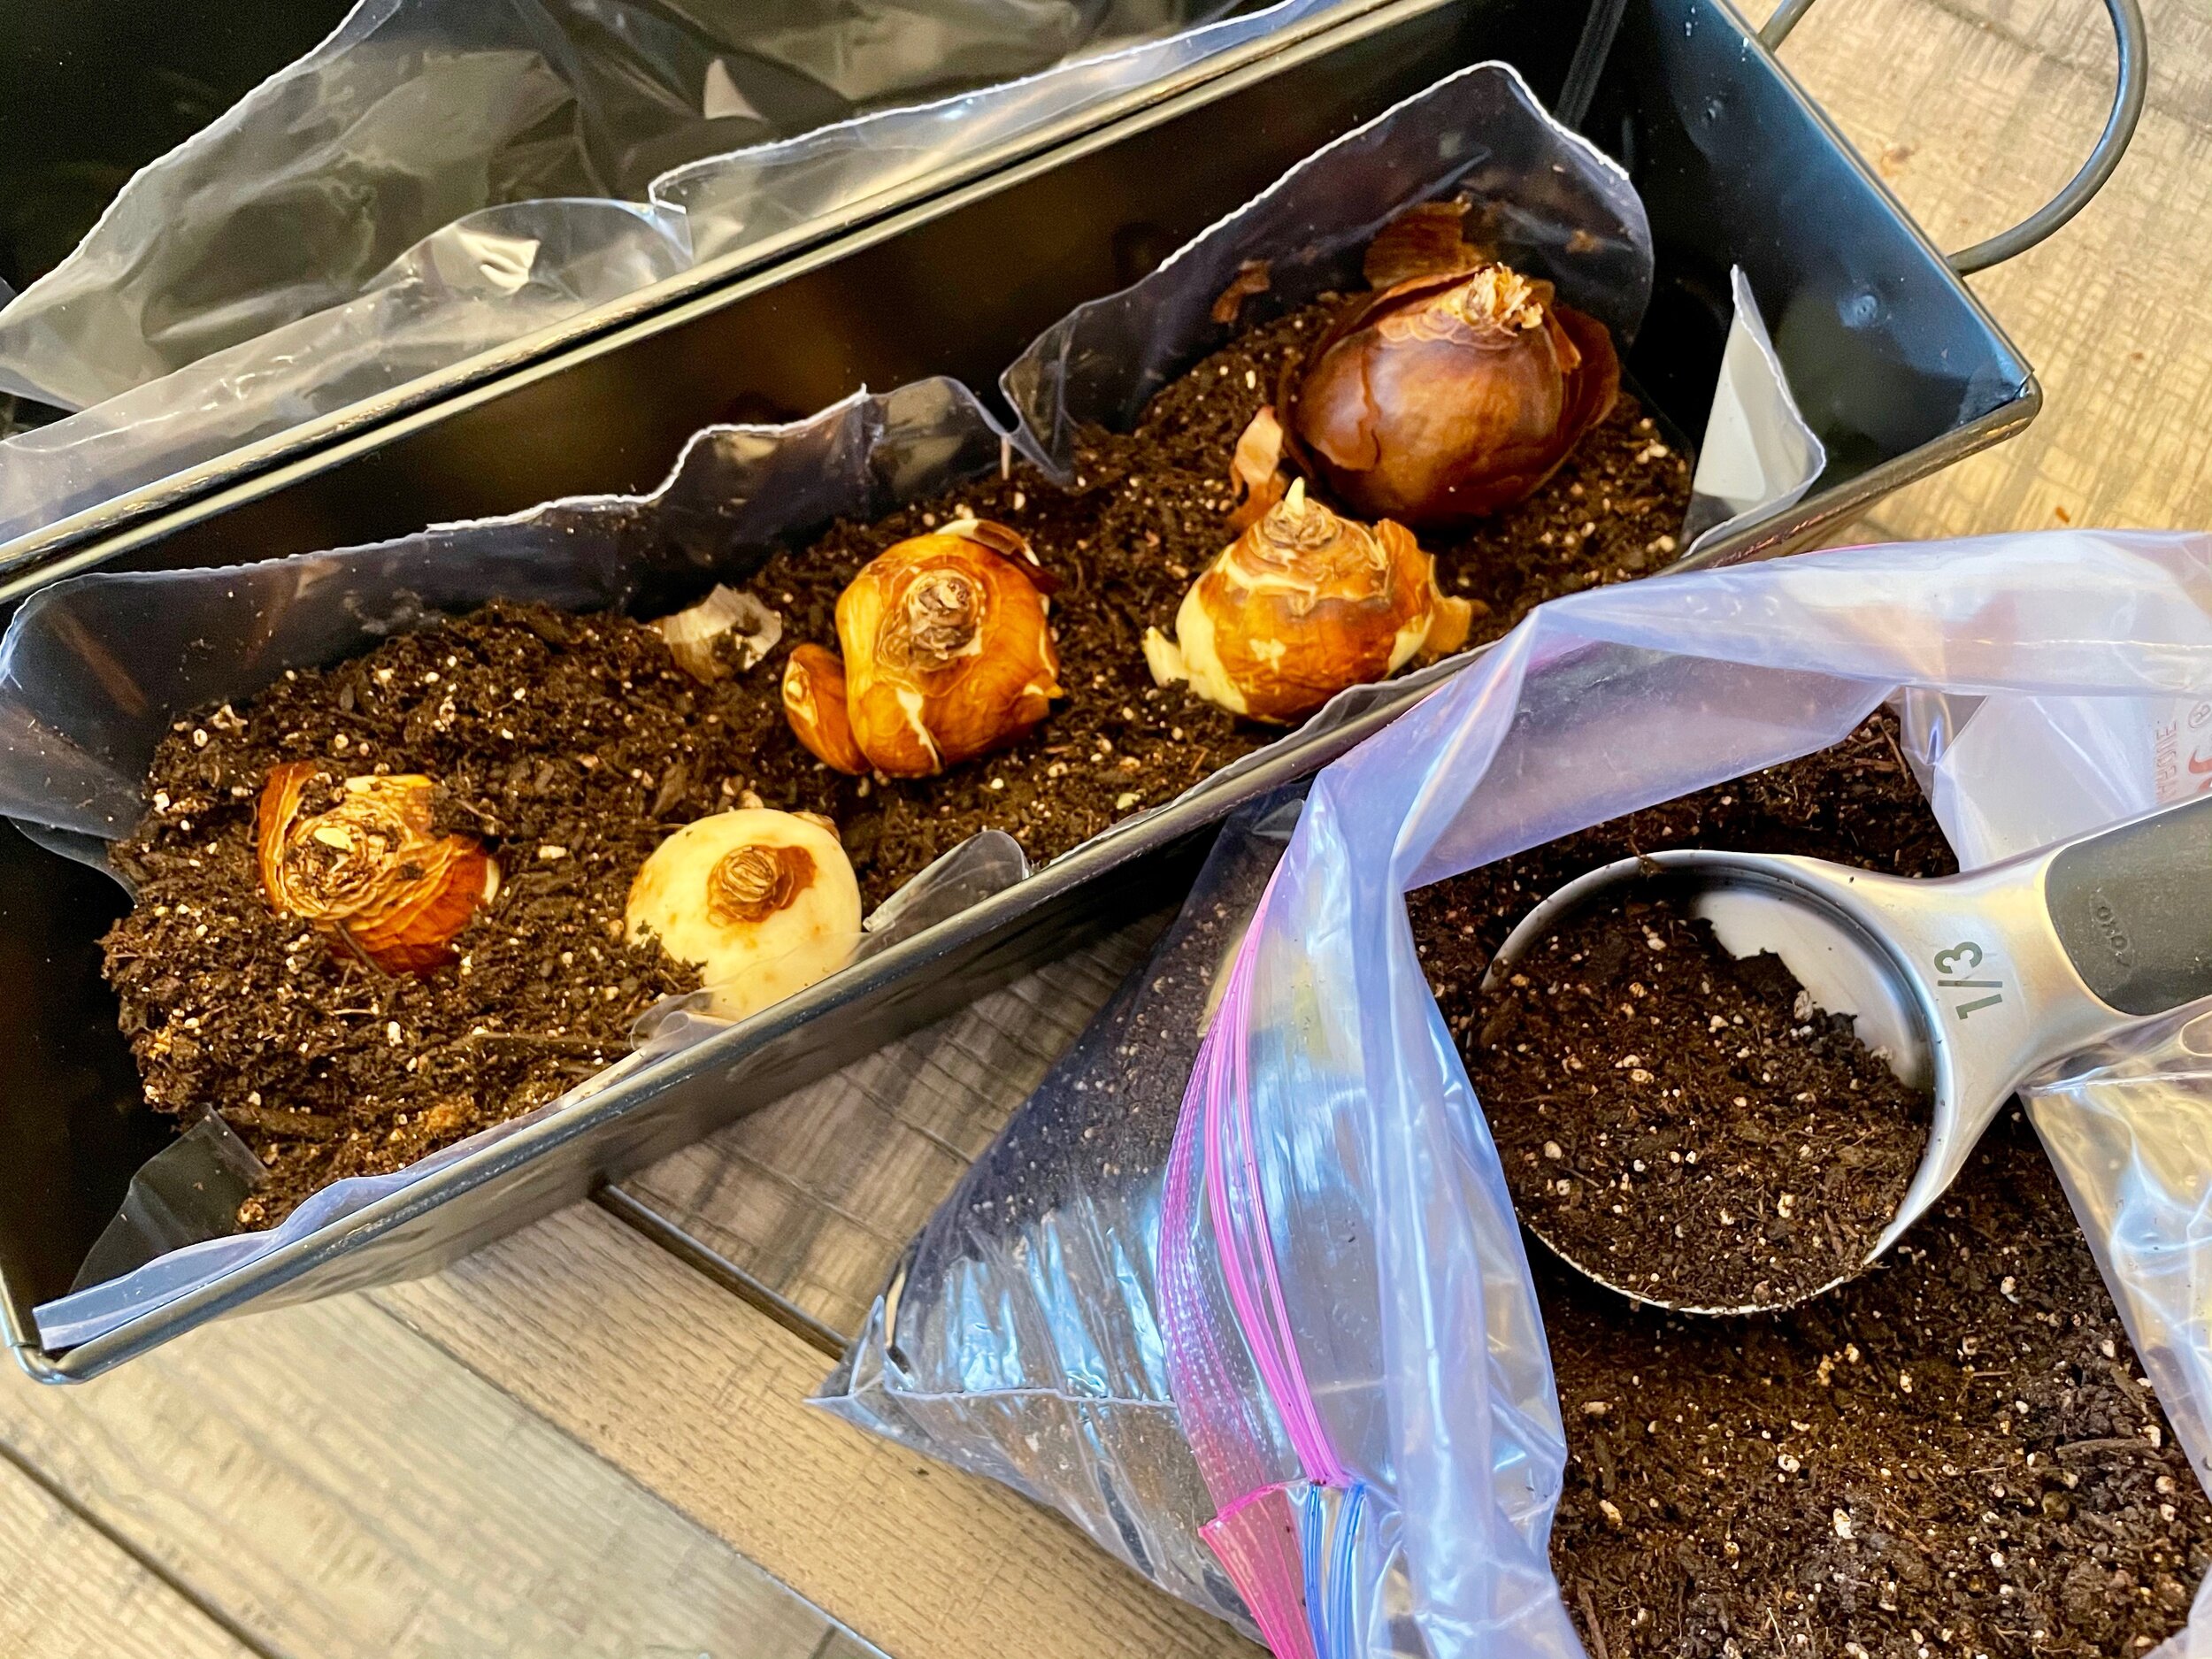
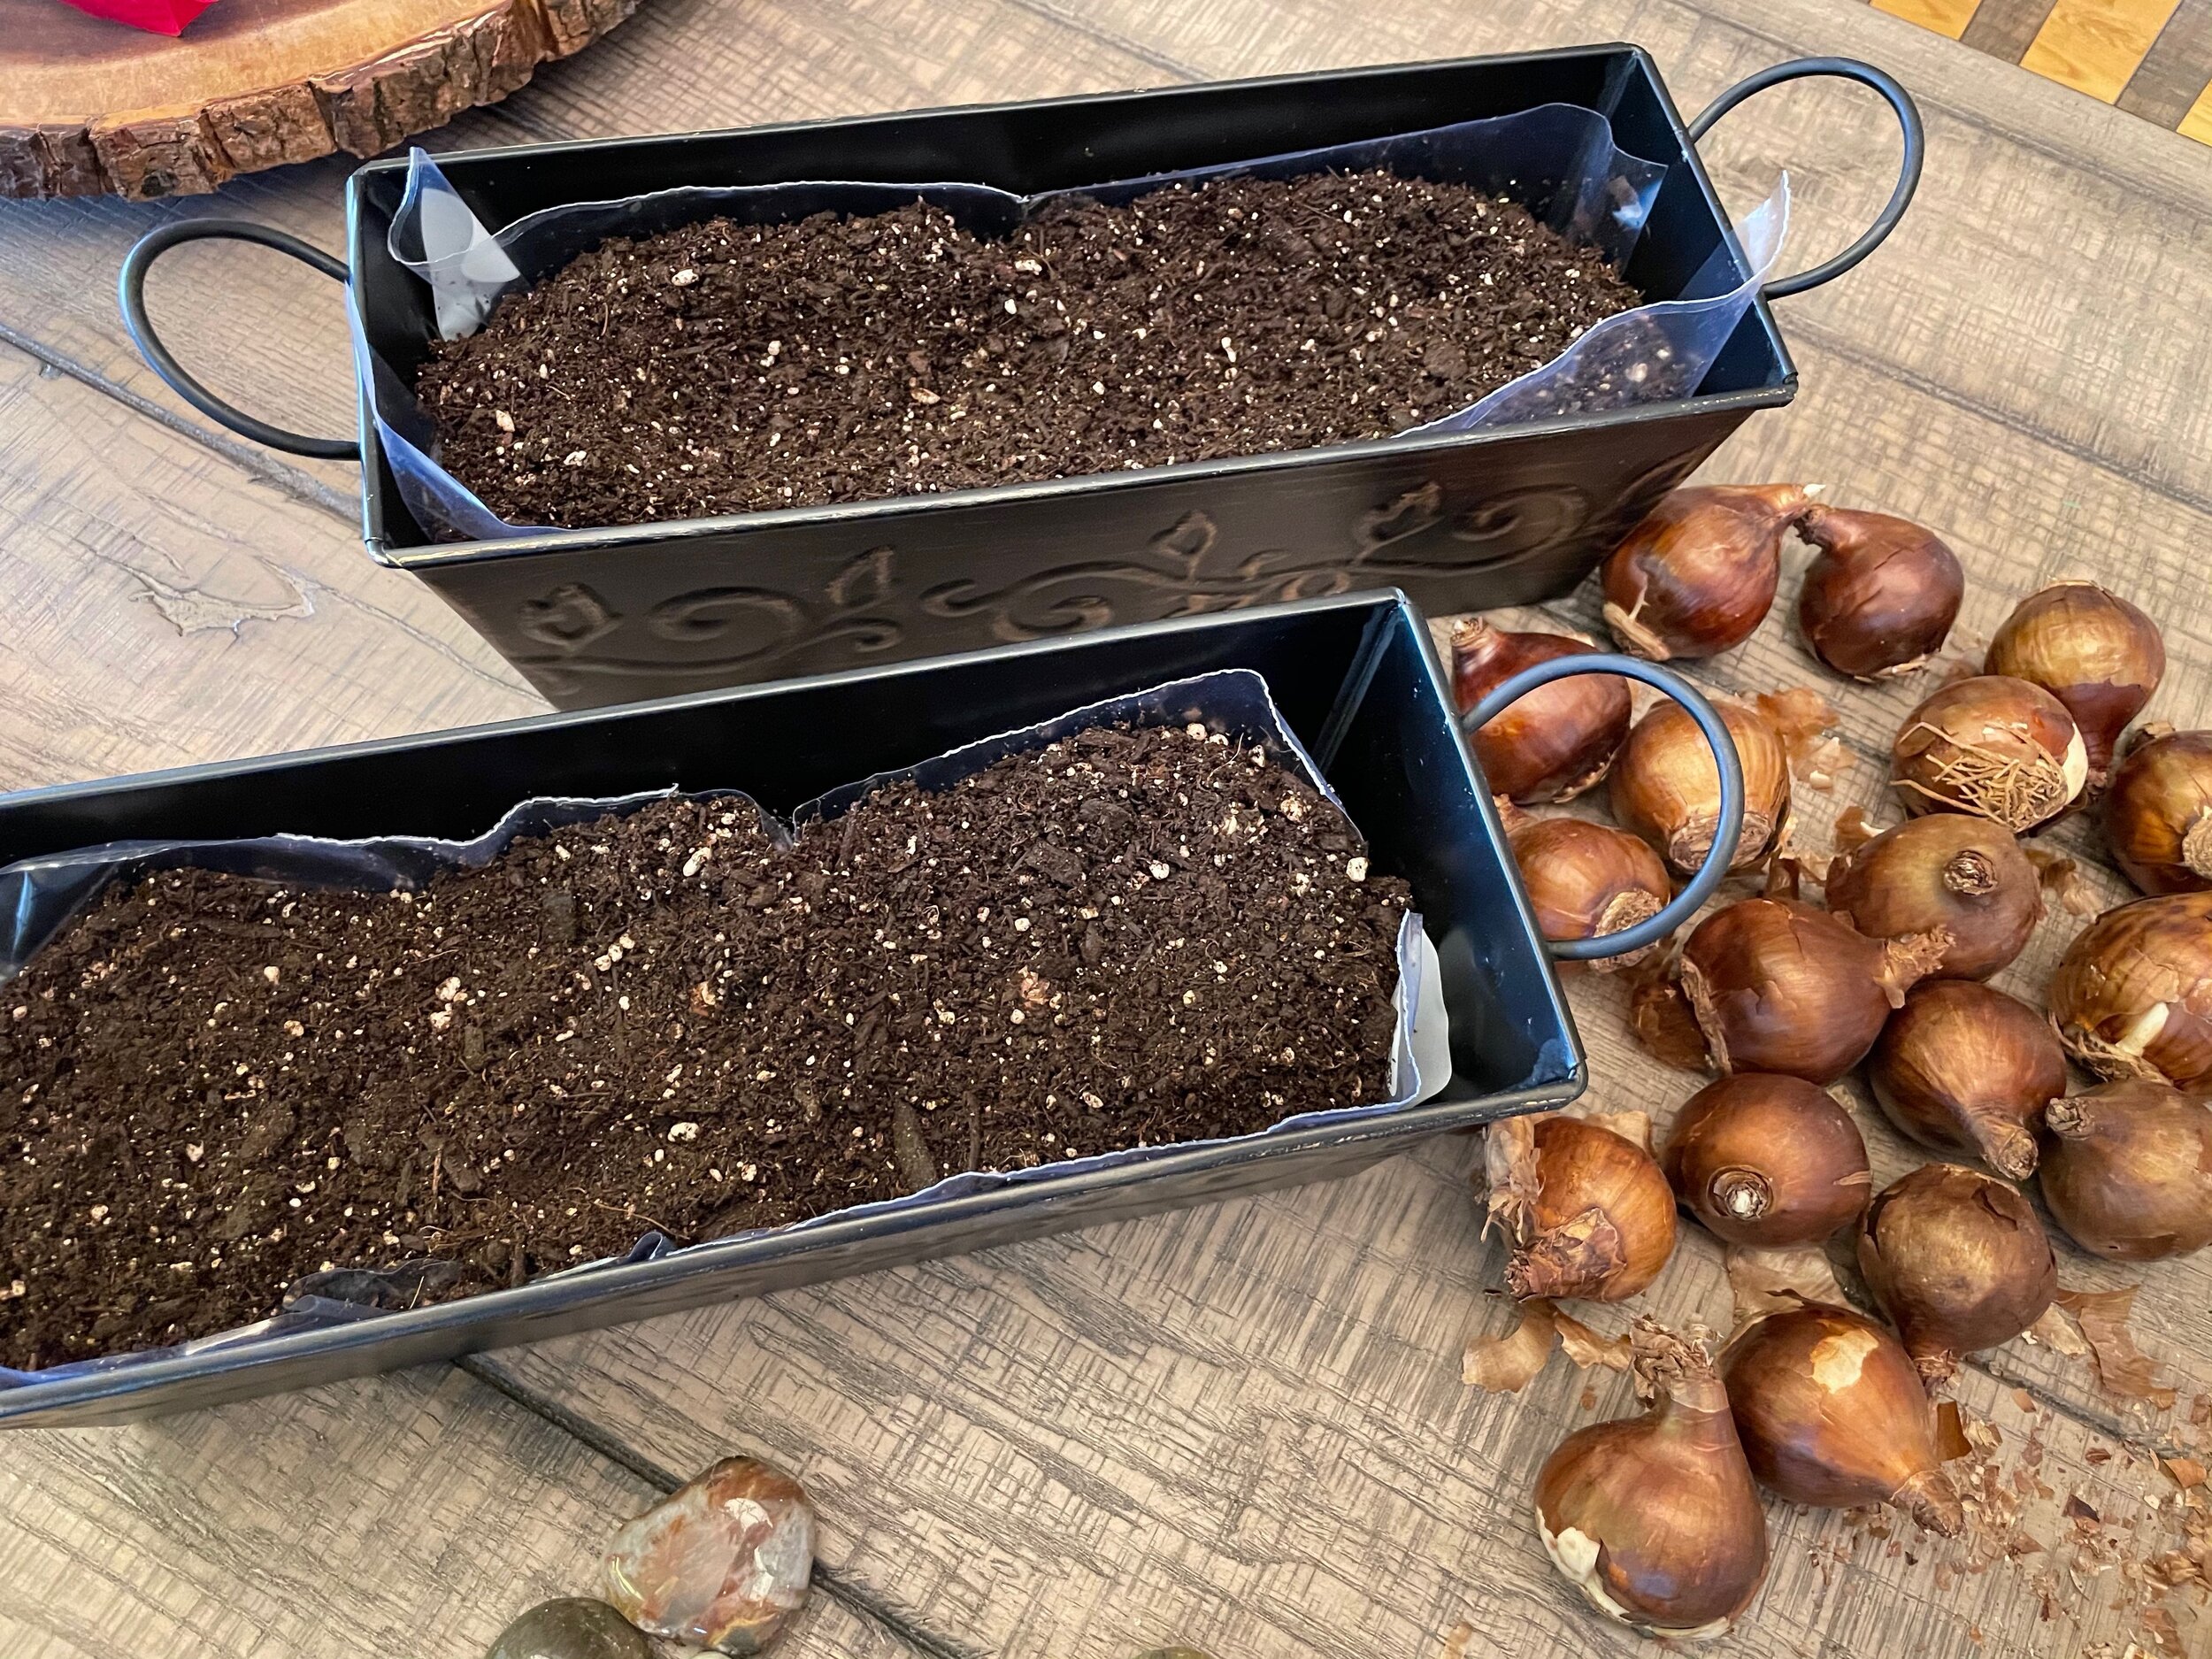
Pretty much a 1-2-3 process. Line your containers (if they lack a lining), fill halfway with soil and place the bulbs incredibly close to one another, then cover with soil. We’ll gussy them up a bit later!
I bought these little tin planters for about $4.99 each. I chose to line them with a plastic freezer bag, cut to size, so that the planter doesn't leak all over when you water it! In goes some potting soil to the halfway mark and the bulbs are then nestled right in there, root side down, shoulder to shoulder. Finish them off by covering in soil so that the tips are close to the top. Water them in good (I place them in the sink and spray 'em down gently but well!) and let drain, preferably overnight. Wipe up any residual dirt with a paper towel, and if you're lucky enough to have a grow light, place the planter(s) beneath it. If you don't, find a somewhat sunny window somewhere with roughly a 70 degree temperature and place there. Water occasionally and say encouraging things to them. They should start to sprout in a few weeks, and will flower in 5 - 6 weeks, very similar to the amaryllis, so mark your calendar and make a day of it! Next is the water planting method.
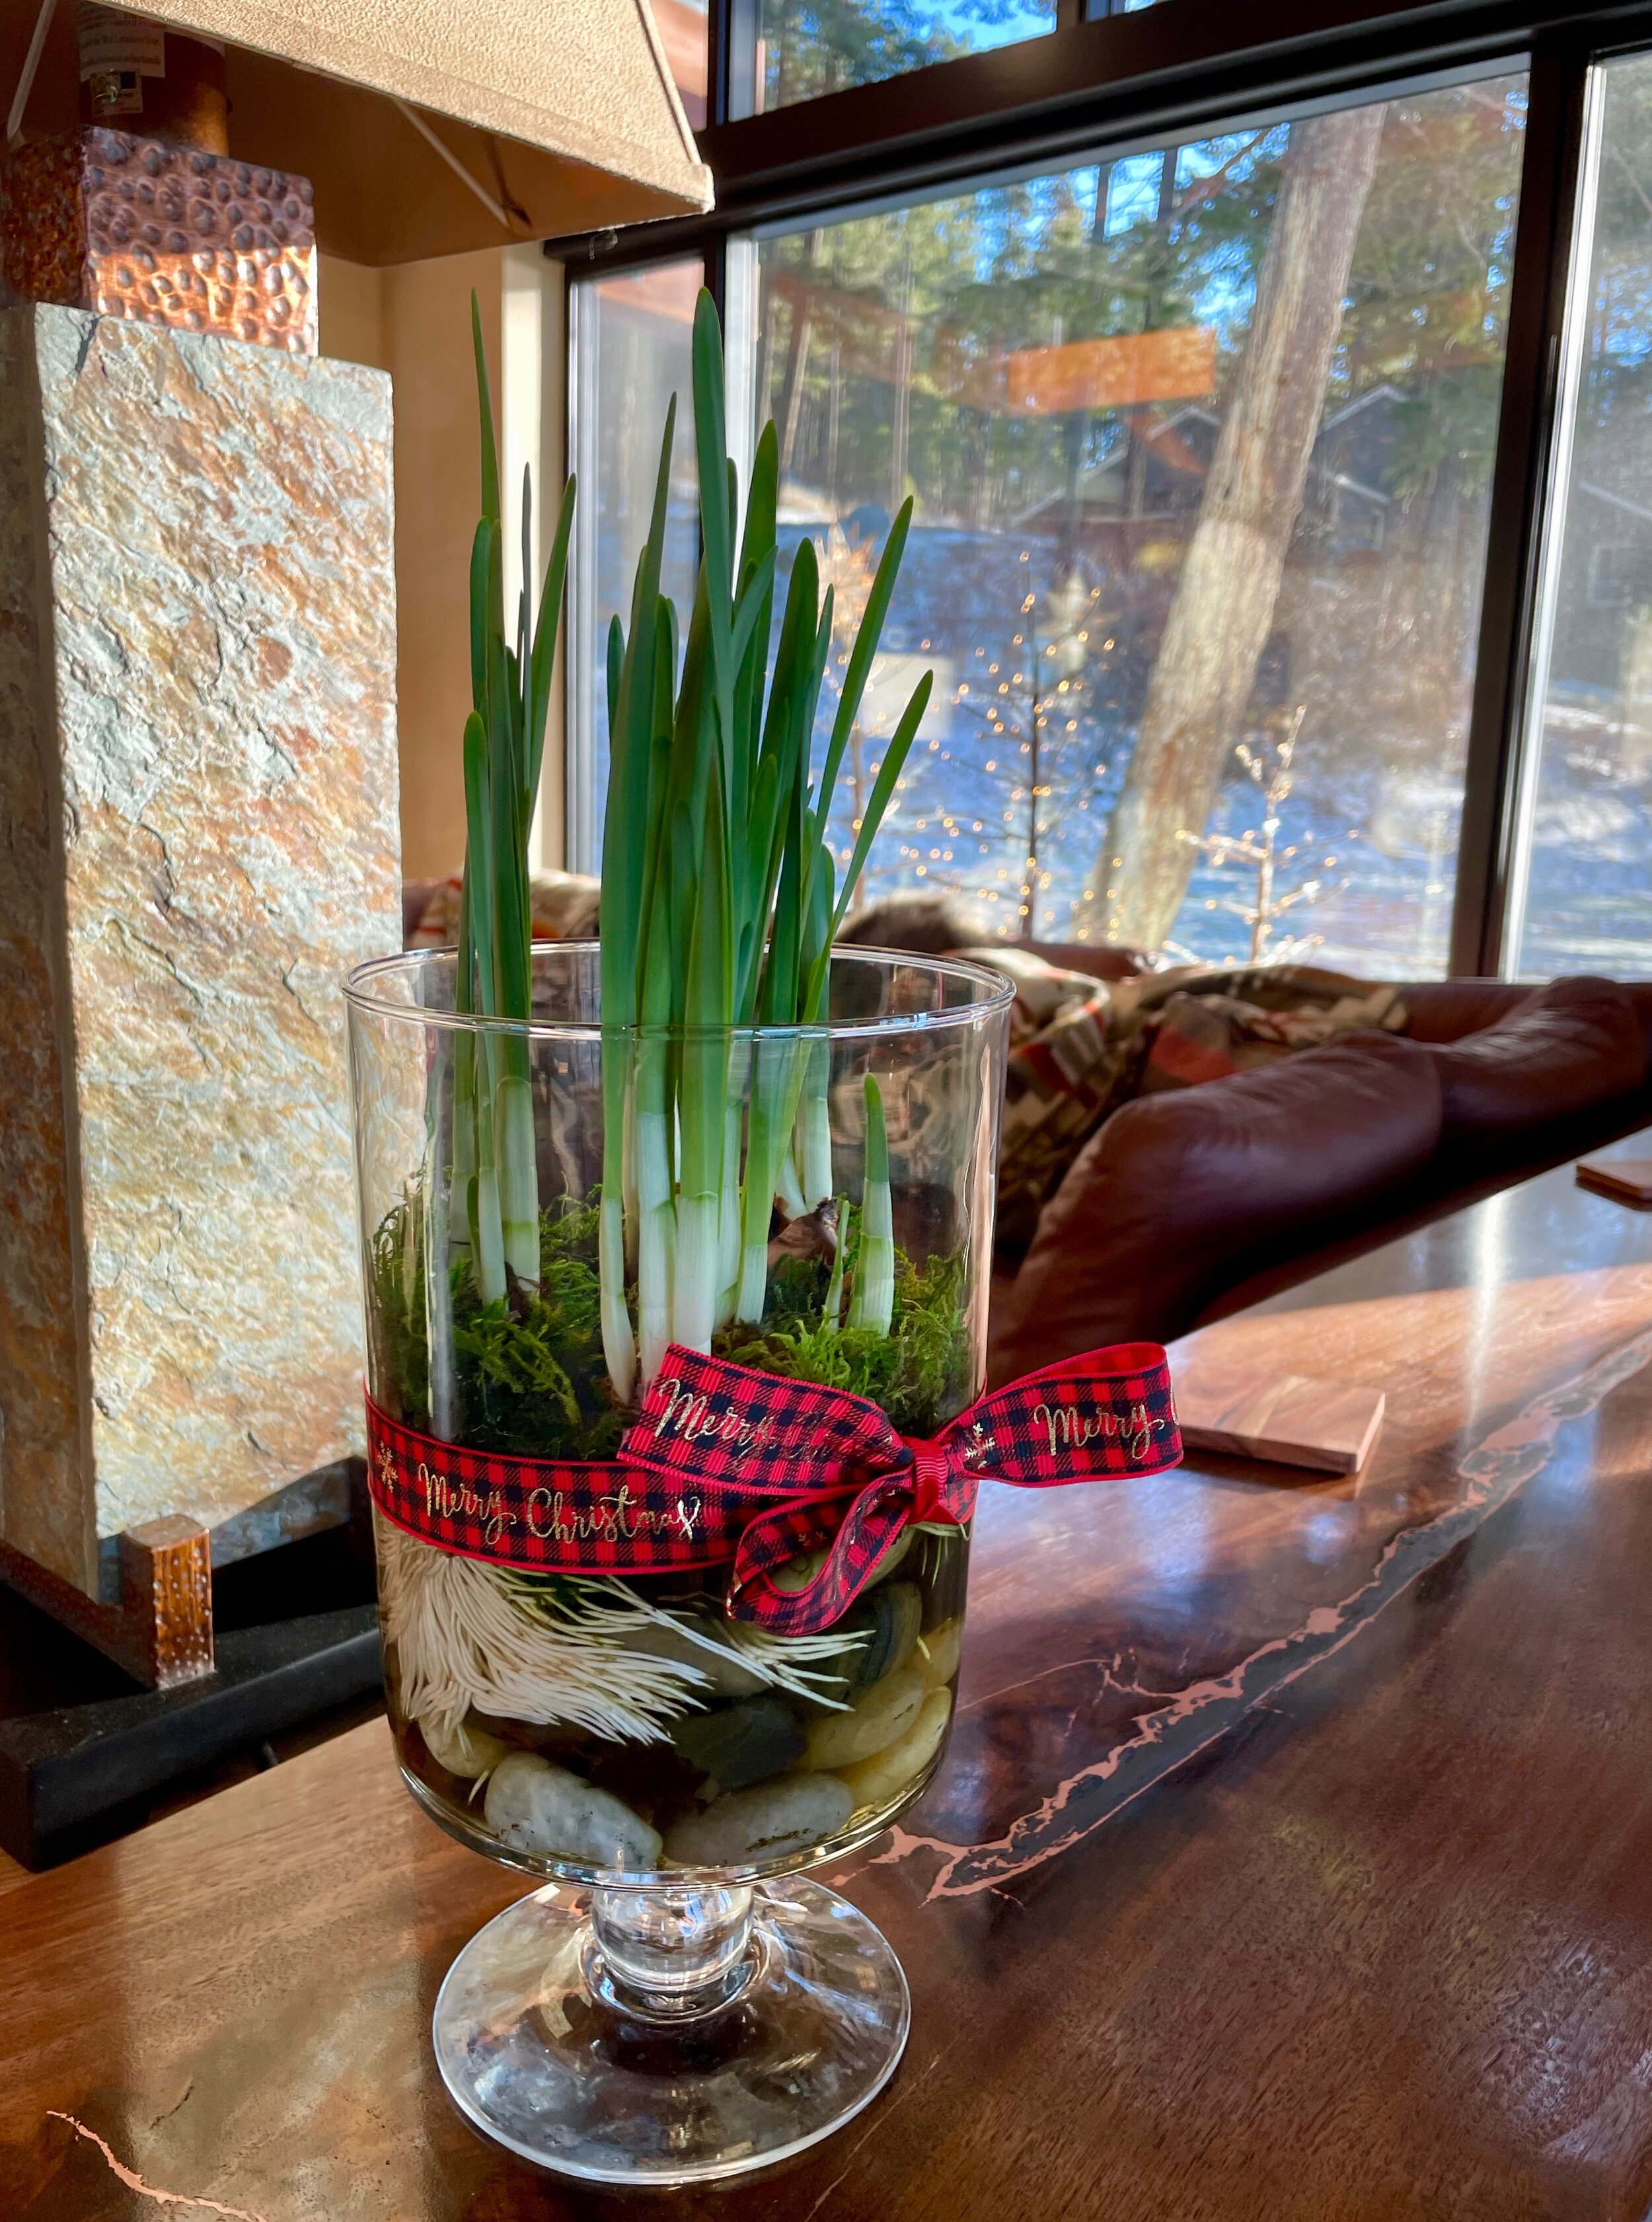
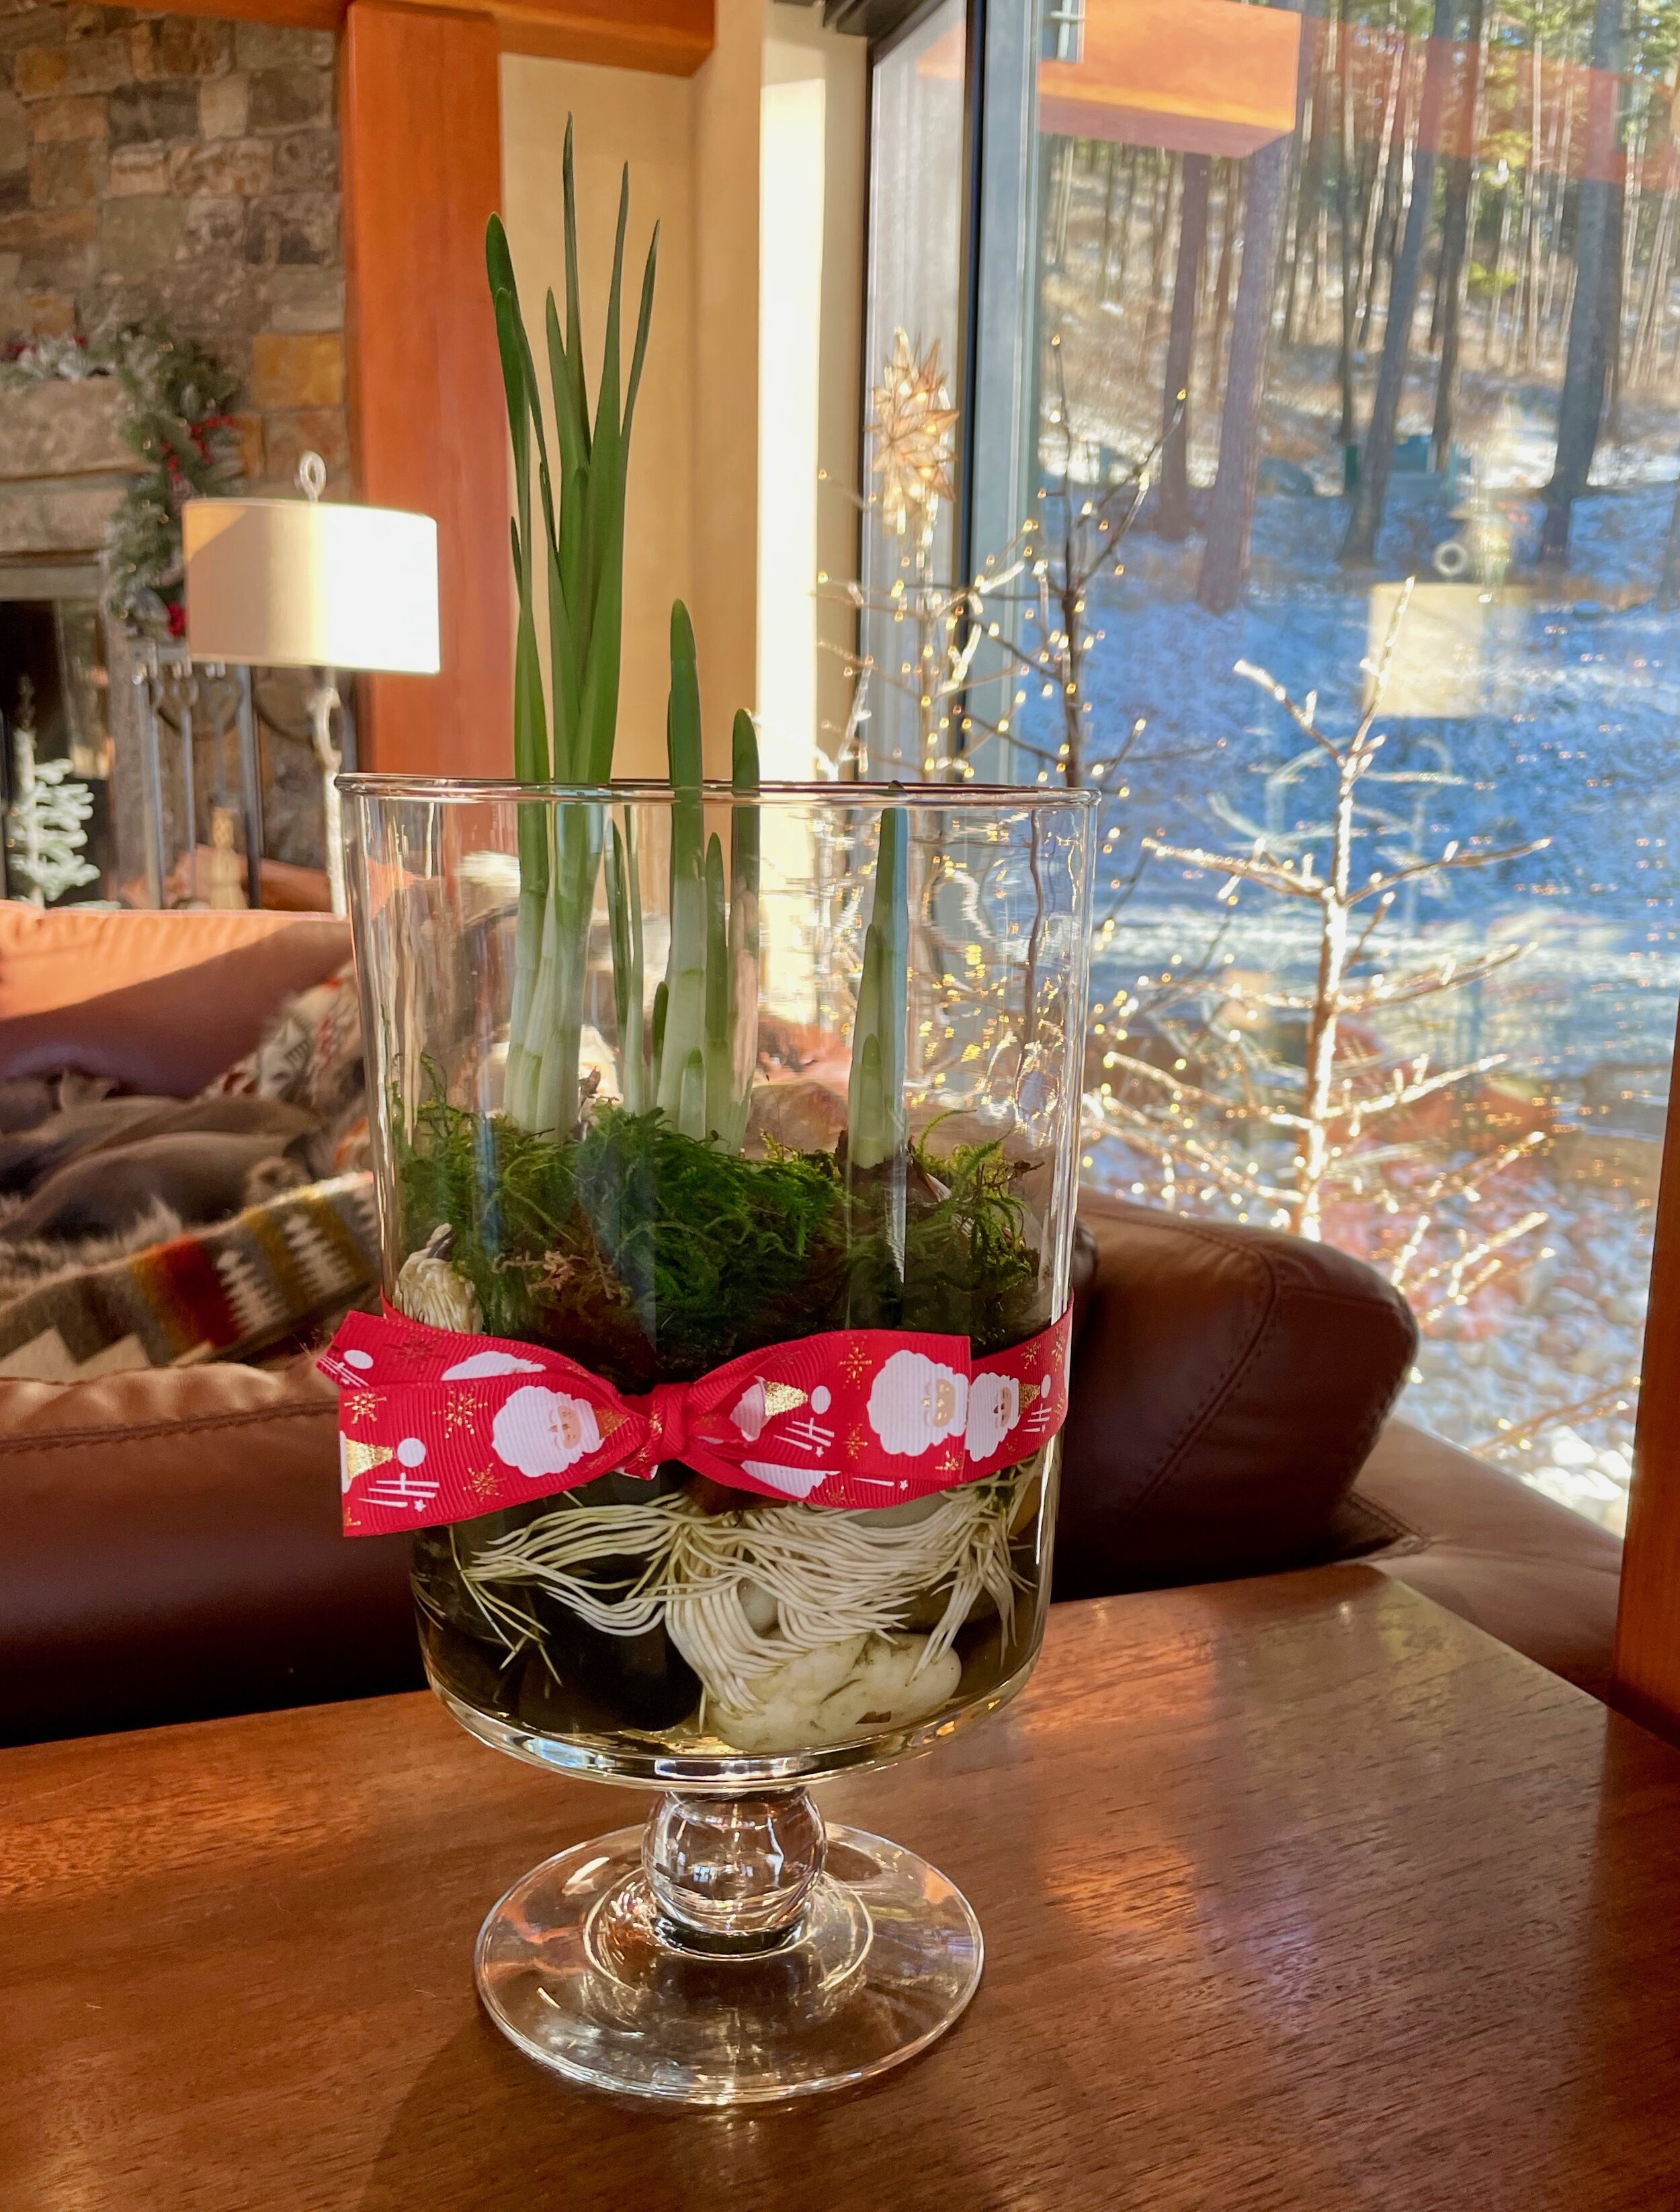
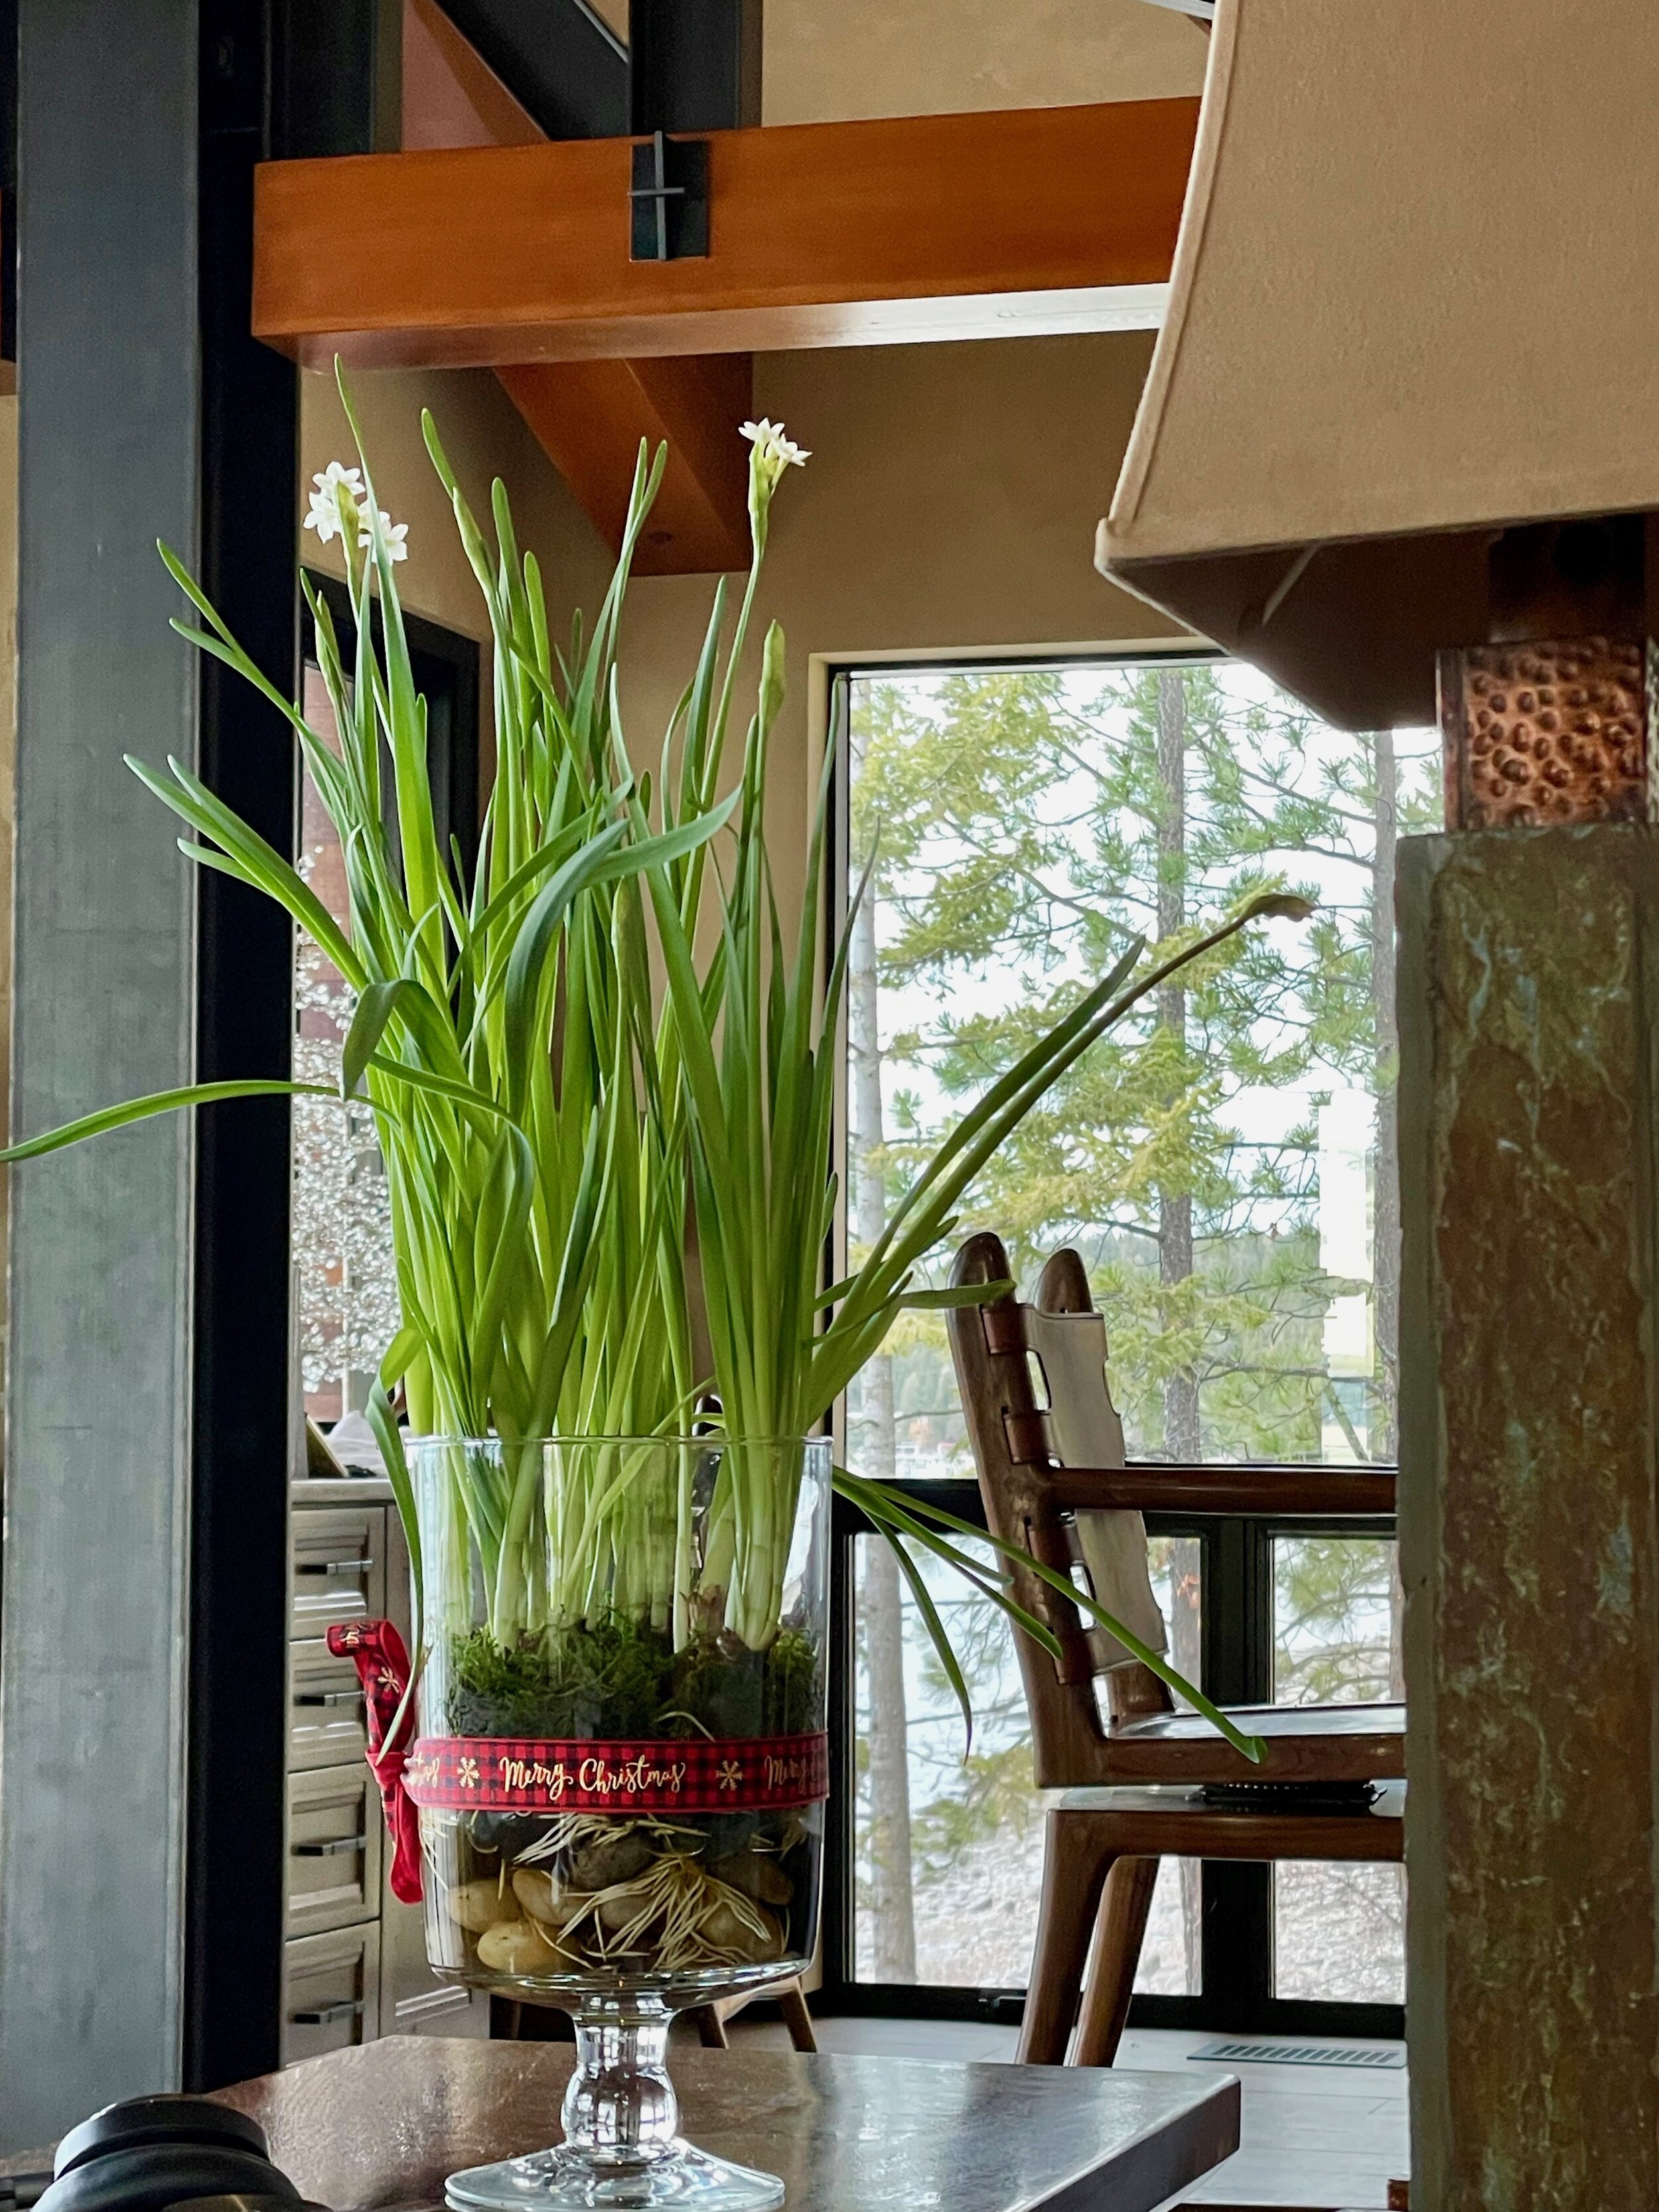
Water planting is so simple and makes a dramatic presentation. Use a tall container, it will act as a natural plant support when the bulbs are in bloom!
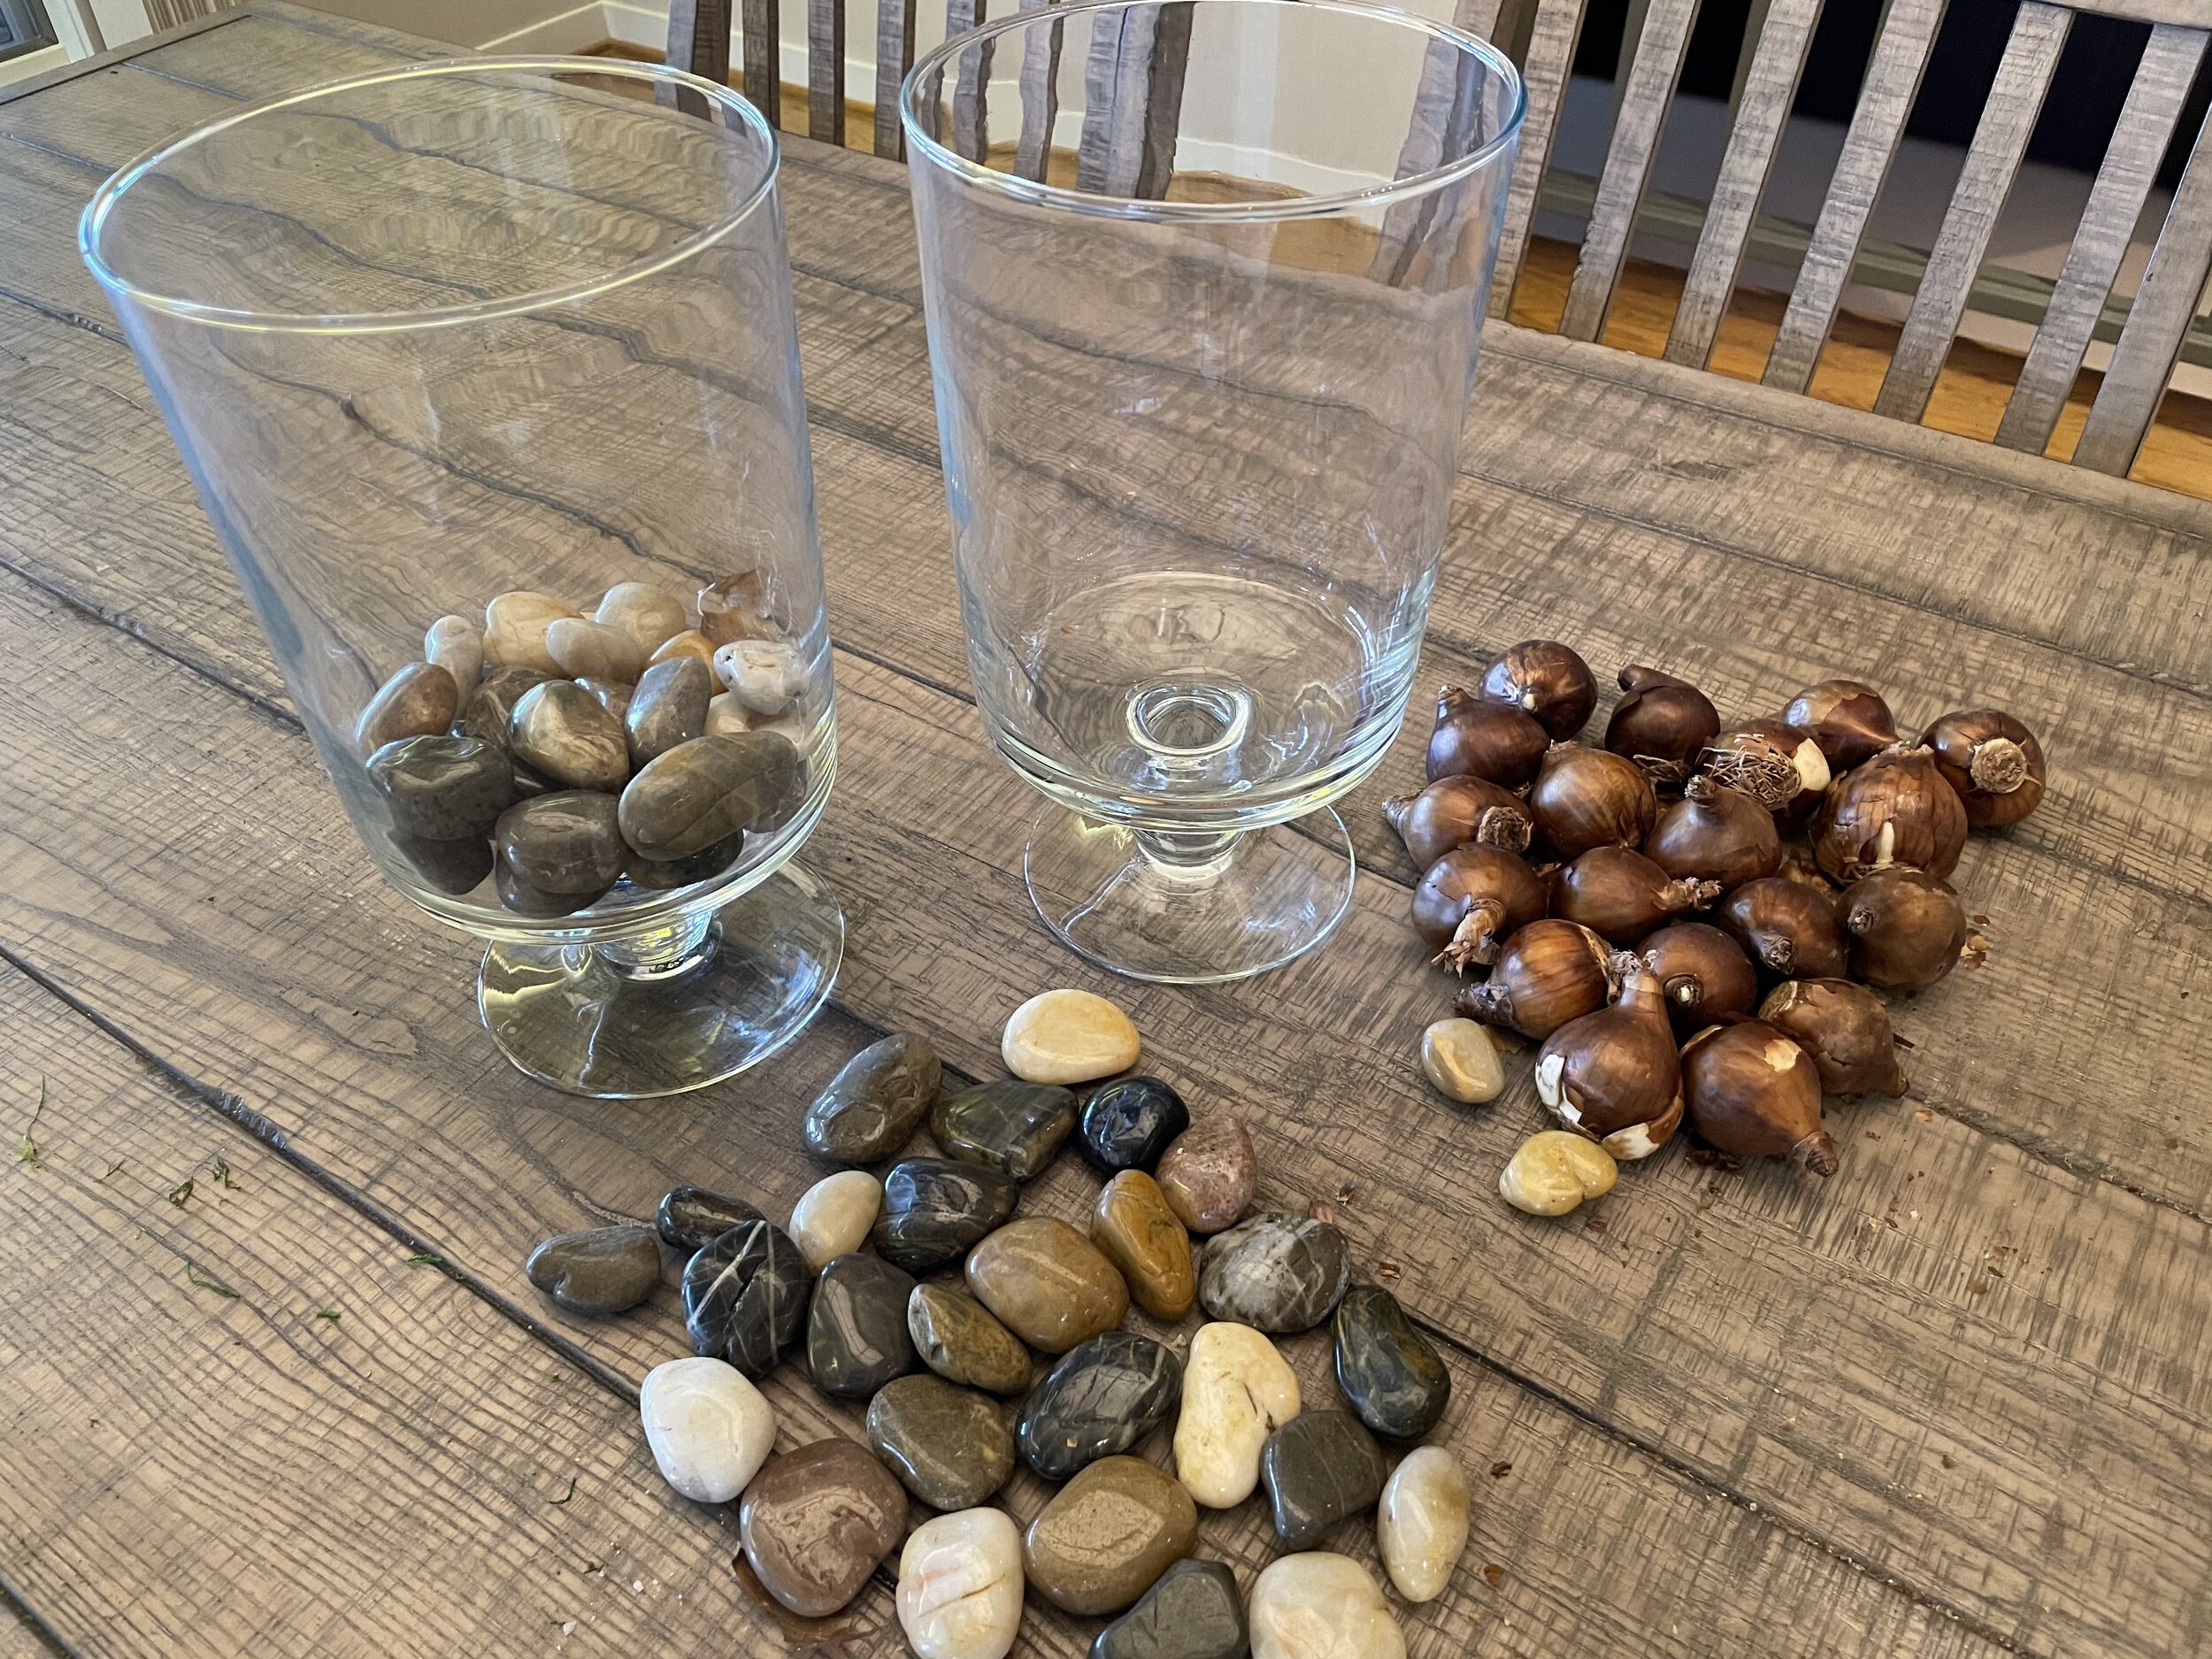
I love to use a tall glass container to plant paperwhites as it helps support the plant and looks great, however you can use any glass vase you have on hand, though be advised you will need to stake them later. A simple ribbon usually does the trick.
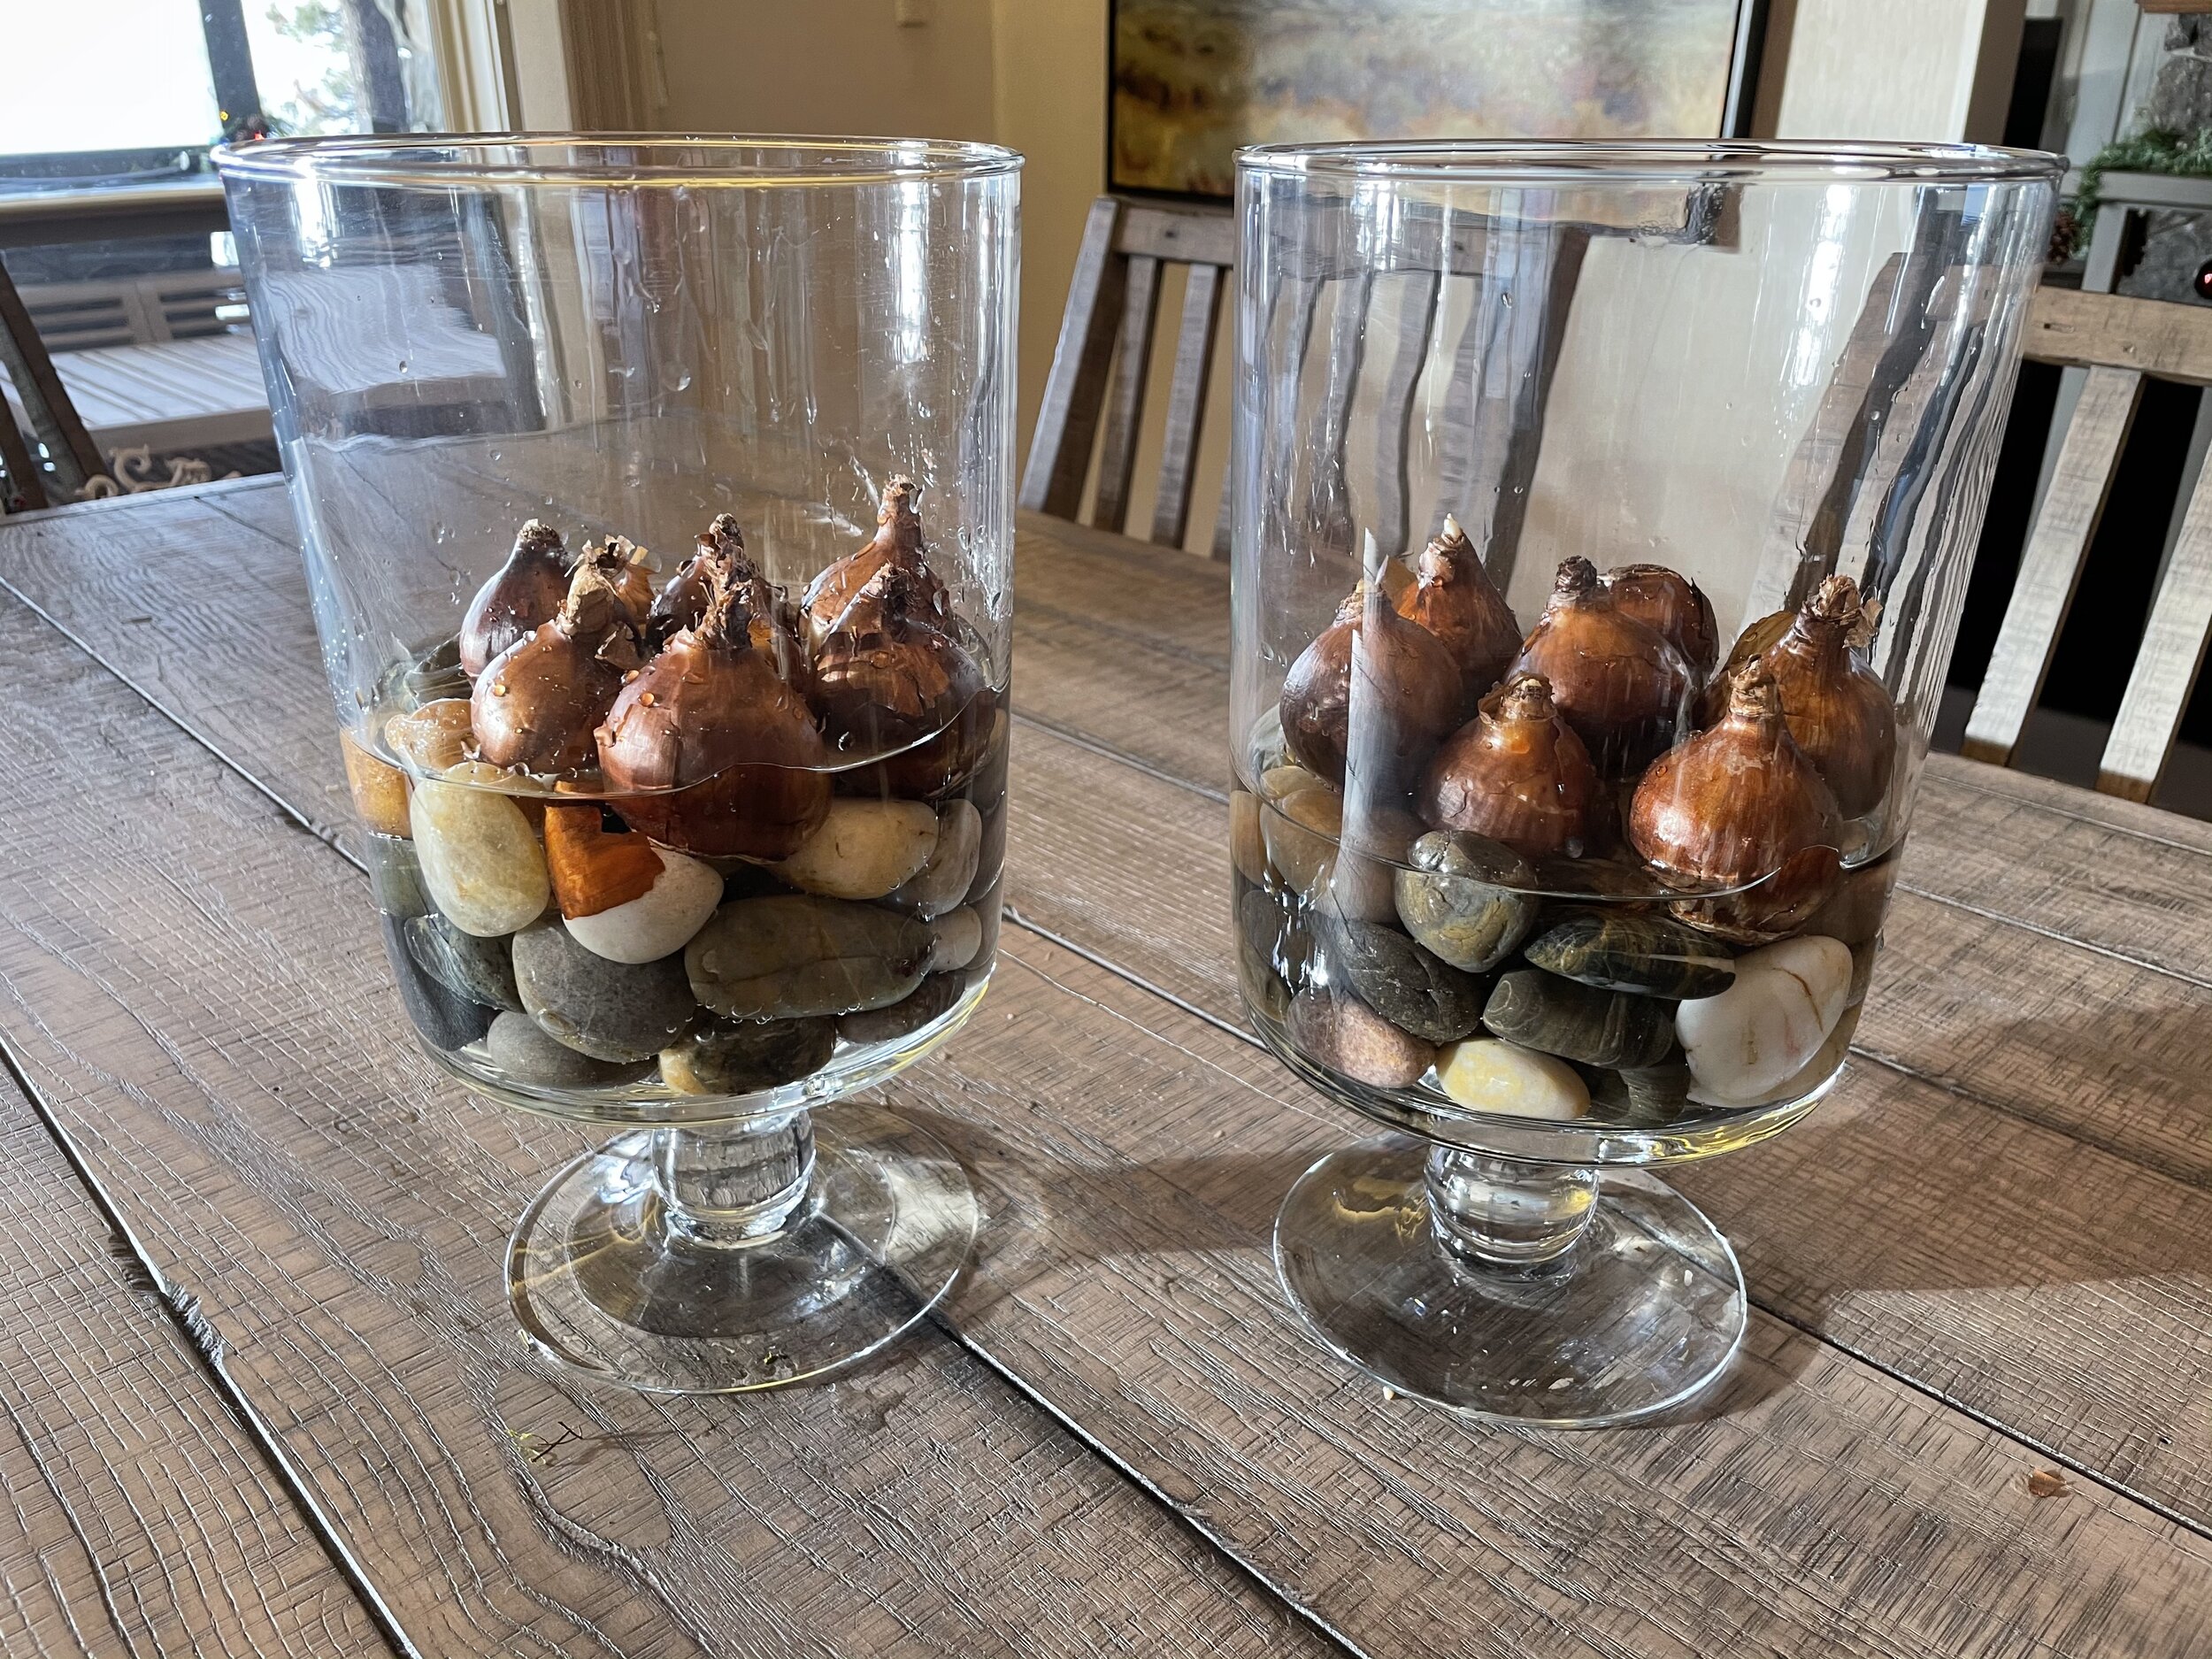
First, place some polished rock or white pebbles in the bottom of your container about 1/4 of the way to the top -- or less. Next, place the bulbs all snuggy on top of the rocks, squishing them down a bit, then backfill with a few more rocks or pebbles, leaving most of the bulb above ground (I save the best-looking bulbs of the bag for water planting, just for this reason). Add water up to the root level. Done.

Adding some green moss and later, a festive ribbon makes these plants a wonderful addition to your holiday decor as seen below.
These planters all go under the grow light, or in a party sunny spot for 5 - 6 weeks until bloom. They will bloom for weeks, too, so plan your bulb planting party for a solid 7 weeks before you want to enjoy them! I do the paperwhites around Easter or simply as a spring pick-me up, again, by interval planting or following the timetable above. Enjoy the fruits/blooms of my labor below, and plant some indoor bulbs, they are sure to cheer you up on a gloomy winter day.
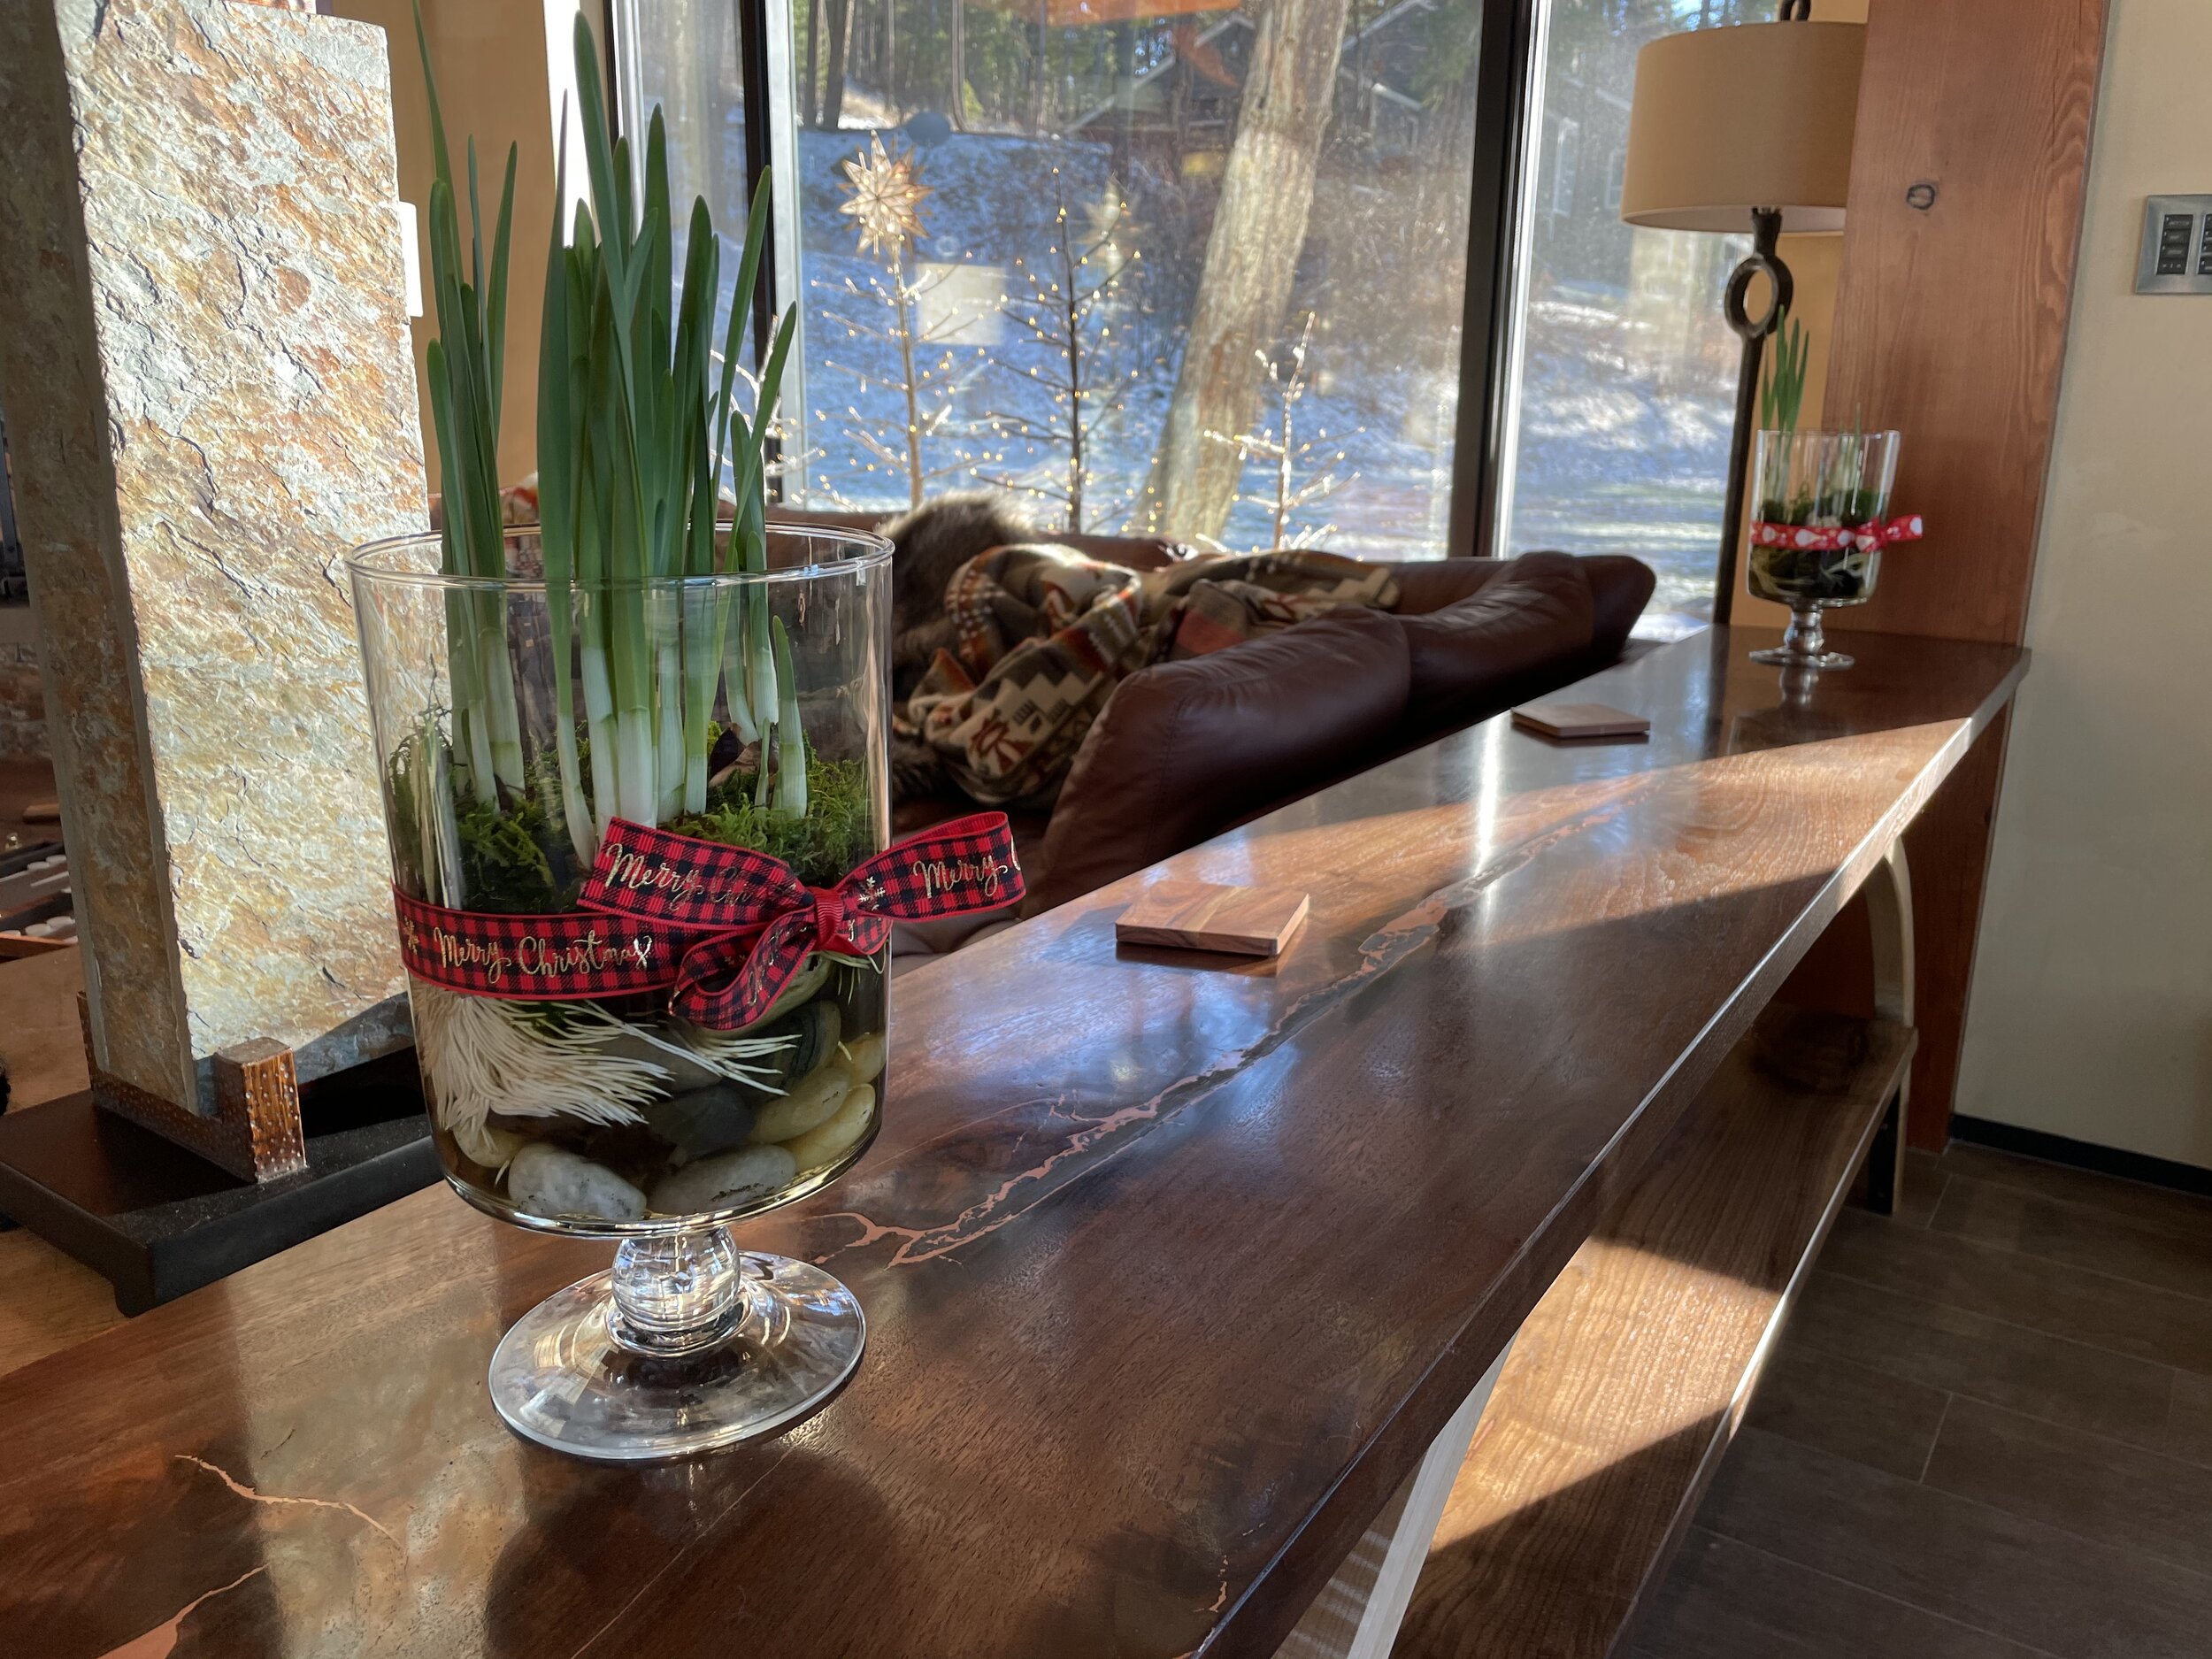
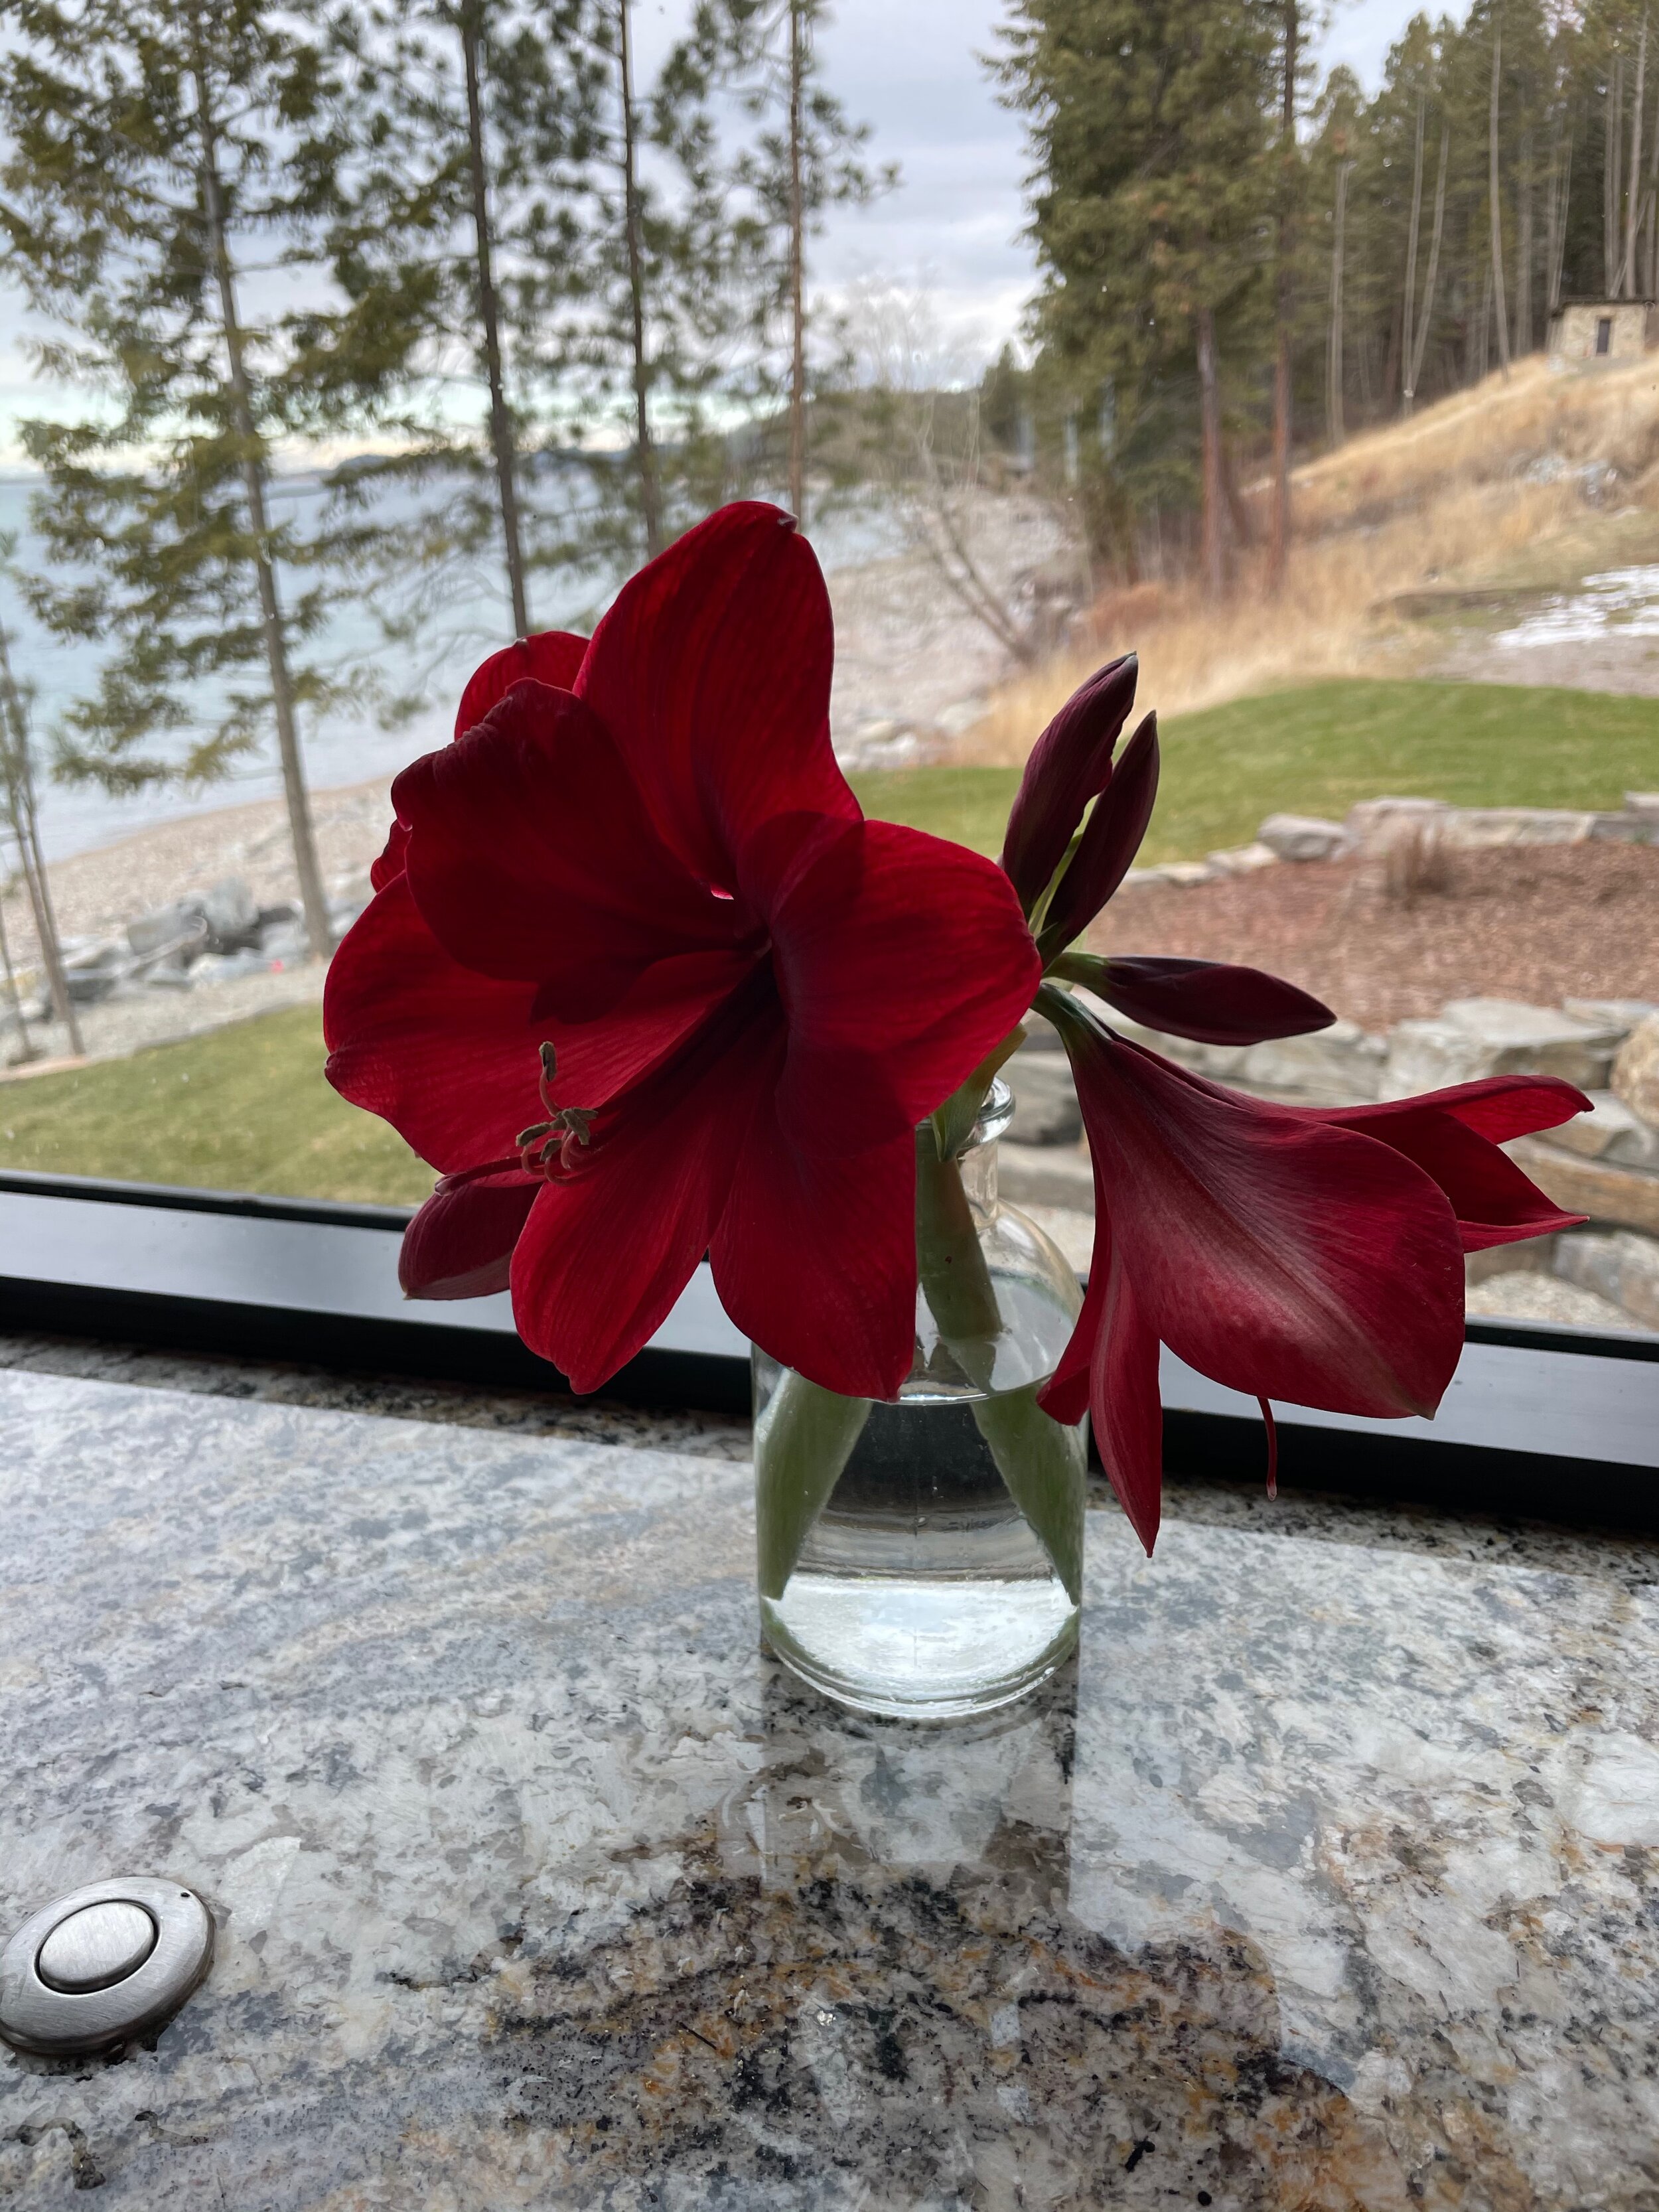
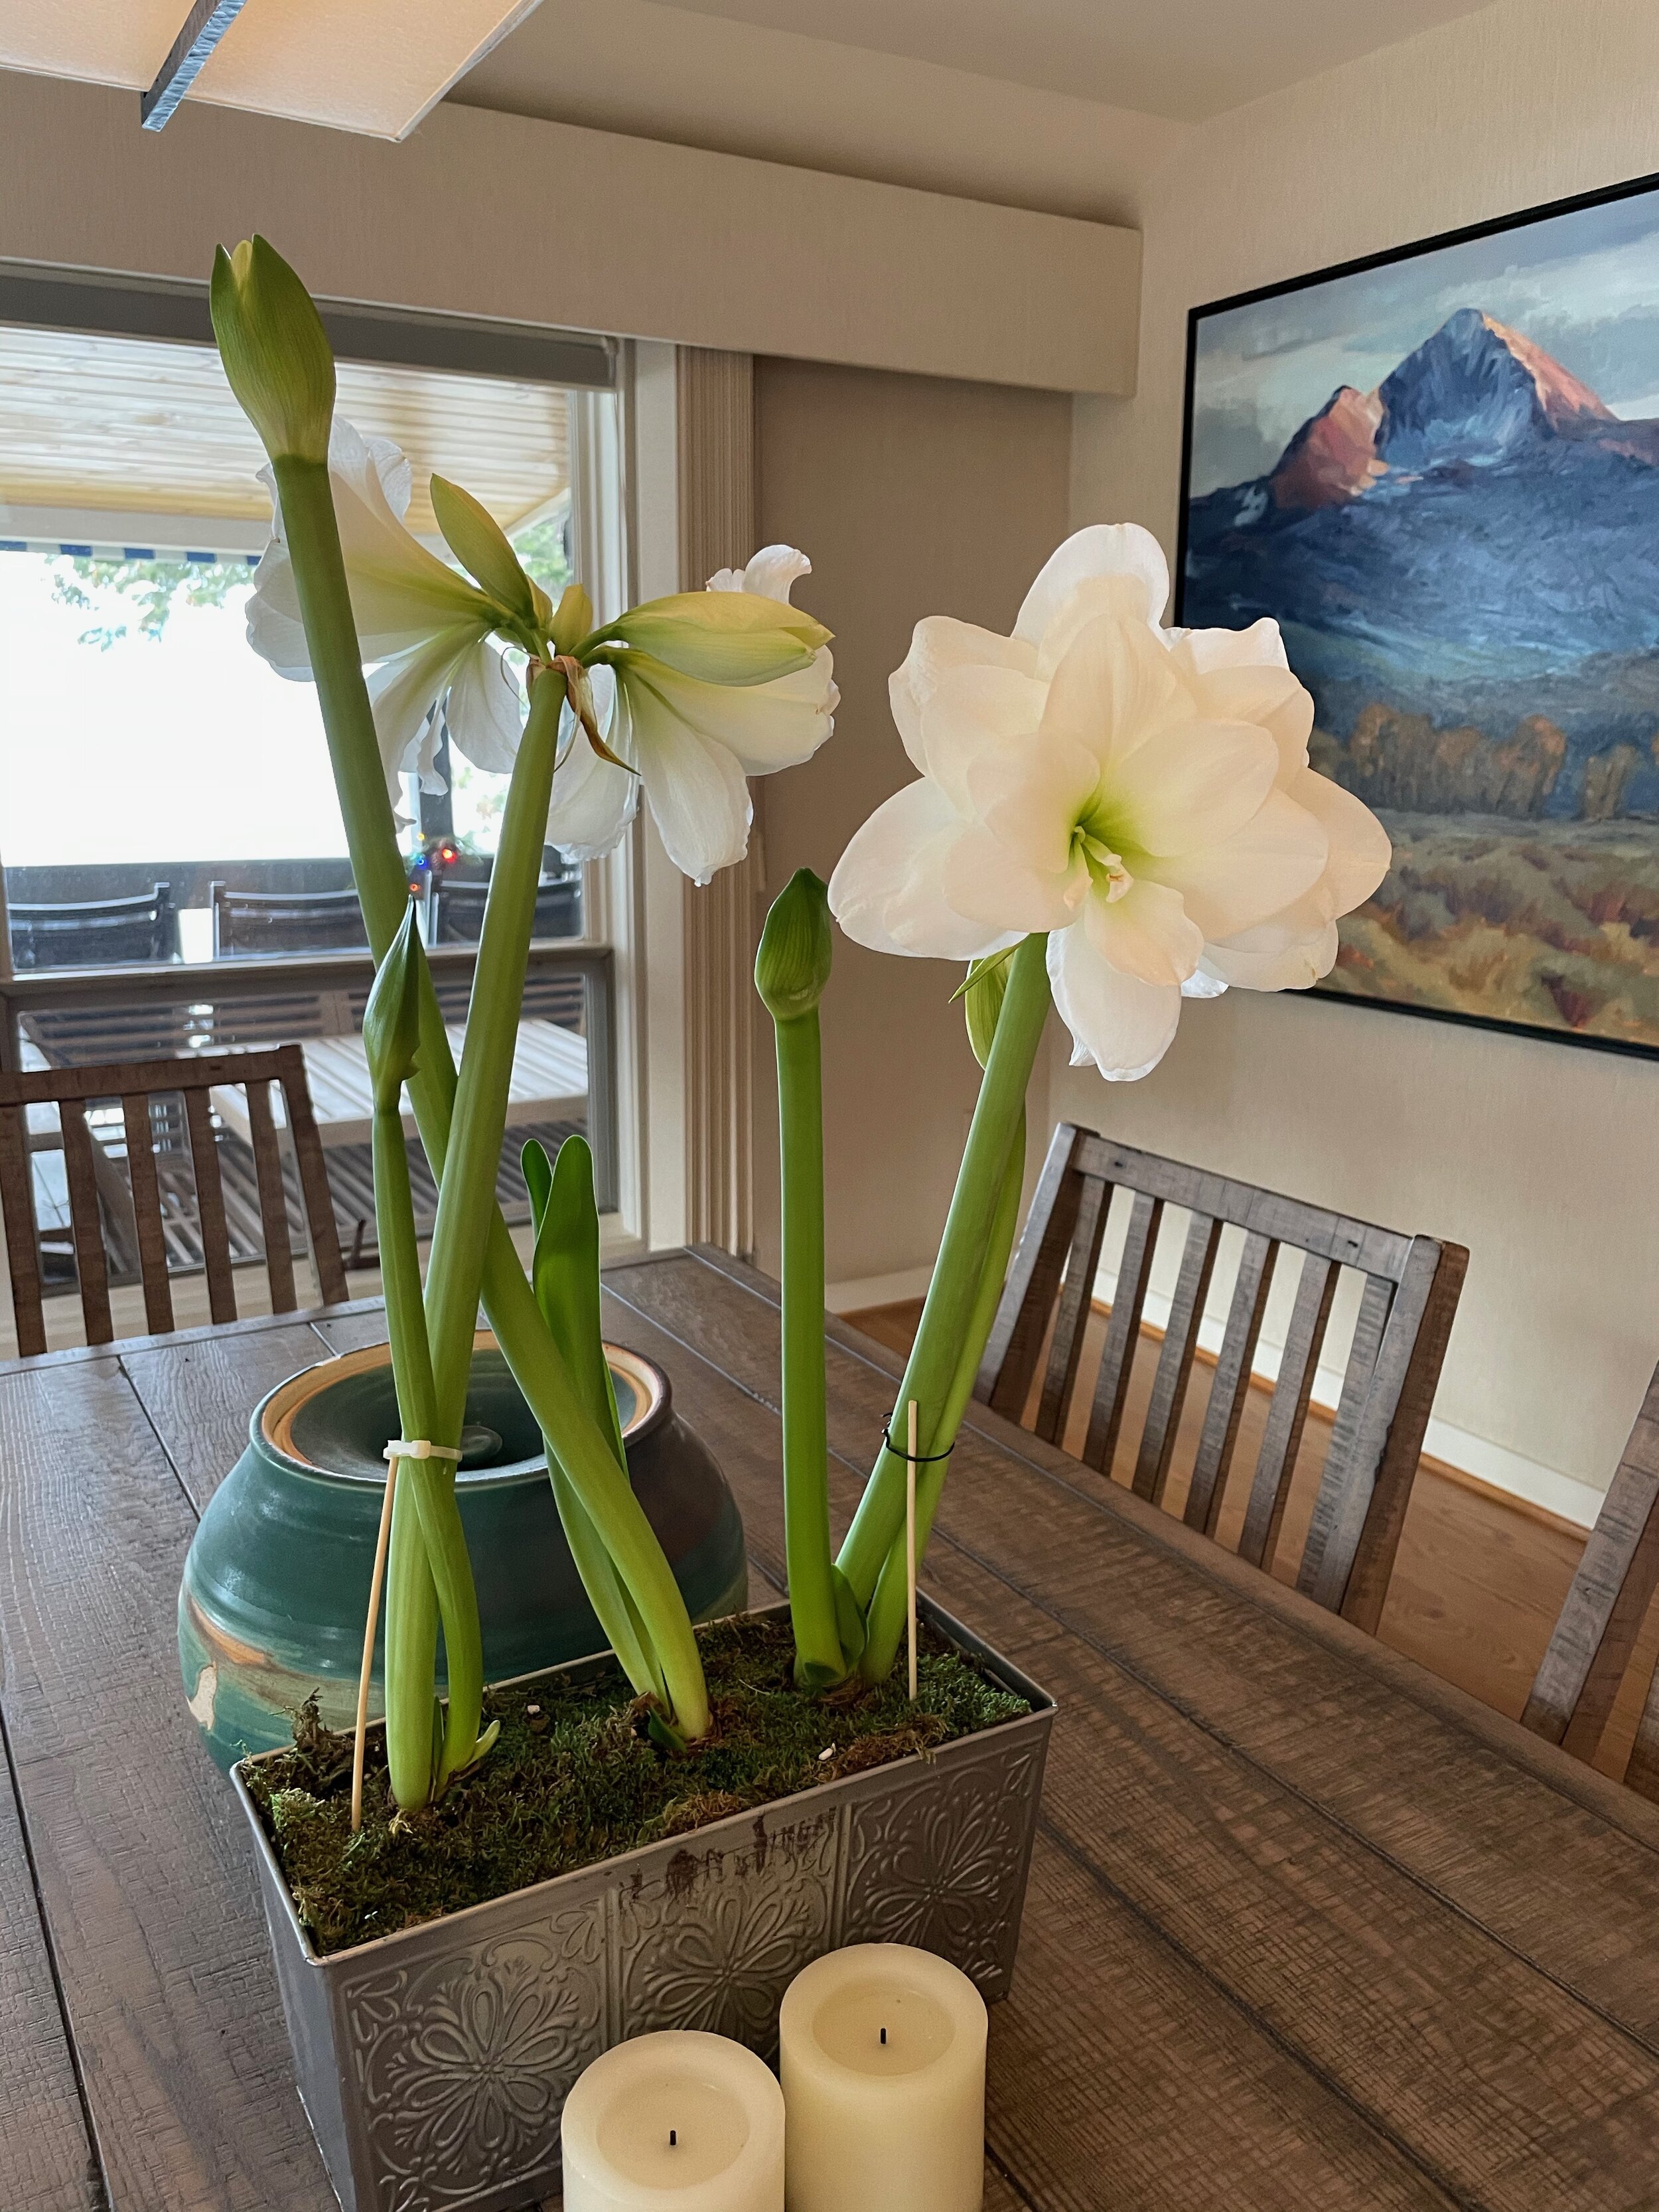

Indoor bulbs in various stages have been dressed up with holiday ribbons and put in a partly sunny spot. They even work as cut flowers! These make great gift. I’ve used every florists’ glass vase I had saved up and gave them as holiday gifts for friends and family, which has in turn, started a new tradition for others. Winter flowers are easy, inexpensive and rewarding.